The picture of a small child should be as peaceful as possible, and therefore no bared mouths and sharp claws. Getting to work, not everyone understands how to draw a tiger with a pencil so that he looks like himself. Let's learn this together!
To work, you need a sheet of white paper, a simple pencil and eraser, as well as colored pencils or markers for coloring. The last stage, when the animal finds its inherent shade - the most fascinating for the child.
Mom should always monitor the process of work, because if the child is still small, it may not work out the first time, and he will quickly lose interest. Let's try two variants of work - how you can draw a seated and standing tiger, and lying can ask the child to depict already independently.
How to draw a sitting tiger to a child?
A kid of five years can already cope with such a task. If you do not know how to start drawing, then we recommend starting with the face of a tiger, which should be drawn in a pencil step by step, so that the child understands the sequence of actions.
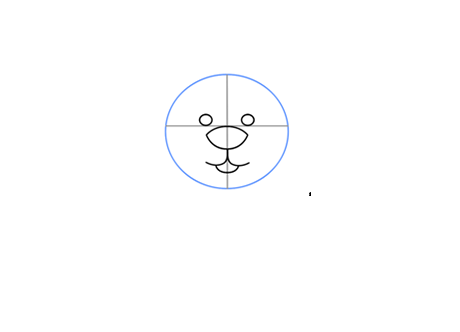
- First draw a simple circle and divide it into four sections.
- Now draw the eyes of the mouth and nose of the animal.
- In a semicircle, we draw the ears of the future tiger cub.
- Now we begin to form the head so that it is not a simple circle.
- In the lower part, we outline the outline of the fur on the muzzle.
- Then draw in a semicircle chin and muzzle is almost ready.
- Determine the height of the animal and outline the contours of future paws.
- Now we are conducting two lines in the form of a trapezoid to mark the width of the trunk of the animal, and we also attach realism to the paws.
- Draw the breast and tummy, which will be visible when sitting tiger.
- It's time to draw arcs of hind legs.
- Near the front paws we draw lines - this will be the appearance of the rear.
- Draw your fingers and erase unnecessary eraser.
- The case for small - draw strips and color a tiger cub with a black and orange pencil.
How easy is it to draw step by step a standing tiger?
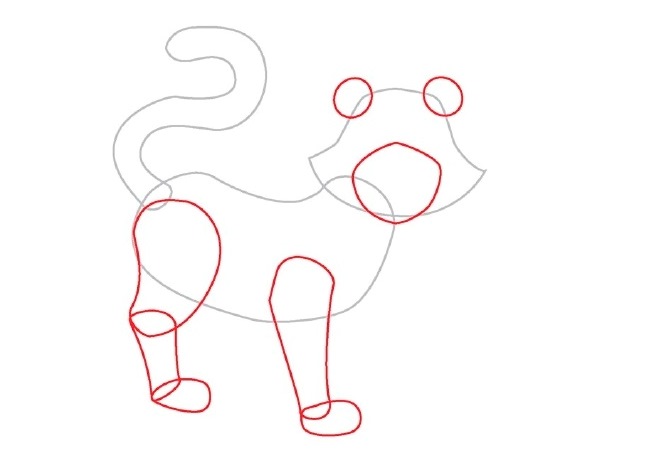
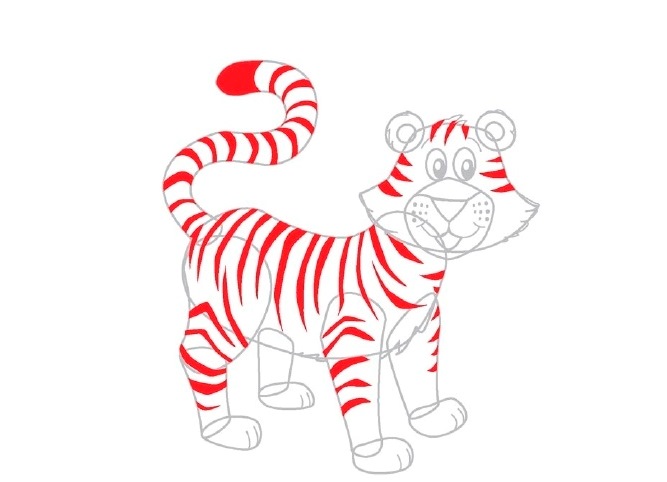
- First, we draw the foundation of our animal - a trunk with a tail and a head. Red color will indicate the new finished details. Note that the muzzle is of an unusual shape, so the child will later be more comfortable in painting the missing details.
- On the head draw three circles - the large will be directly muzzle, and small - ears. Paws should be drawn in turn, that is, first we make those that are closer to us.
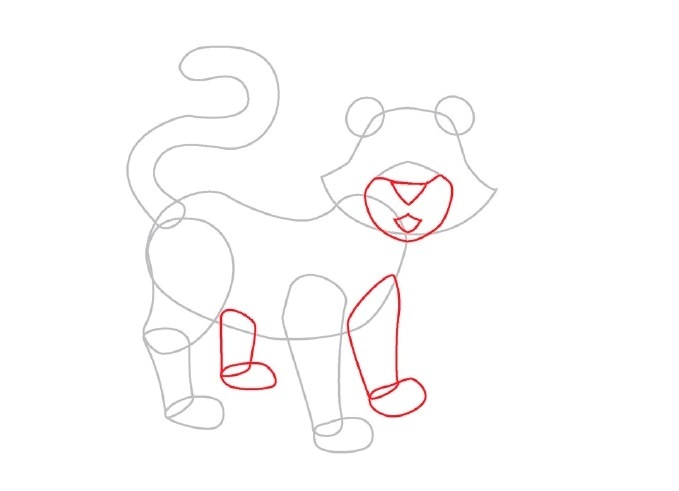
- We continue to draw small details on the muzzle - this is the nose and mouth. The two remaining paws will be slightly smaller than those already drawn, since they are further away, and then the child will draw a tiger easily when he realizes what proportions are.
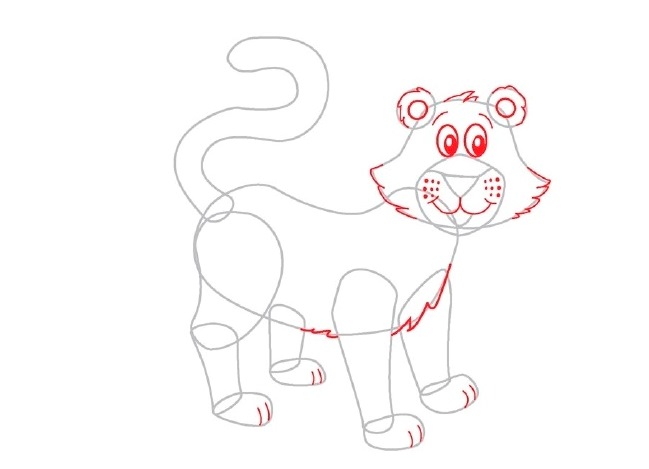
- Now draw the visibility of the fur on the muzzle and breast, as well as claws on the paws.
- The next step is to draw a real tiger difference - wide strips. They need to be evenly distributed across the trunk, head, legs and tail.
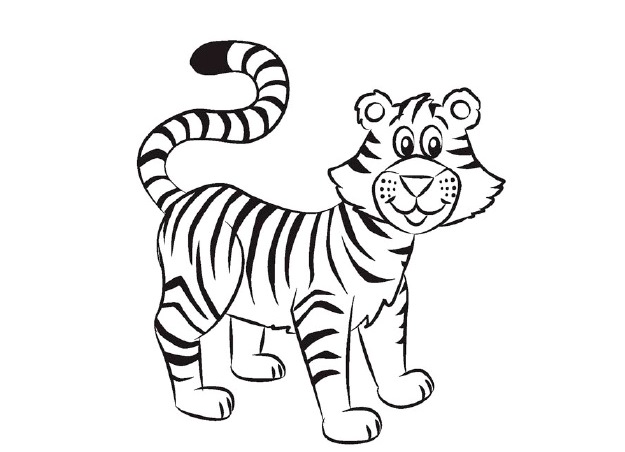
- Here is a sketch you should get. We paint the stripes and the tip of the tail in black.
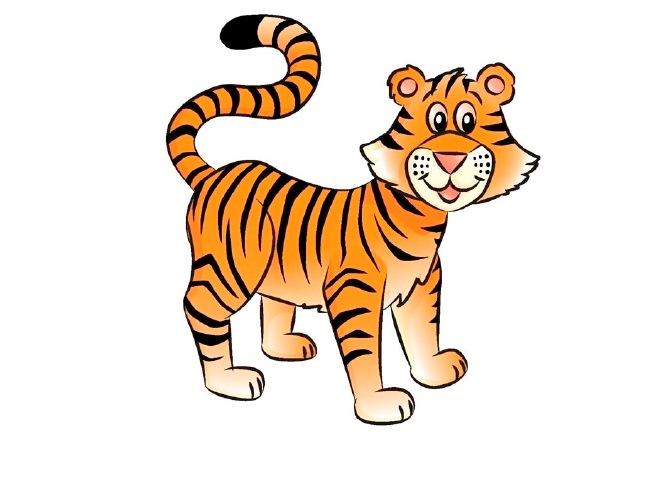
- And now we take an orange pencil in hand and paint everything necessary, not forgetting that the whiskers and paws should be left white.