The hood is often used in winter fashion images to protect the head from wind or rain. In clothes for the warm season, he performs a decorative function. It is sewn to various sweatshirts, jackets, sweatshirts and even to dresses.
From this article you will learn how to sew a hood with your own hands, and how to then attach it to your basic clothes.
Sew a hood to the cloak - master class
It will take:
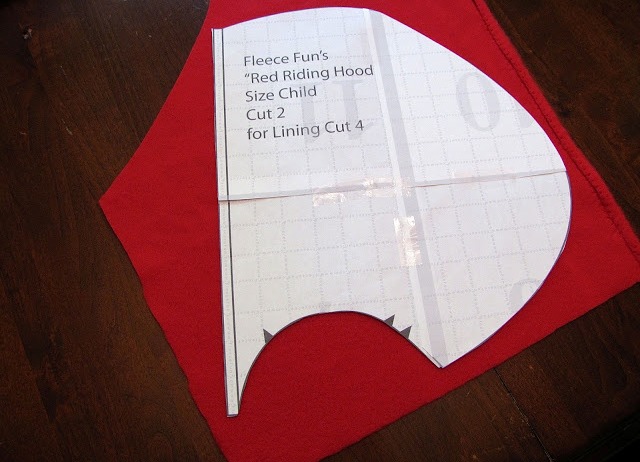
- pattern;
- the main fabric (red fleece);
- lining fabric;
- sewing accessories.
Instruction:
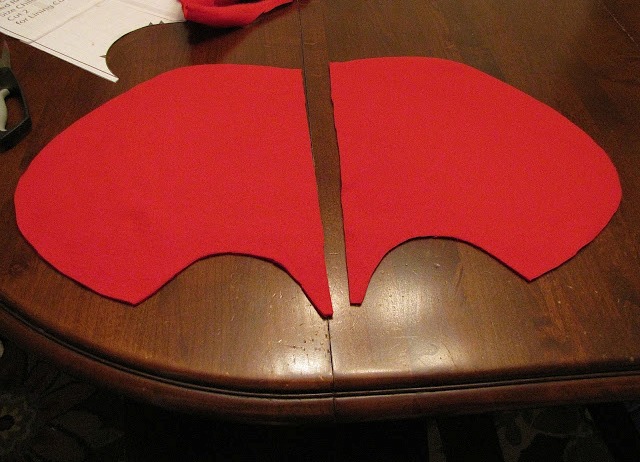
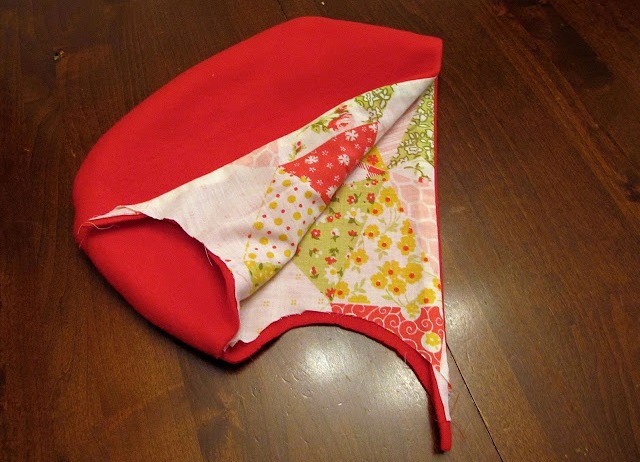
- Fold the fabric in half and cut out 2 pieces on the pattern.
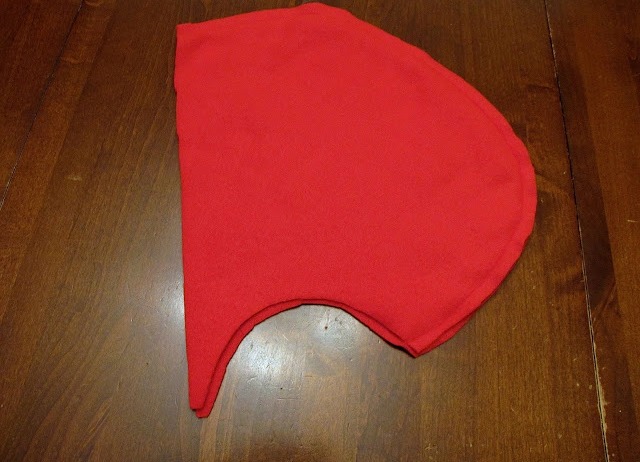
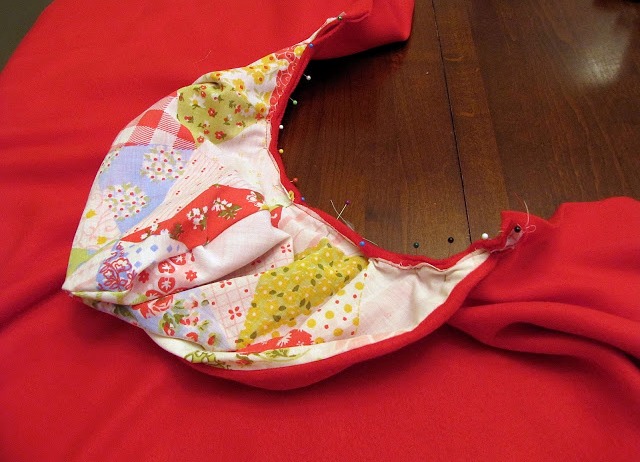
- Fold them face down, and, retreating 5 mm from the edge, we spread through the curved side of the parts. We turn out the workpiece.
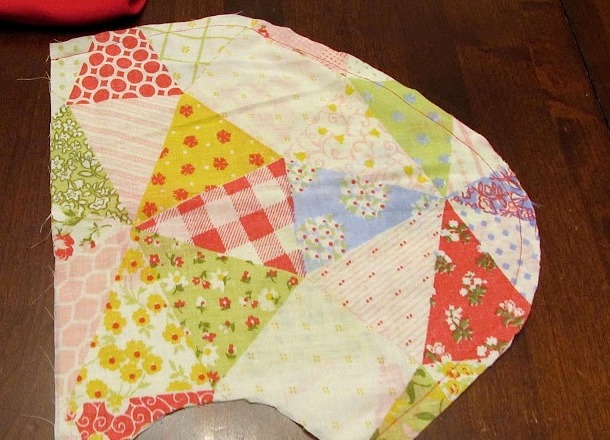
- Cut out the same pattern of 2 details from the lining fabric and also spend it.
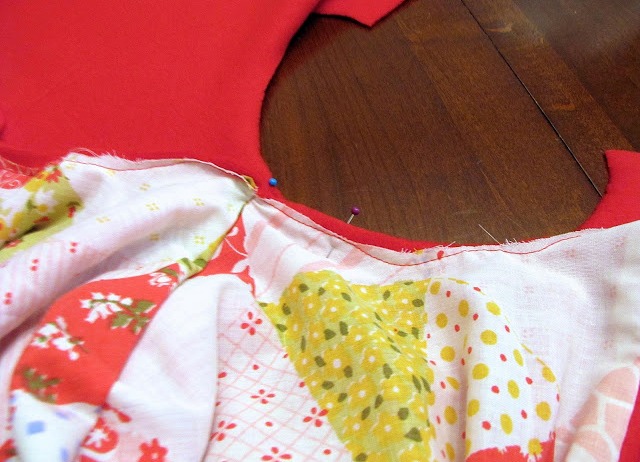
- We prepare the fleece stock from the lining fabric. We break the even edge with pins and we spread it.
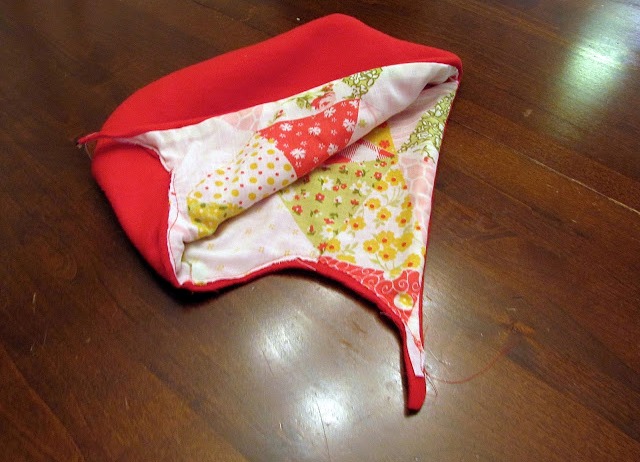
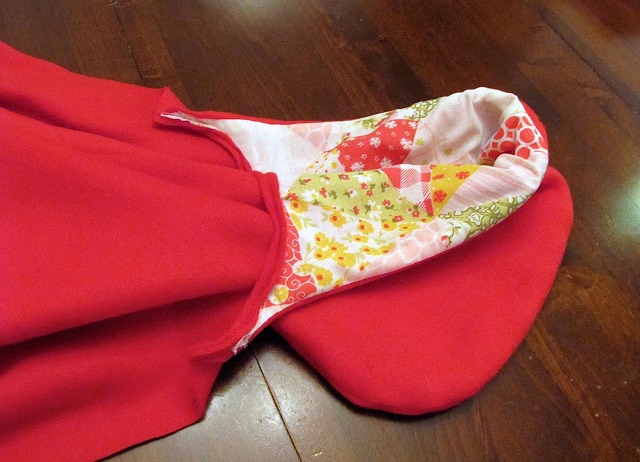
- We turn the lining cloth inward and iron it.
- We spend fleece and lining on the bottom edge.
- We attach the hood to the collar of our product, so that the edge is inside, and then we spend it, retreating 5 mm.
| | |
| | |
| | | |
| | |
| | | |
Our cloak with a hood is ready!
If you want your hood to be tightened with ribbons, then after step # 4 you need to step back from the edge of 1 cm and stitch it again. Then put on the rope.
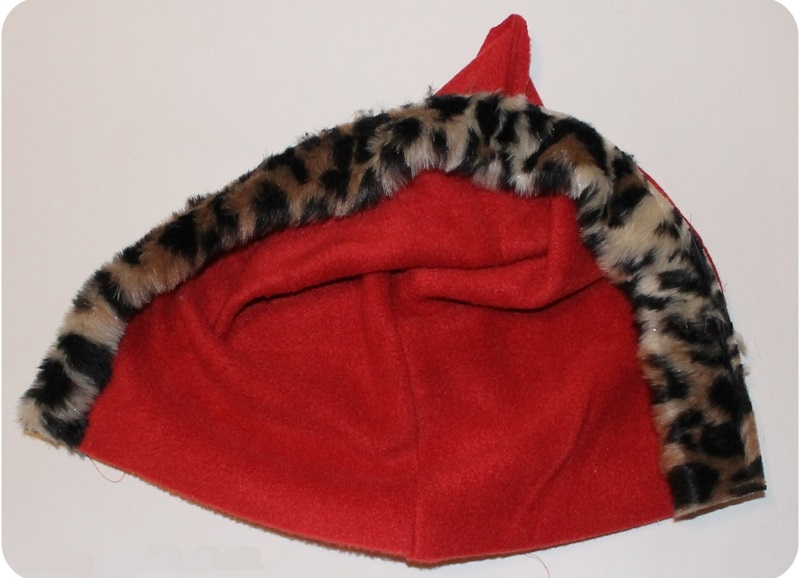
And if you need a fur edge, then sew it, wrapping the edge of a strip of fur.
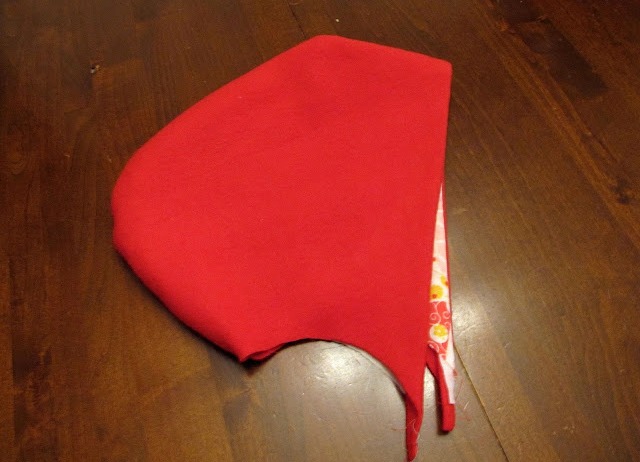
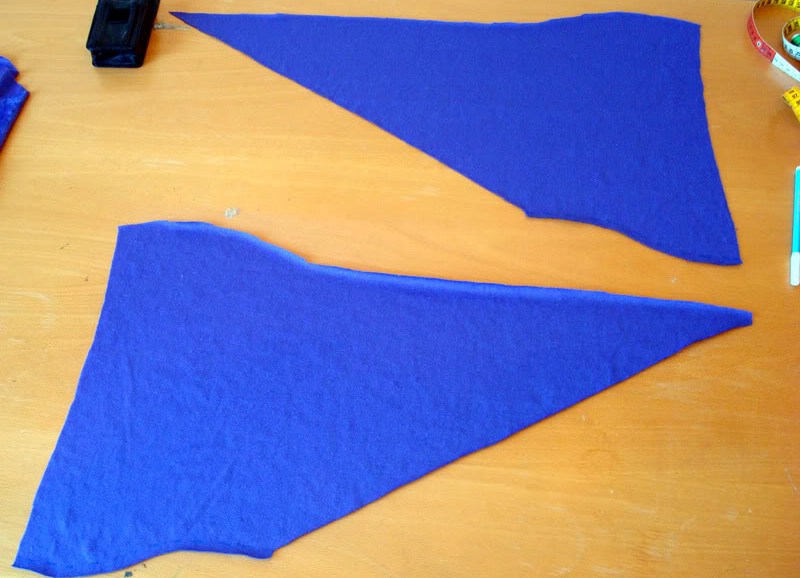
In case you need to make an elongated sharp hood (like a dwarf), we need to draw an acute angle to the existing pattern, with the sides of the desired length.
We fold the fabric from which we will sew the hood, in two layers (necessarily the sides inwards) and cut out the made pattern 2 pieces.
We sew together the sides of an acute angle, and we straighten an even edge and spread it out.
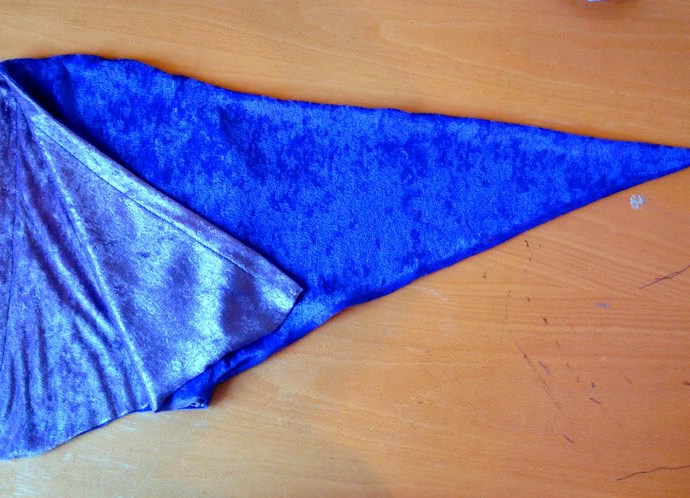
If necessary, sew up the lining and weighed on the main product.