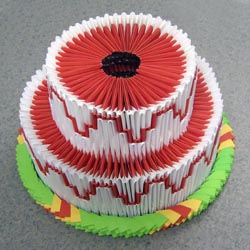
Origami - an ancient, but not a complex art. Having mastered them, you can make real miracles from ordinary paper! One of the types of this handicraft is modular origami. Its meaning is that all crafts are made up of simple elements - modules. According to our master class you can make a paper cake in a modular origami technique. It is a very beautiful and original gift for birthday, anniversary or wedding.
How to make a cake from triangle origami modules?
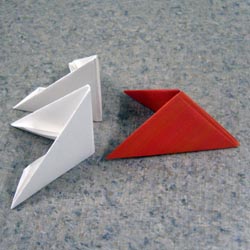
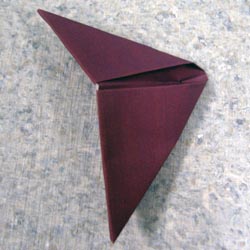
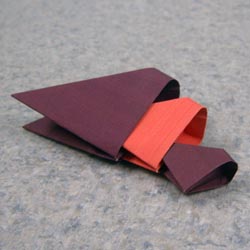
- Prepare two white modules and one brown one. Each of them is made from a paper rectangle of the appropriate size with respect to the sheet of the standard A4 format (1/2, 1/4, 1/8 or 1/16). The size can be chosen independently, depending on the desired size of the cake (for the first tier, we use 1/2). The white modules will represent the protein cream on the cake, and the brown ones - chocolate.
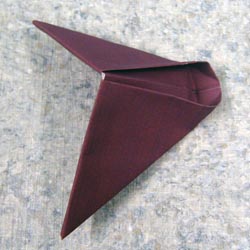
- Connect the three modules together.
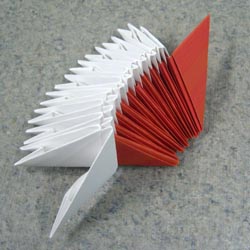
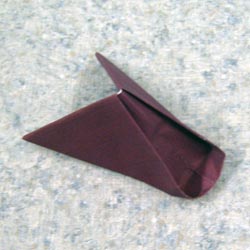
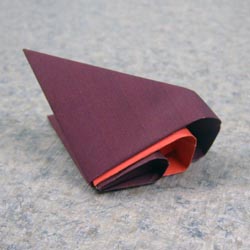
- Having prepared the necessary number of modules and connecting them in pairs, we make the first block.
- To make a real-life paper cake, 8 such blocks should be made. They will make up the first tier of the cake.
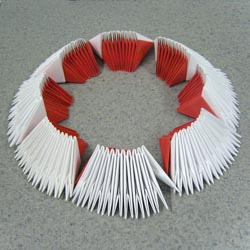
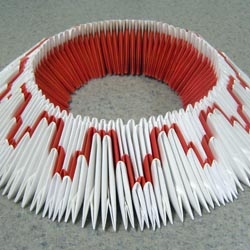
- Join the blocks into a single unit, and then start spreading the pattern on top using the 1/4 modules. The pattern scheme of the cake made with modular origami depends on the number and alternation of white and brown modules. In all, the first tier takes about 80 pieces, and the second, respectively, about 40. The second tier, decorate with the same pattern.
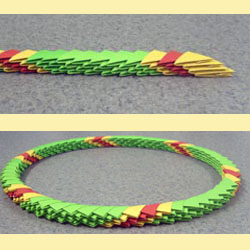
- To make a stand for a cake, prepare small (1/16) modules of various bright colors, and connect them to a snake. It will have several tiers depending on the desired thickness.
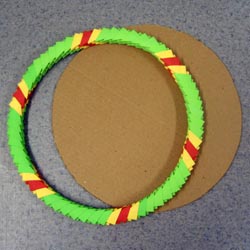
- Close the snake in the ring and try on its diameter in relation to the cake. If the ring is too large, the modules can be laid more tightly, and vice versa.
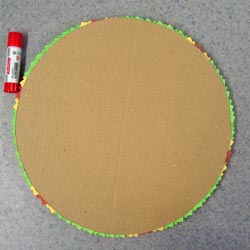
- Cut out a circle of the required diameter from the cardboard.
- Fix the snake around it using a glue stick.
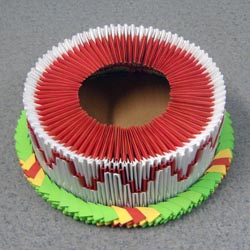
- Now glue the first tier to the bottom of the cake.
- Set the second tier of the cake on the first, connecting their modules. Align the walls of the tiers so that they are strictly vertical or with a bevel inward.
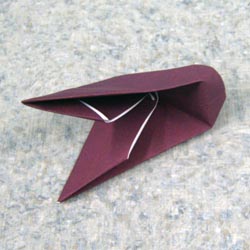
- To close the hole in the center of the cake, make a rose in the modular origami technique. To do this, make 8 modules of dark brown or black paper, unfold them and open the pockets.
- Next, prepare 8 brown modules in size 1/8 and dark brown, respectively, 1/16. Insert them into each other - these will be 8 petals of chamomile.
- Each petal is placed in the center of the cake without the use of glue. To do this, it should be inserted between the modules of the upper tier in such a way that its sharp edge reaches the conditional center of the cake.
- If you do everything right, there will be a very small hole in the center of the cake that can be easily closed with any figure decoration.
| | |
| | |
| | |
Of the modules you can do other beautiful crafts, for example, an elegant swan .