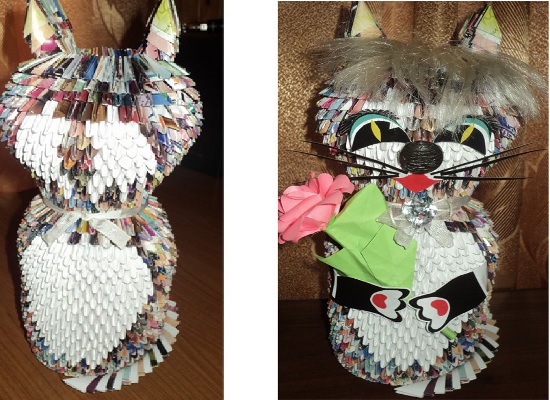
Making different animals or characters today is a real hobby, and for some it's a whole flow with its fashion trends and popular themes. The assembly scheme of the modular origami cat can be different: from the usual round to more complex. We offer two ways to create a feline figure.
How to make cat out of modules?
In the first lesson, we propose to consider the traditional scheme. For her, we need modules of white and any other colors. The author of the lesson used paper blanks of arbitrary color. As for the final stage of registration, you can use absolutely any materials from the application to the puppet accessories.
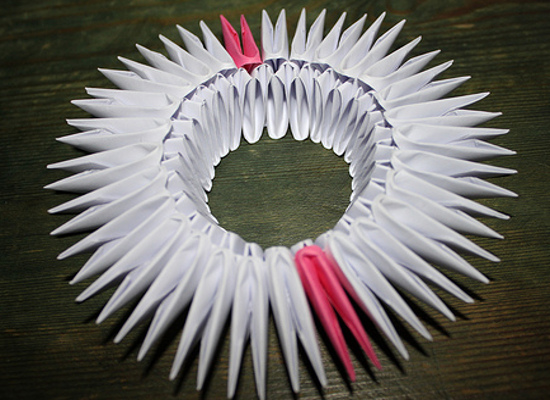
- The first row will be added as follows.
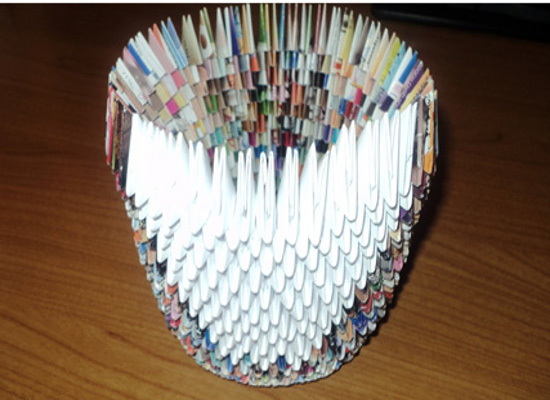
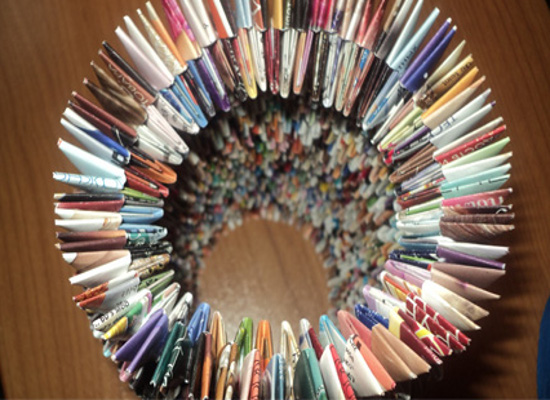
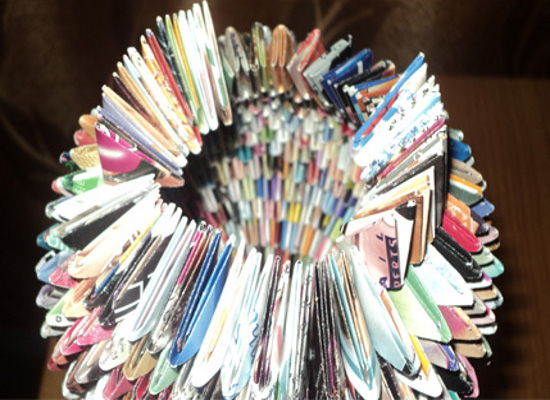
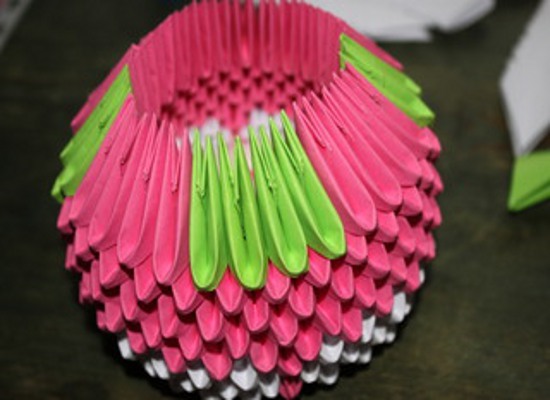
- This circle consists of 50 pieces. As a result, this ring should turn out.
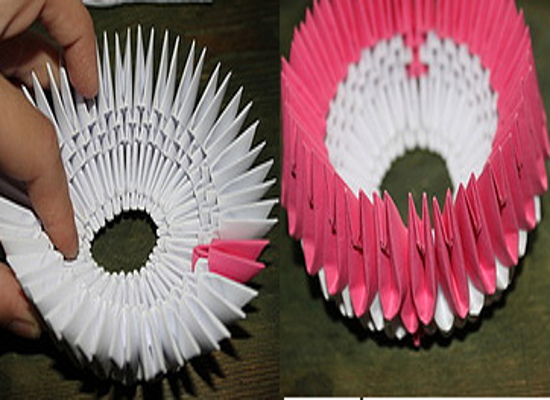
- The next two rows are collected in the same way, we have the modules in staggered order.
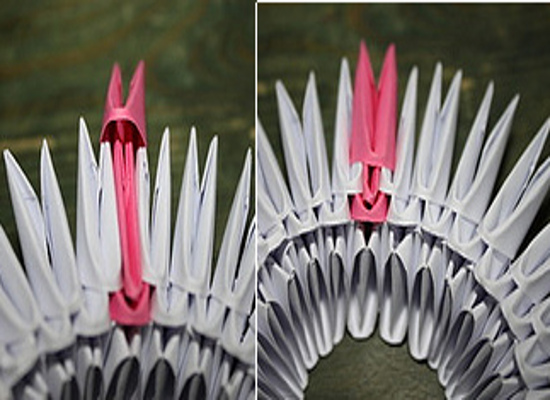
- Further, according to the scheme of assembling origami cats from the modules, we insert three pieces of white color.
- In the fifth row, we put on six more modules for these three white modules, and then add one in each successive row.
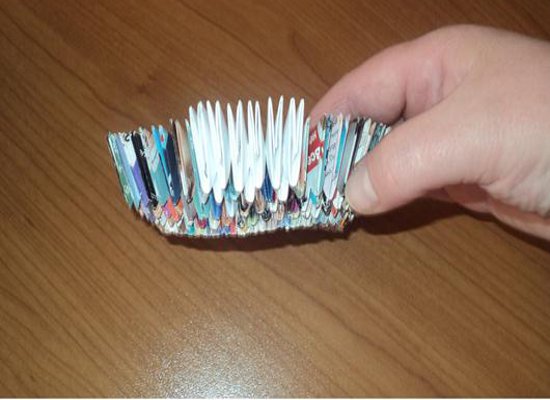
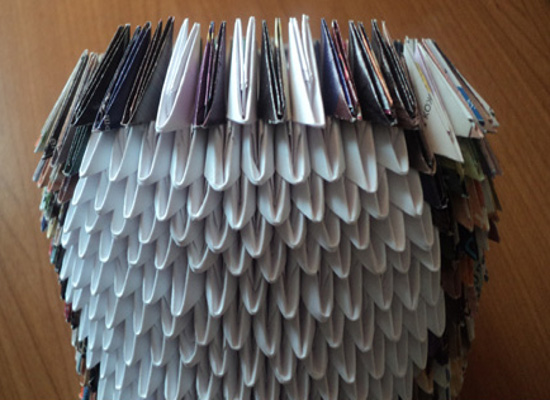
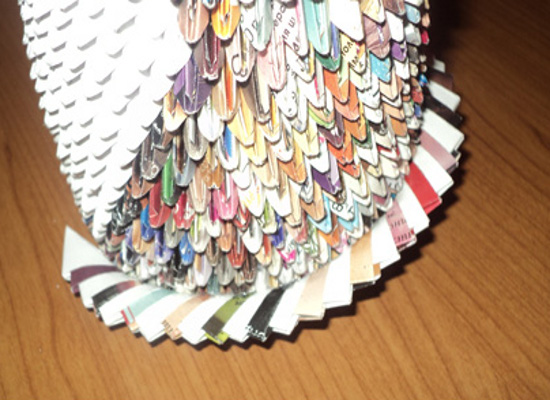
- Thus we move the next 11 rows, at this stage there should be 15 modules of white color in the row. From this point on, we start to remove one module. This will look like the rounding of the breast.
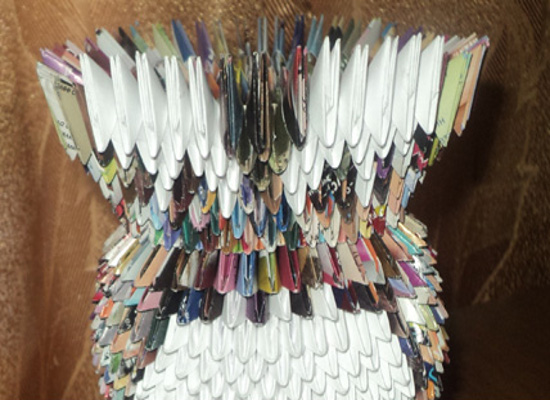
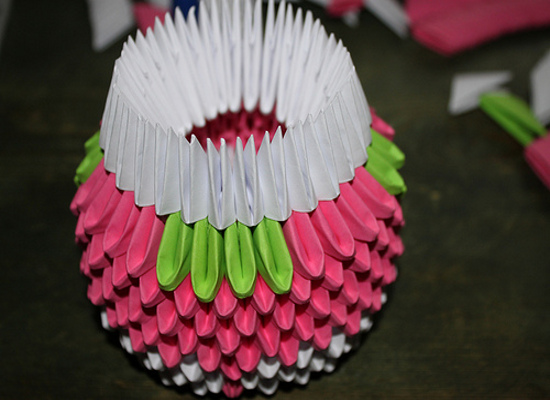
- At this stage, the master class for making the modular origami cat ends the breast and color series begin again. To connect the head and trunk, add three more white modules in the middle part.
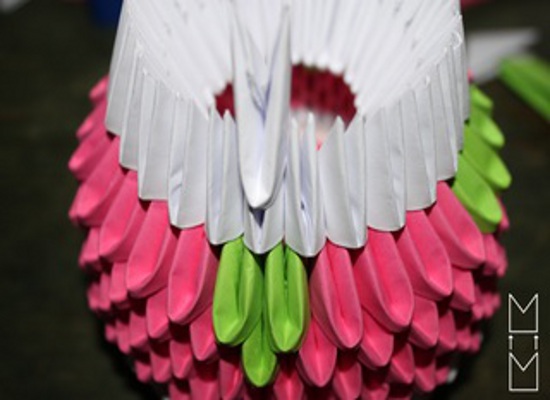
- We pass to the next stage of manufacturing modular origami cat - the head. To do this, we form a number of modules by inserting them with the other side. The next row is formed by modules in the same position.
- This is what the blank looks like from the top.
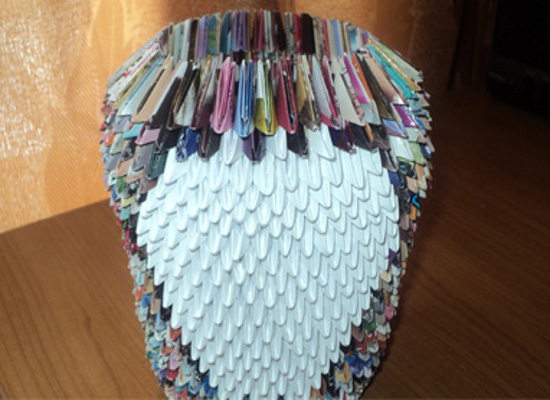
- In the third row we take three modules of white color and place them in accordance with the breast.
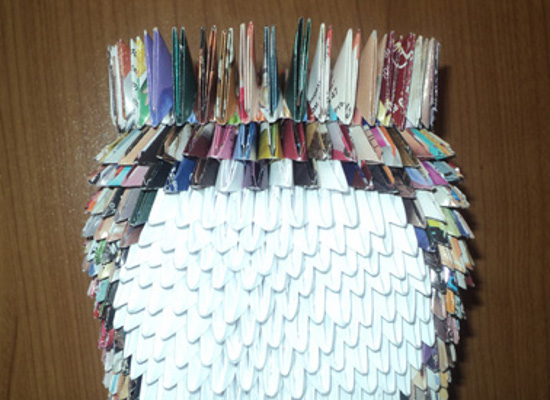
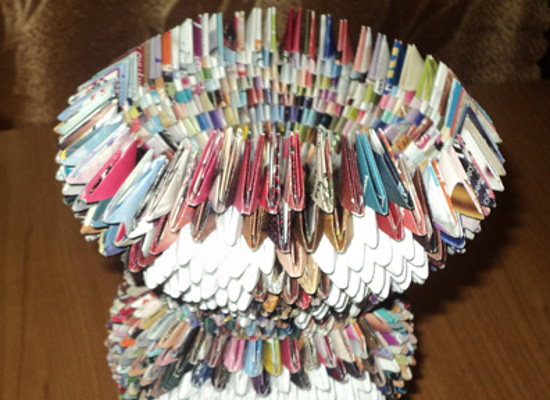
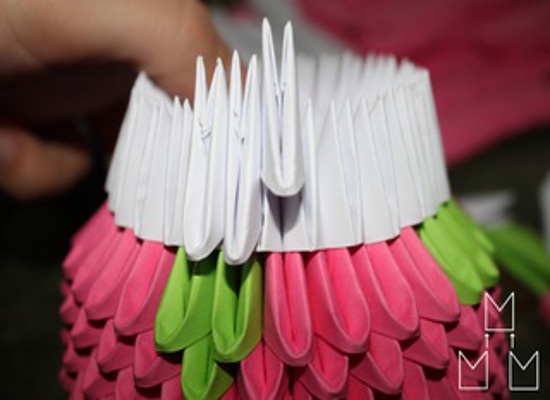
- Next, we form cheeks and the head itself.
- Gradually we reduce the modules in such a way as to form a head.
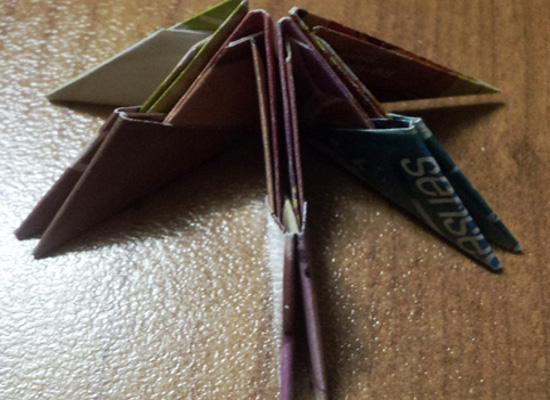
- The last three rows will be reduced to three modules, so that in the last row you have 41 modules. Next, form the ears, as shown in the picture.
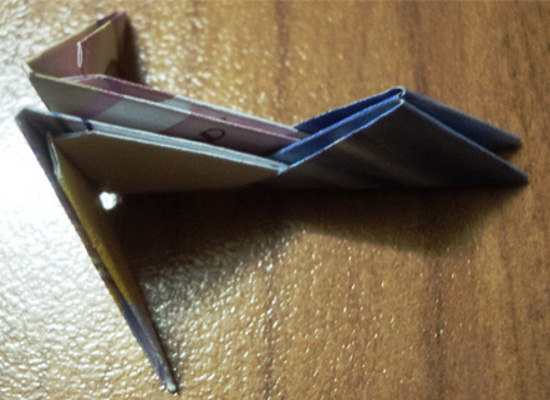
- The tail of a cat made of triangular modules is made of a strip of blanks that are bent over the body.
- It remains only to decorate our cat and everything is ready!
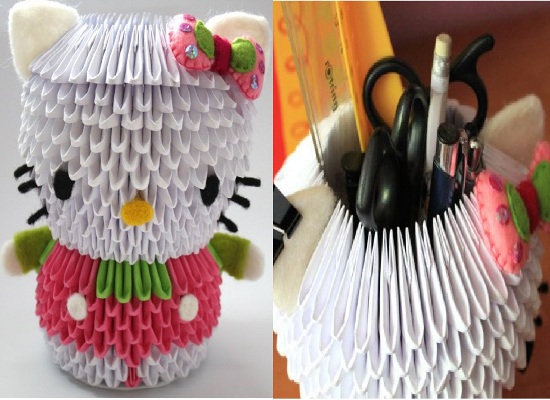
Modular origami cat - a scheme of assembling the famous Kitty
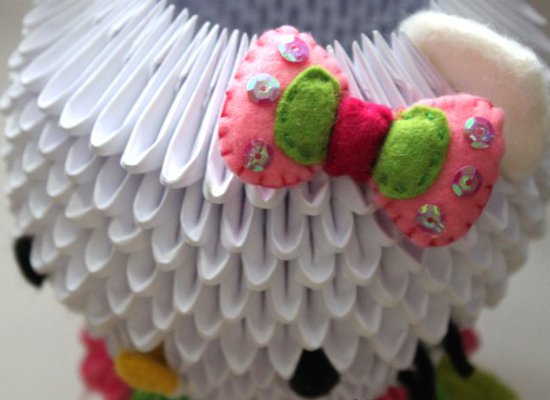
A popular kitty with a bow is currently one of the most popular characters. It can be found not only on children's handbags, but also quite adult things. We suggest to consider the scheme, how it is possible to make from modules Kitty cat.
For work we need modules of white color (588 pieces), pink (132 pieces) and green (14 pieces). For decoration we will use felt.
- We form the first row of 28 white blanks.
- On the second row, you need to add two pink billets, they will play the role of shorts in the future.
- The next level consists of 28 white modules and two color ones. Pink modules are inserted, as shown in the picture.
- Further we move according to the scheme and we use still pink modules, as it is shown in the figure.
- Now we turn over the work done and the next row is done only from pink modules.
- The next two rows are also colored. And on the seventh row of the green modules we form sleeves for Kitty blouse.
- Further from the green modules we form the neck and the handles.
- The next row is laid by the other side and we form the neck.
- We proceed to form the head. It is slightly larger in size and consists of 35 modules.
- Next, hands arched rows and form the head.
- It remains only to cut the knobs and eyes on the patterns. To do this, you can use thick paper or felt.
- Modular origami cat Kitty is ready!
In the technique of modular origami, you can also make other figures, for example, a hare and a snake .