Nail extensions - a safe way to give the nails the necessary length and shape, to eliminate their defects with the help of artificial materials (acrylic, gel). And, made by the master, this technology allows you to make a real work of art from nails. The process itself is a rather laborious and painstaking procedure, but if desired, each girl can master it.
Features of the technique of nail extension on tipsov
Tipsy - a plate made of plastic material, designed to simulate natural nails. Tipsy maximally repeat the outlines and bends of natural nails, while they differ in density and elasticity. They consist of two parts: more thin and short, which is attached to your own nail, as well as a free part that is thicker and longer. Tips are attached to the nails with a special glue, after which they are applied modeling material - gel, acrylic.
Based on the natural shape and length of the nails, you can find the most suitable tips for yourself. Correctly selected artificial plates perfectly fit on the nails, so that sometimes they are completely not distinguishable from natural nail plates. In addition, tipsy can be transparent, colored, as well as with an already executed design, art painting (this greatly facilitates the subsequent process of decorating the accrued nails).
As for the material for modeling nails, everything depends on personal preferences and the condition of natural nails. Acrylic nails are resilient and durable, so acrylic nail extensions on tips make them thinner. Gel nails, in contrast to acrylic, are characterized by a glossy sheen, they are more elastic, in connection with which are recommended to girls with soft nail plates naturally.
Step-by-step instruction for nail extension on tipsy
Of course, deciding to increase nails on tipesah, it is best to turn to an experienced specialist who knows all the subtleties of this work. But still, if you set a goal, you can gradually master the technology of building up and perform the procedure at home. Further, as an example, we give a scheme of step-by-step nail extensions with gel on tipes. The following materials and inventory will be needed for the process:
- cutaneous antiseptic;
- an orange stick or a pusher;
- brushes;
- nail files;
- tipsy;
- base gel, camouflage gel, finish gel;
- degreaser;
- lint-free napkins;
- glue;
- type cutter;
- primer;
- Ultraviolet lamp;
- cuticle oil.
So, proceed to the instructions:
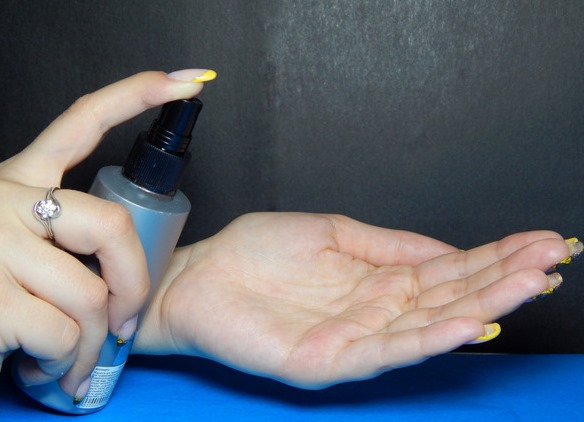
- We treat the hands with an antiseptic.
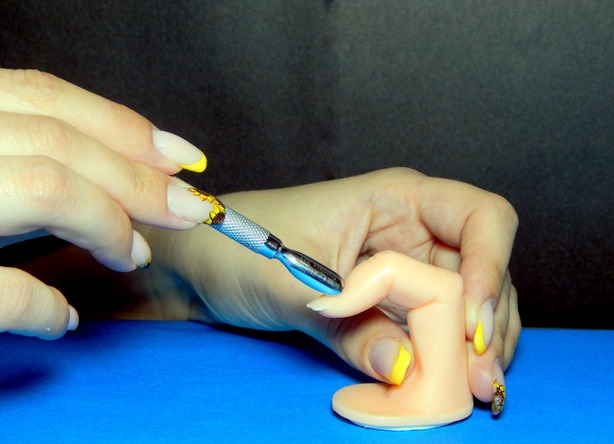
- Push aside the cuticle with a stick or a pusher, remove the excess.
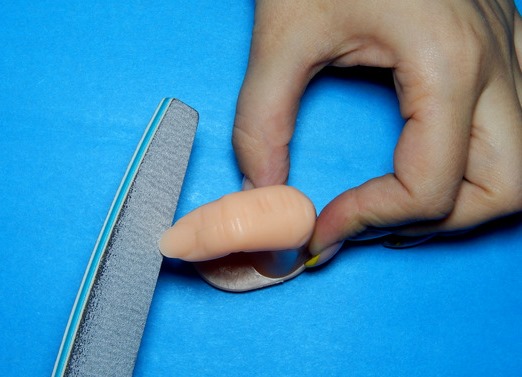
- Using the nail files, we shape the edge of the nail, grind its surface, giving it a slight roughness.
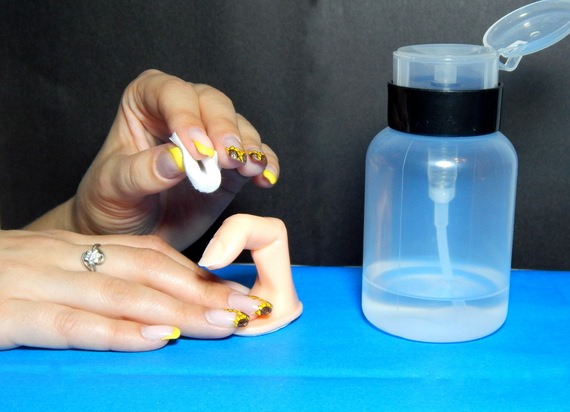
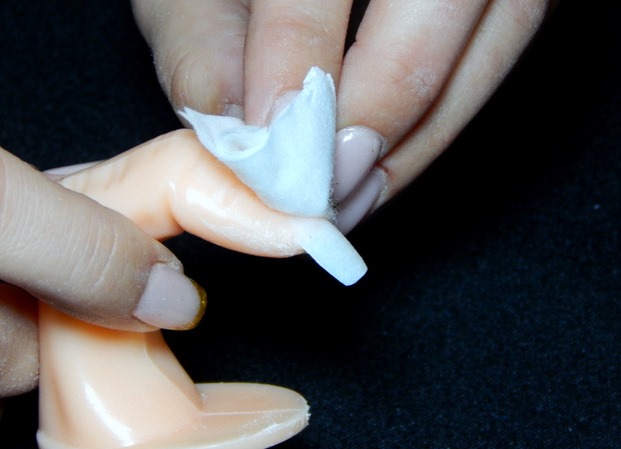
- We treat the nail with a degreaser with the help of lint-free napkins.
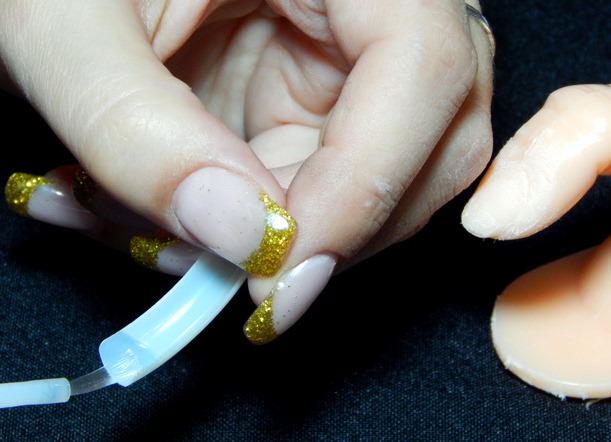
- Apply glue to the internal notch of tips.
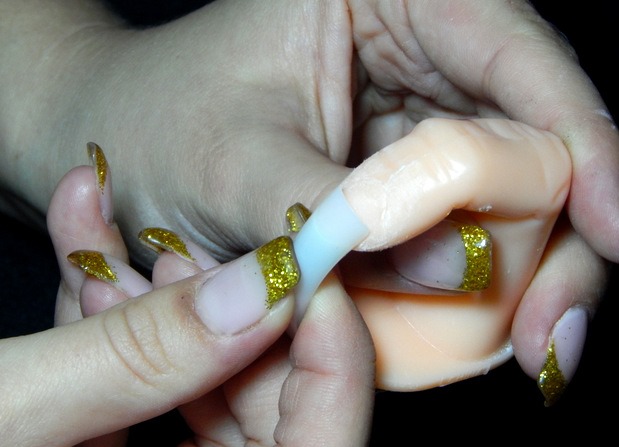
- We glue the tips to the nail, beginning from the middle of the nail.
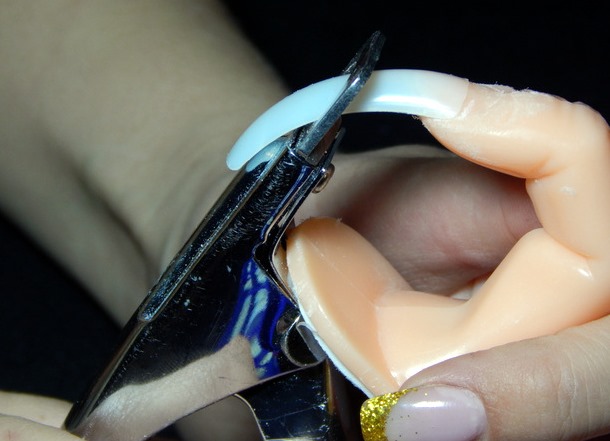
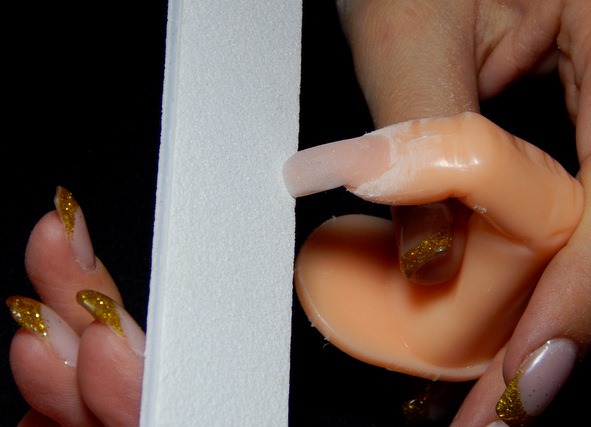
- Having decided with the length of the extensible nails, we cut off the superfluous part of the glued plate with the help of the type-cutter.
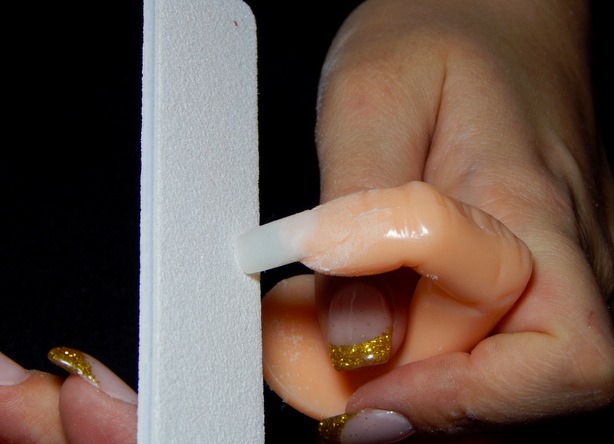
- Chop the file into the free edge of the plate.
- Degrease the nail.
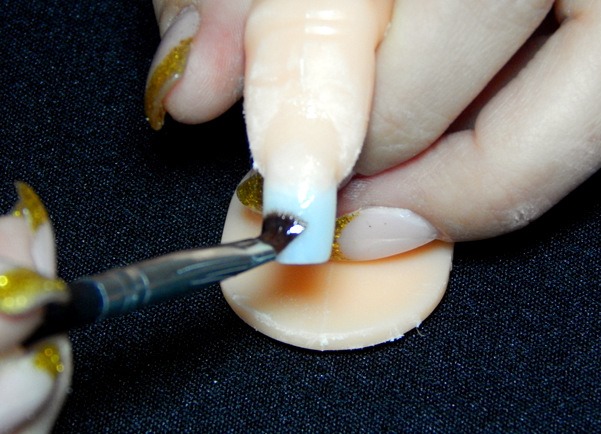
- For the entire nail, we apply a dehydrator to remove excess moisture, and also a primer to the natural part of the nail to improve adhesion.
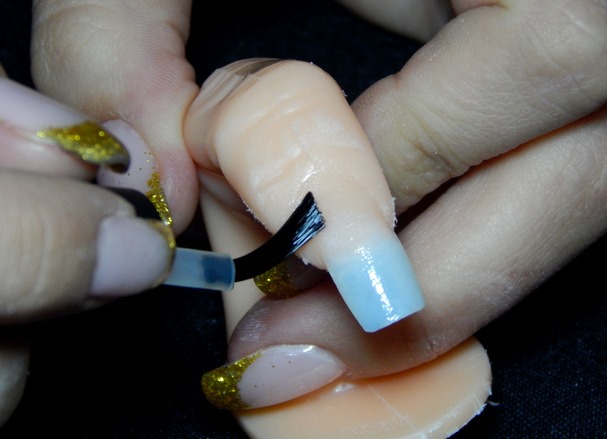
- Apply the base gel with a thin layer and dry in a UV lamp for 2 minutes.
- Apply the camouflage gel and dry the lamp again.
- Degrease and opilivaem nail.
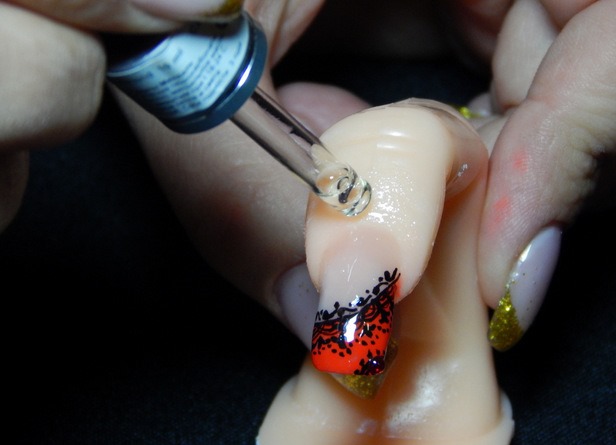
- We take up the design.
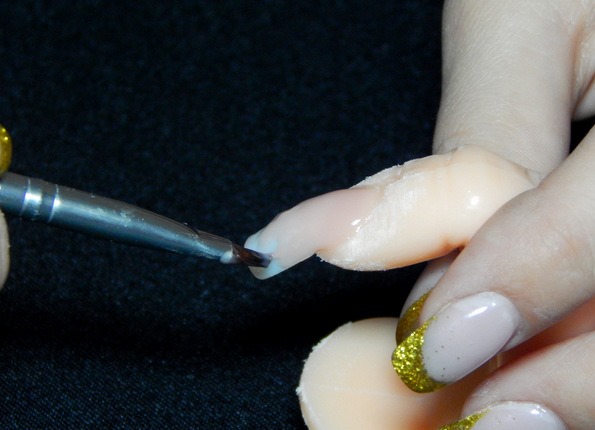
- Apply the layer of the finishing gel and put the nail into the lamp again for 3 minutes.
- We apply oil for the cuticle.