"Birthday is a festival of childhood ..." So he is in 5, and 15, and 30. That day everyone is waiting for surprises. Sometimes even a postcard can become such a surprise, especially if it is made by oneself with love and a share of imagination.
It would seem that scrapbooking is impossible without special tools, but today you will understand that nothing is impossible: we will make a postcard using homemade watercolor backgrounds.
Scrapbooking postcards happy birthday - a master class
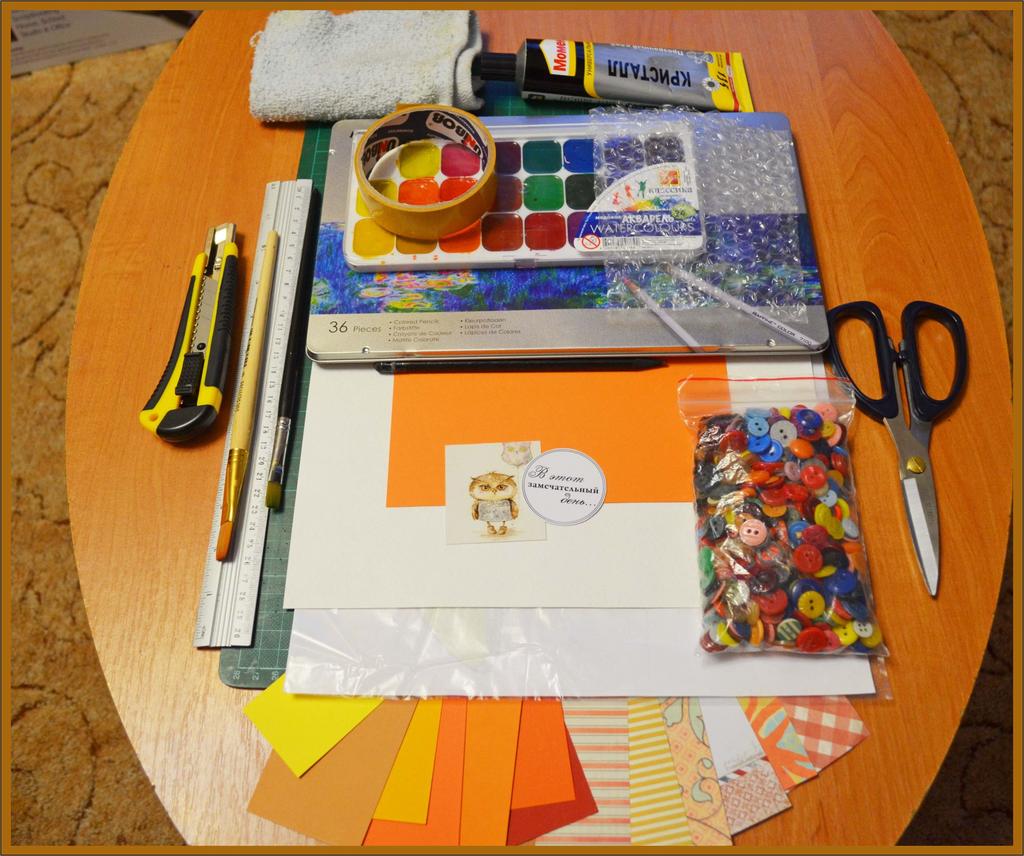
Necessary materials and tools:
- colored paper;
- watercolor paper;
- colored cardboard;
- watercolors and a brush;
- colour pencils;
- double-sided adhesive tape, glue;
- ruler, clerical knife, a simple pencil;
- bubble film, file for documents;
- an inscription and a picture to taste (both can be found on the Internet and printed);
- buttons for decoration;
- thread and needle.
All prepared, and it's time to start creating (or get up;):
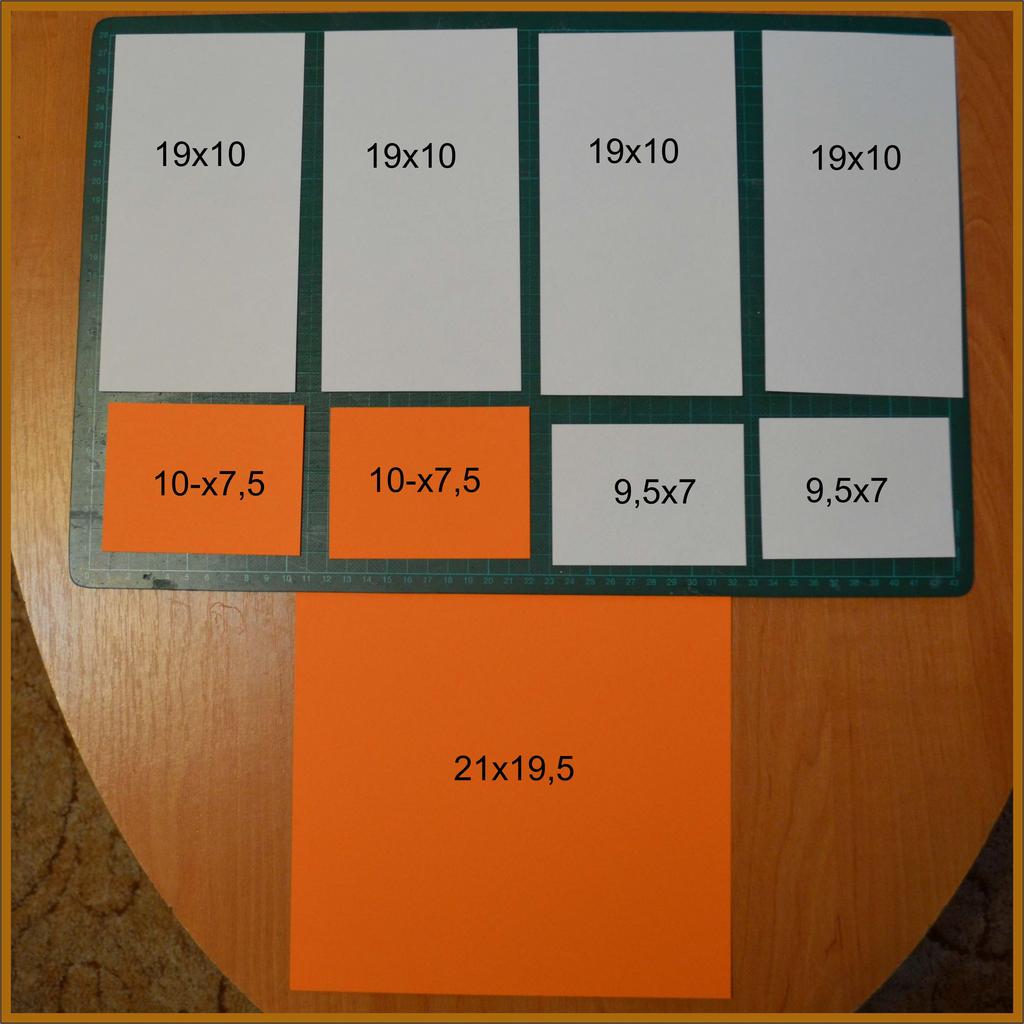
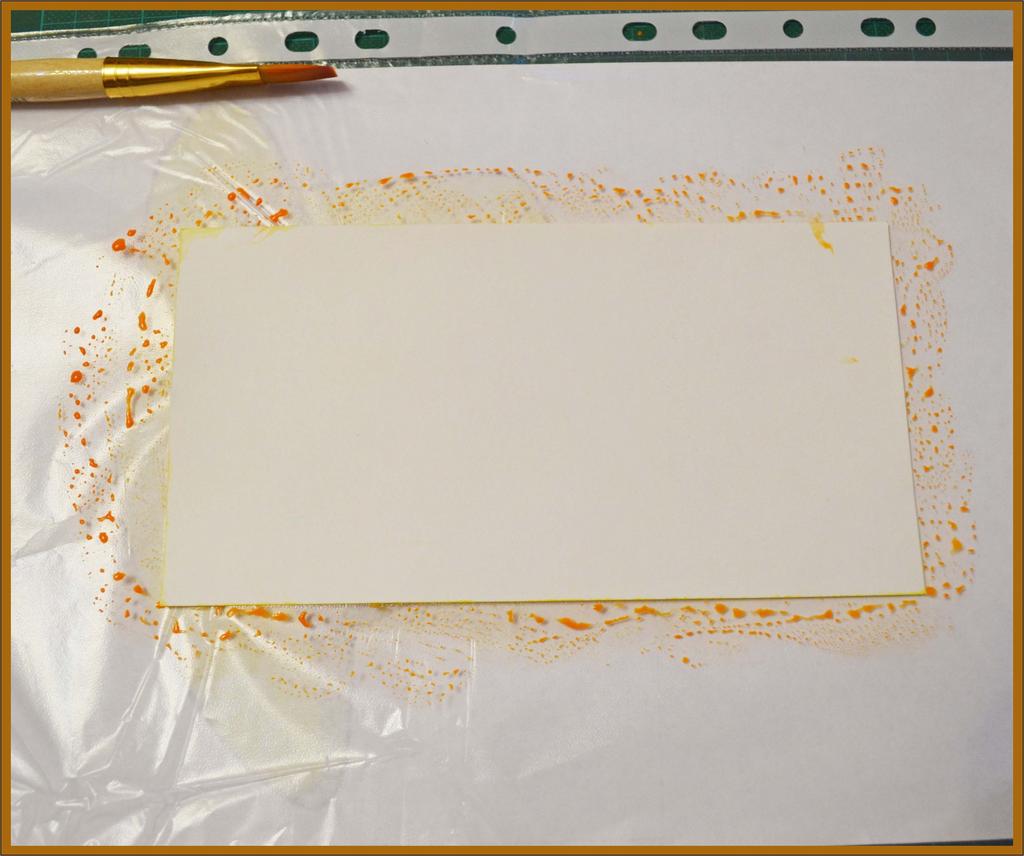
- First of all, with the help of a ruler and a clerical knife, we will cut watercolor paper and cardboard into parts of the right size. The sizes look on a photo.
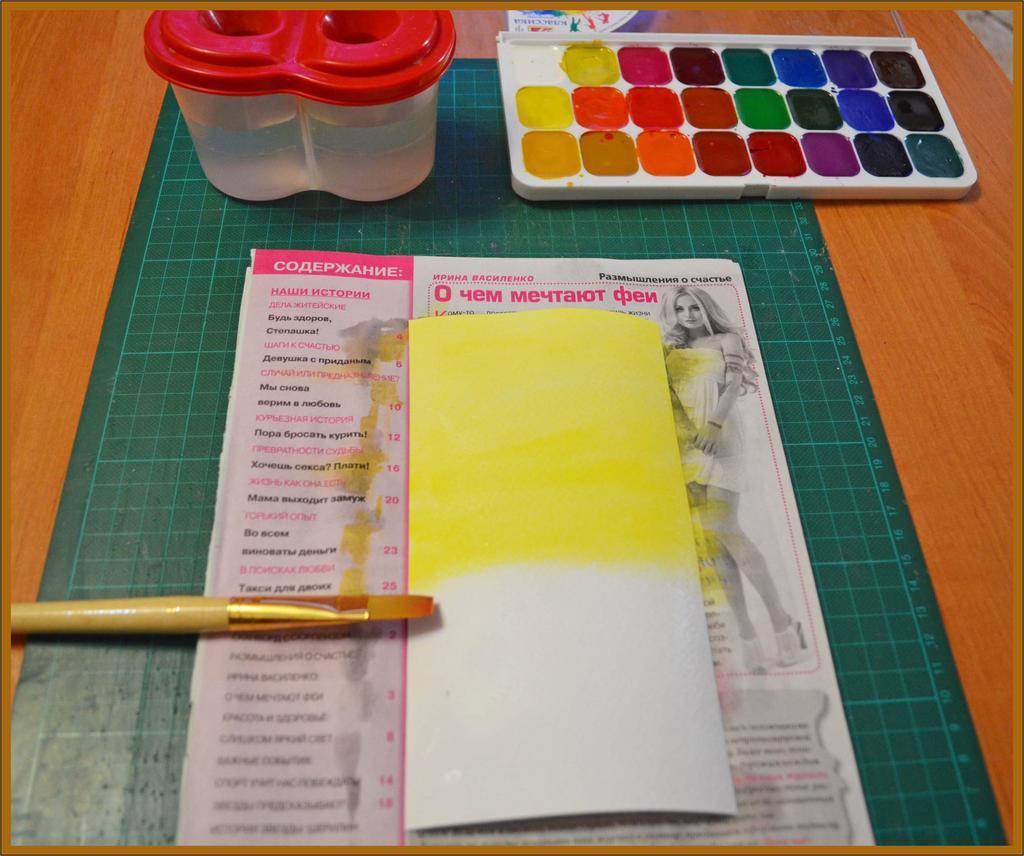
- Next, we prepare our backgrounds (all actions are designed for wet paper, so do not wait for it to dry). Wet the sheet with a wet brush, and then (still wet paper) paint in the color you like. Do not forget that this is only the first layer, so it should not be too bright.
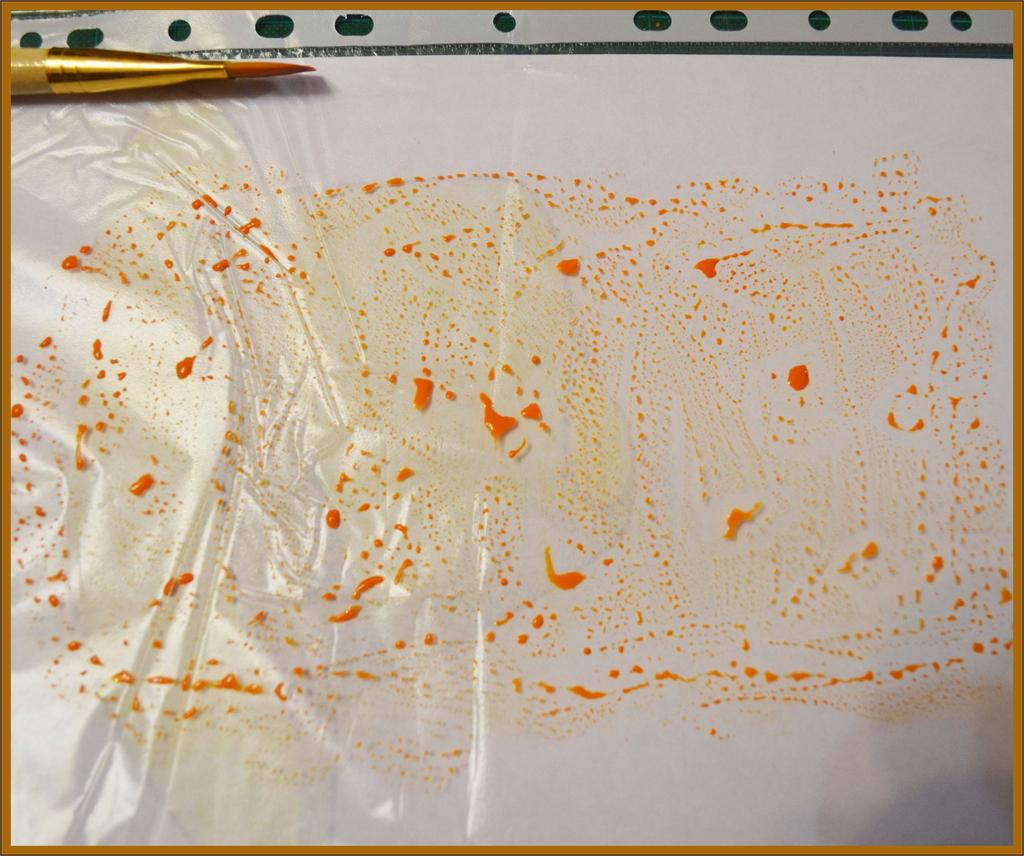
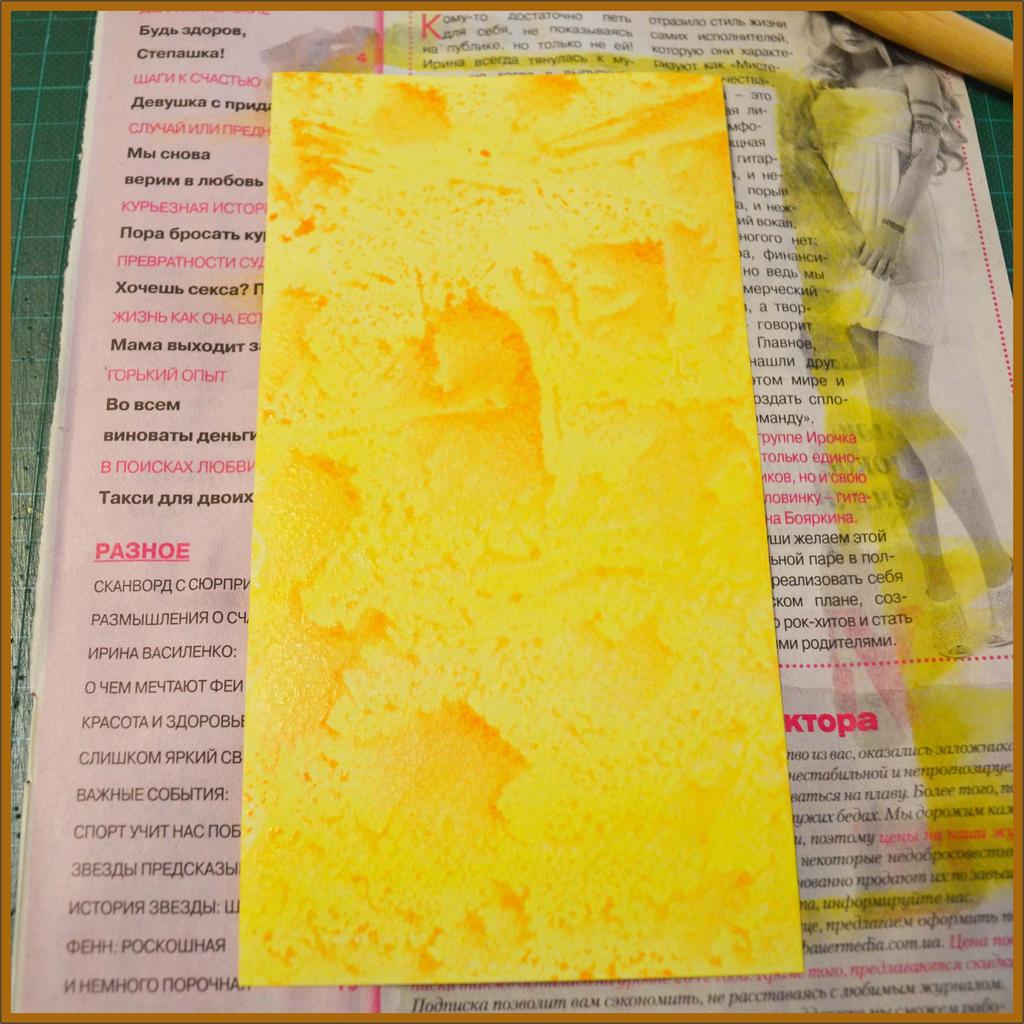
- Next, take a file for documents and make it a divorce from the paint. This time we take the paint darker - the background was yellow, so for the next step I took orange.
- Apply our rectangle to the file and press it lightly.
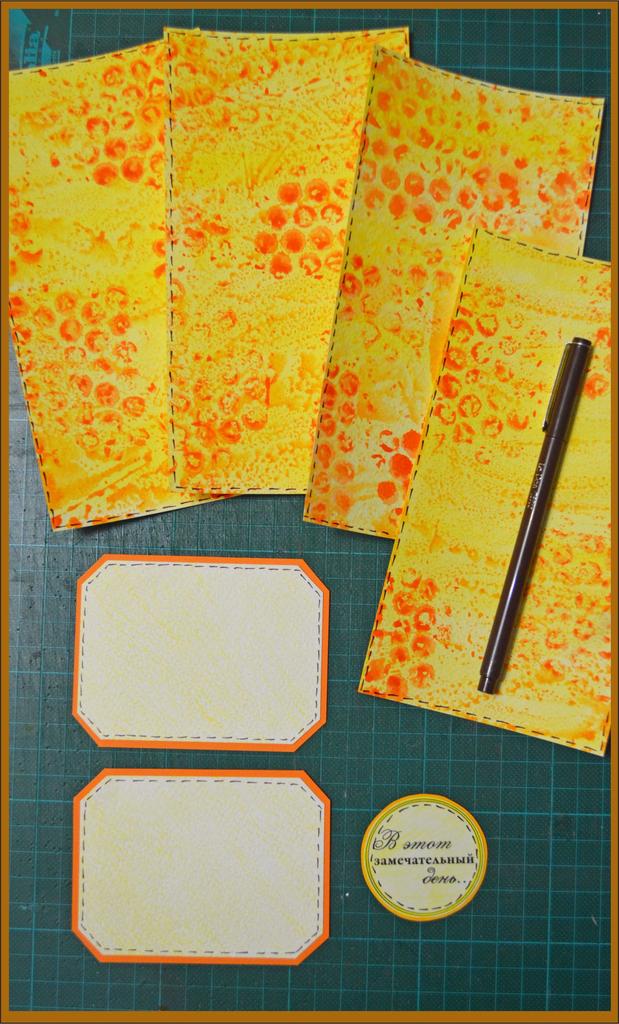
- We will eventually get such an unusual background.
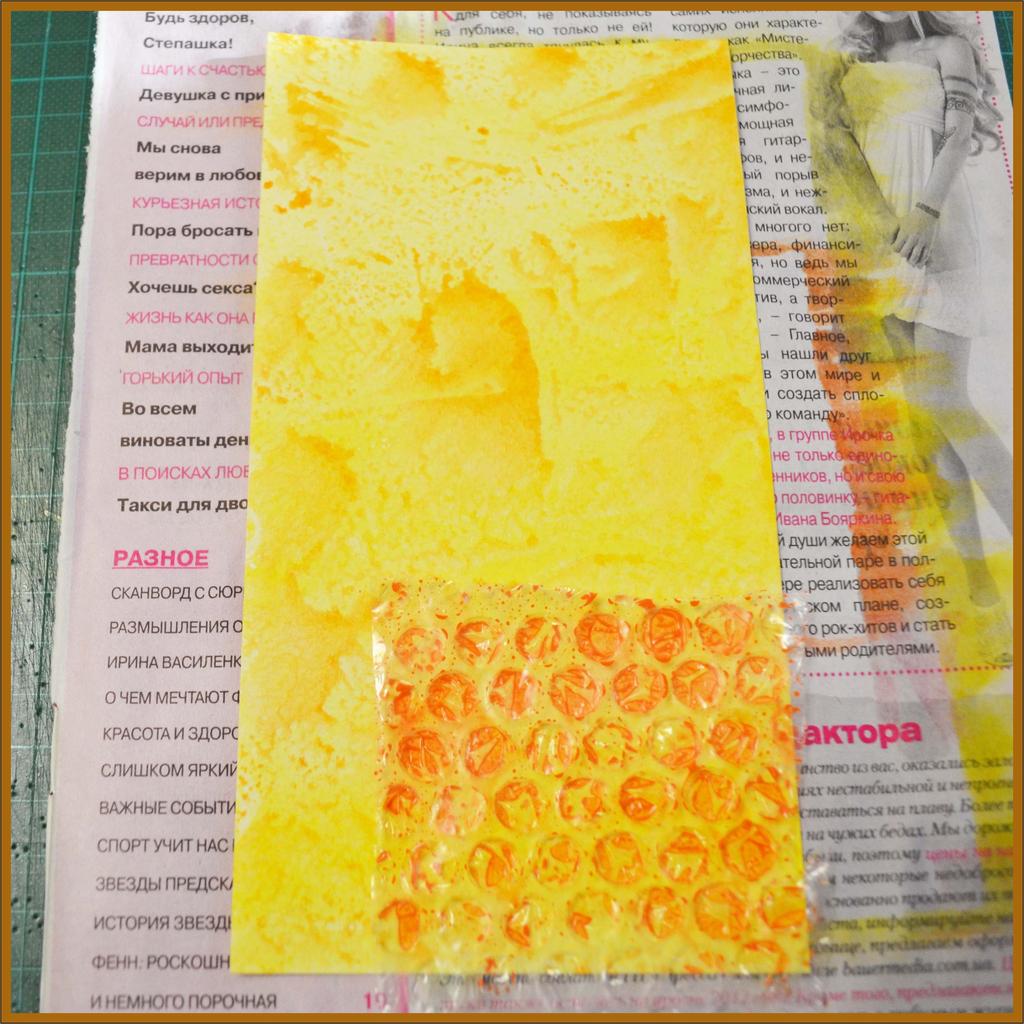
- But that's not all, now we'll add a stamp. Stamps are often used in scrapbooking and for this purpose there are a lot of special ink and ink pads, but sometimes it's enough just to look around and there will be something interesting.
- For punching, we need a bubble wrap. Color the bubbles of the film, it is desirable to take the paint a little darker than the two previous layers.
- And apply the film to the background, lightly pressing.
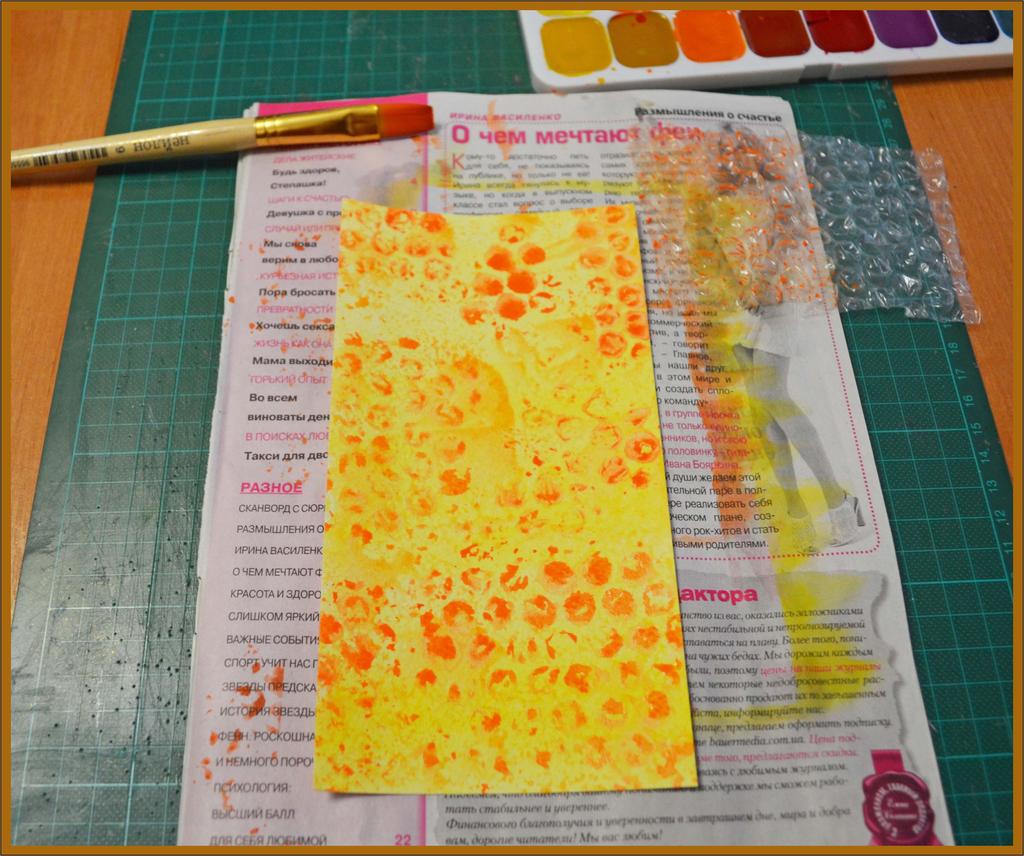
- Next, we print in different places.
- We carry out similar actions with other preparations.
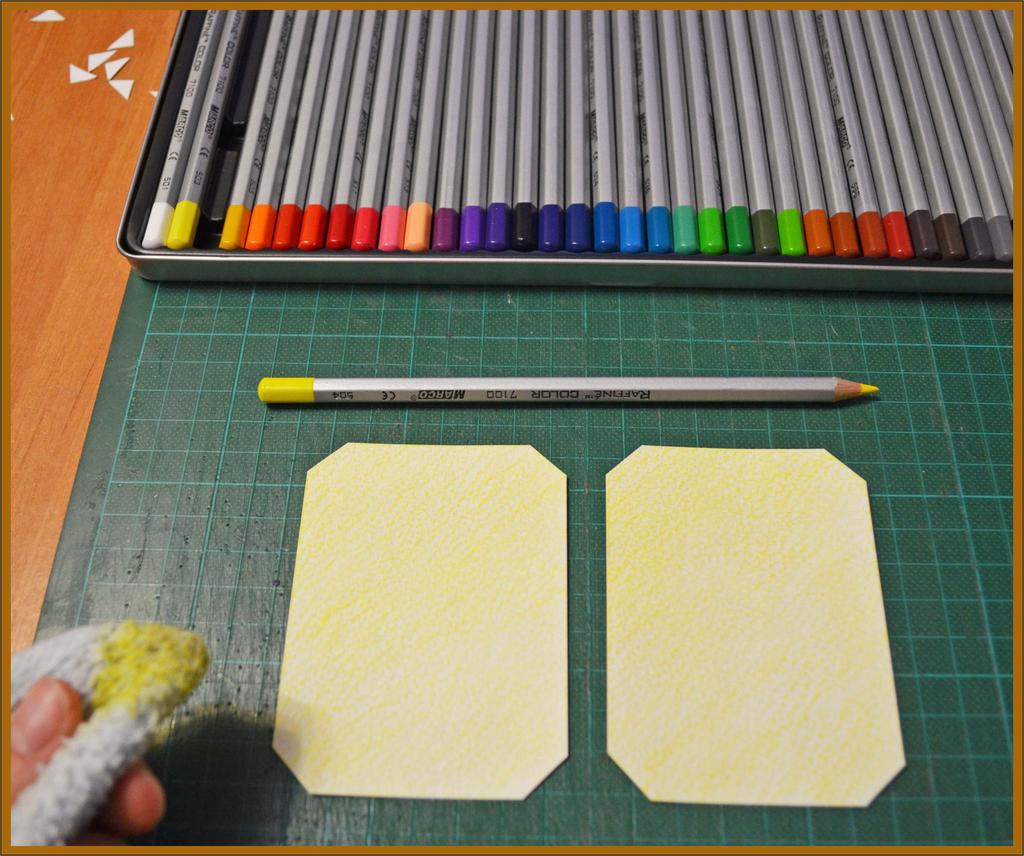
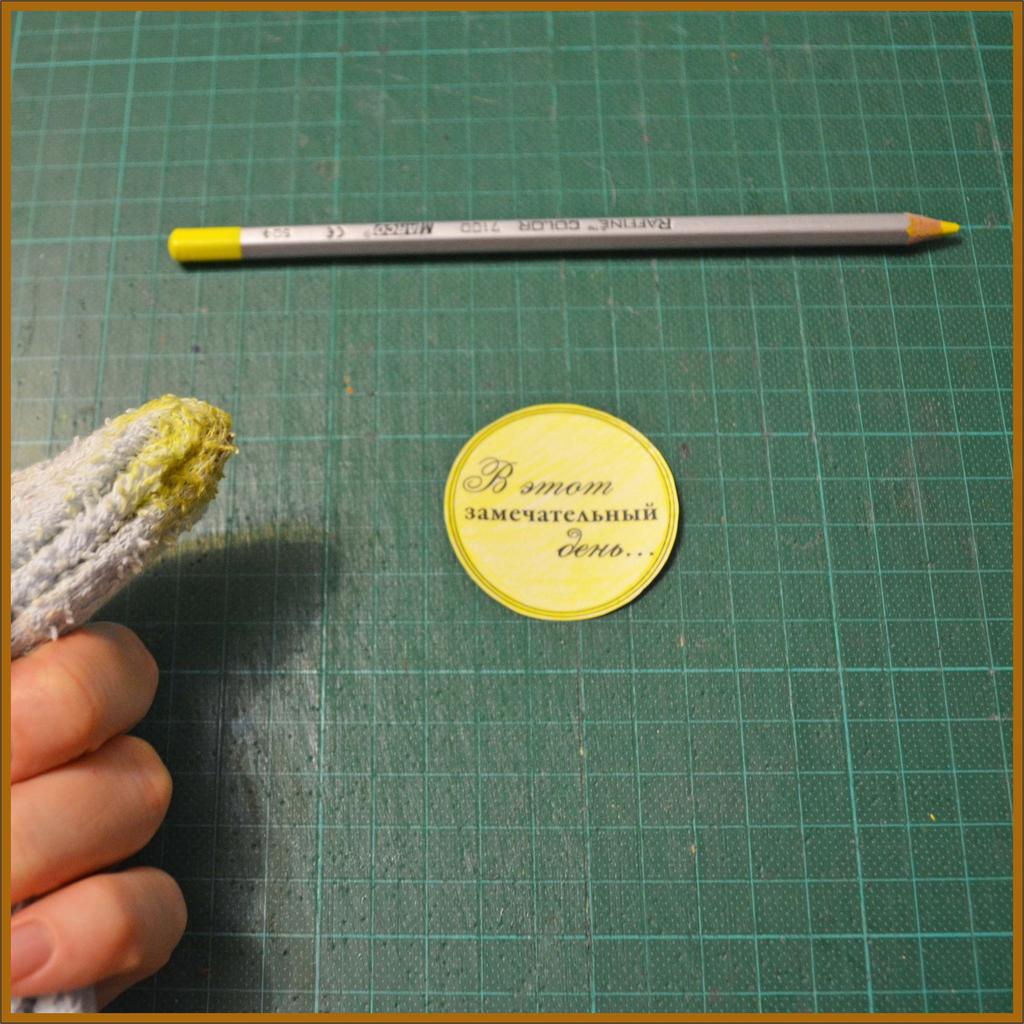
- We will give a shade of inscriptions and blanks for congratulations: holding a pencil at an angle, shading the surface, and then we spread it with a cloth or a piece of paper.
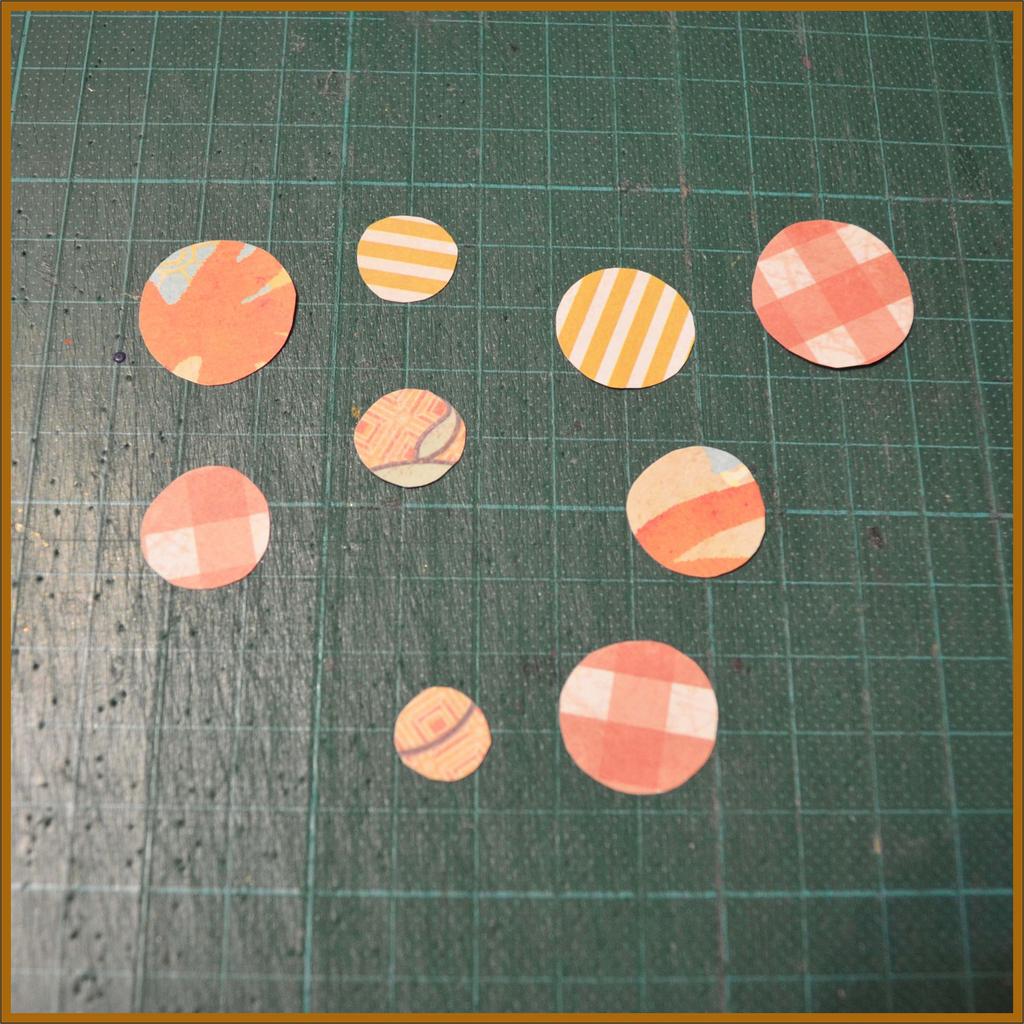
- As decorative elements, I stopped on multi-colored circles of different sizes, so we draw and cut out a sufficient number.
- We paste our parts on the substrate.
- And draw an imitation of a sewing stitch using a pen or pencil.
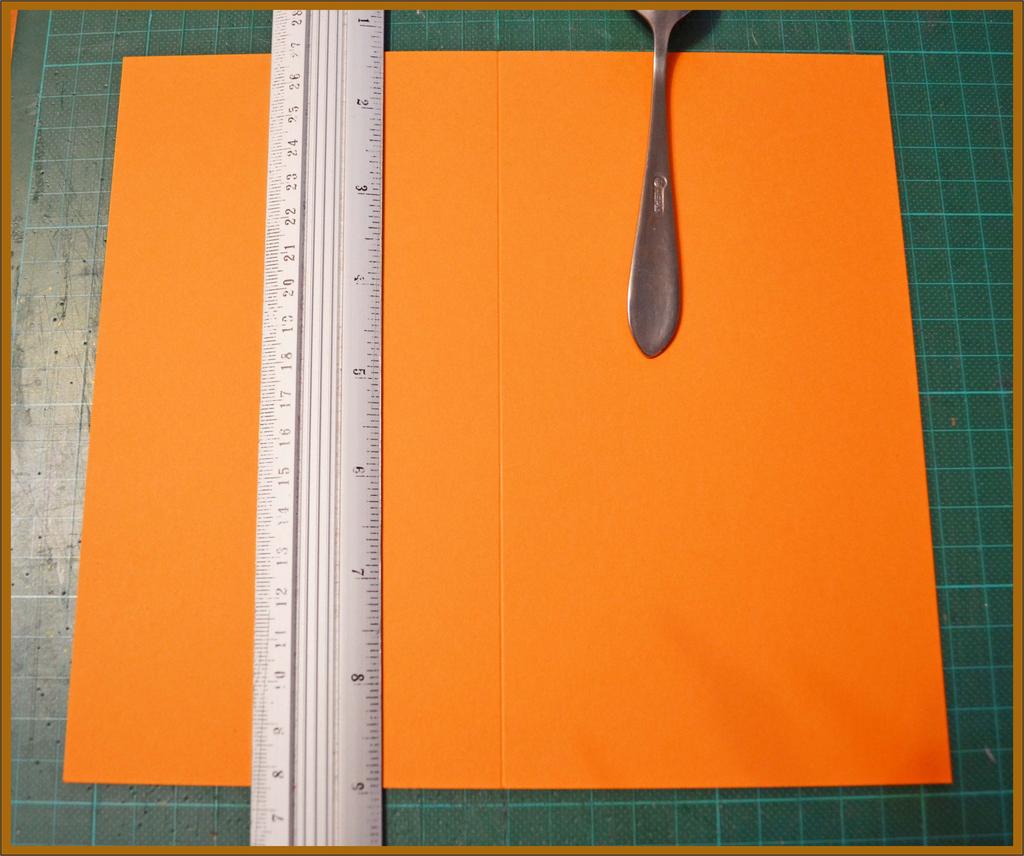
- Next, prepare the basis of our postcard - we'll make a creasing (we will mark the place of the fold), for which I used a ruler and an ordinary teaspoon.
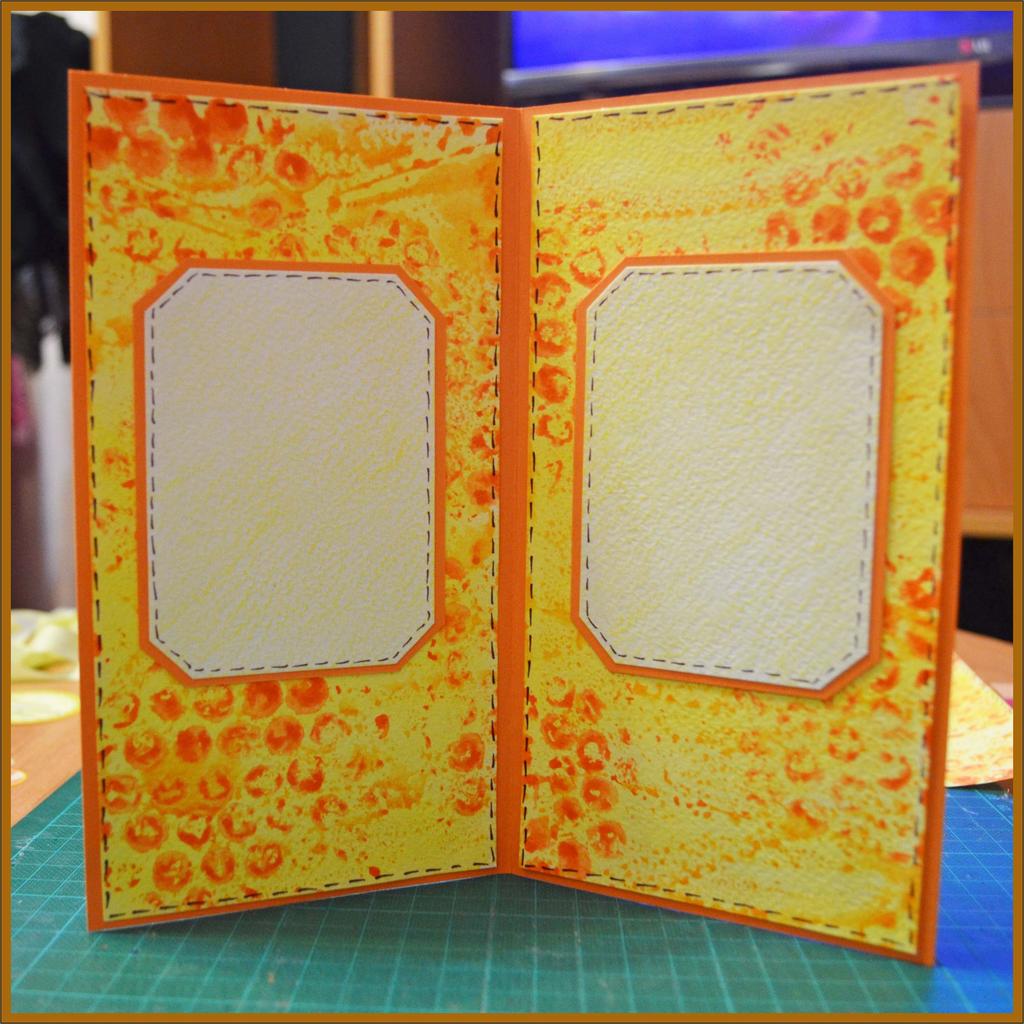
- By this time, our backgrounds are completely ready and you can make the inside of the postcard, gluing together the necessary elements.
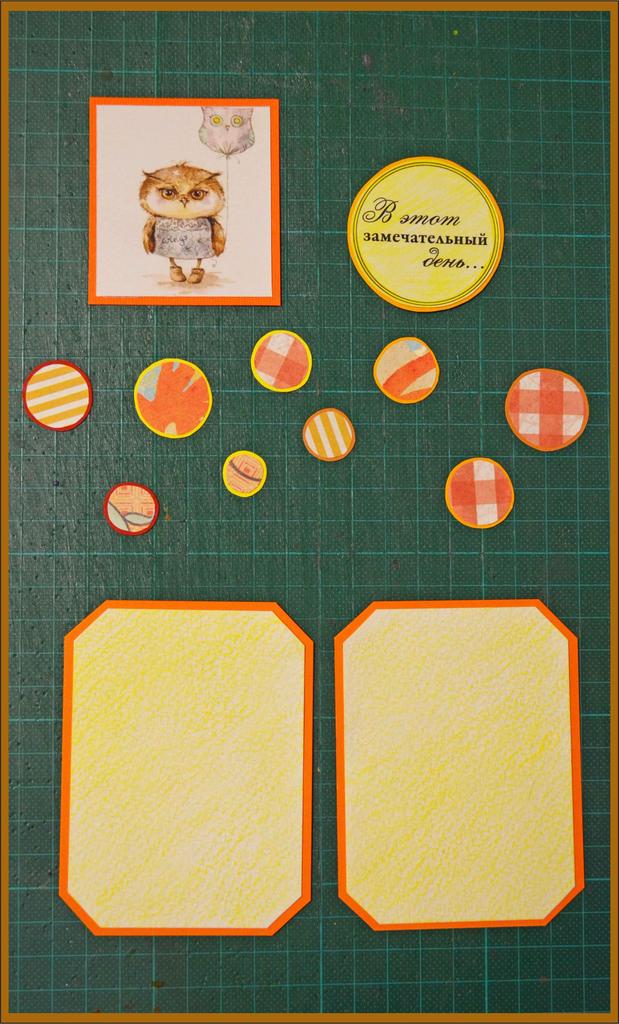
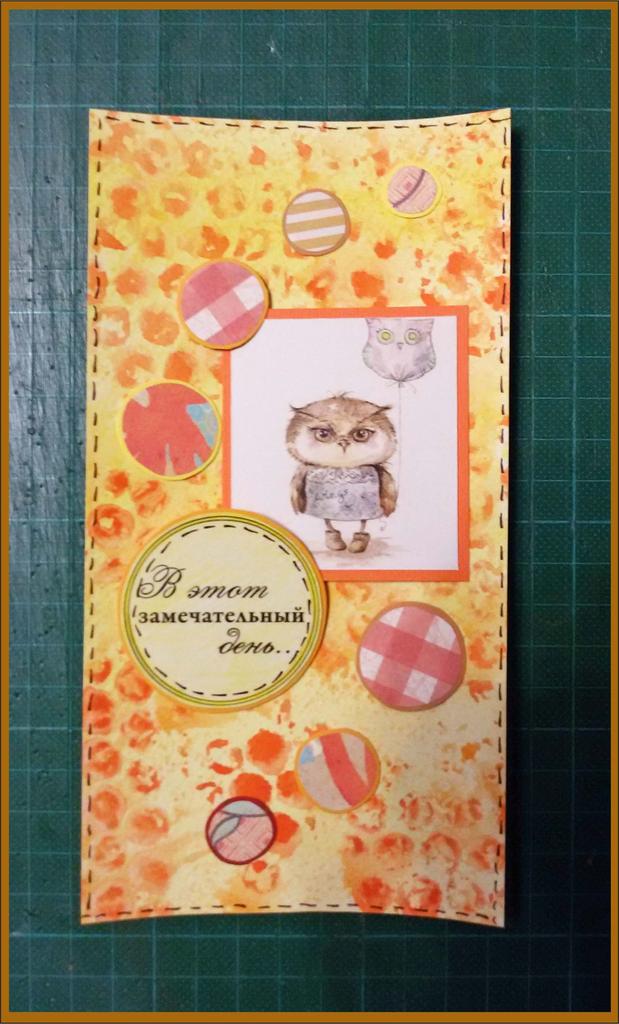
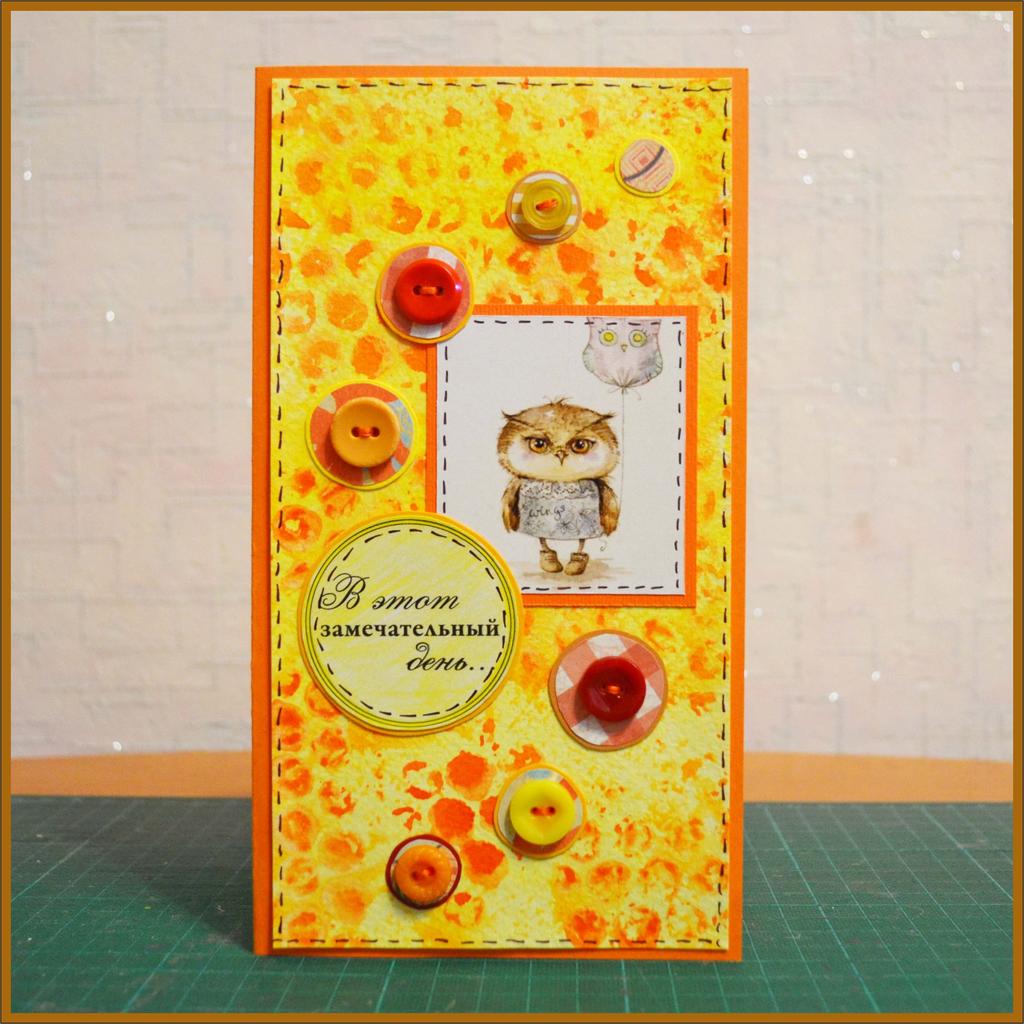
- It remains to arrange our postcard. To do this, we paste the picture, inscription and circles in the order you like.
- And the last step: we sew buttons on circles - they will add volume.
For now, let's postpone our backgrounds until drying and decorate.
| |
| |
Here is an unusual postcard in the technique of scrapbooking for the birthday we got - it will certainly raise the mood and will not go unnoticed.
The author of the work is Maria Nikishova.