A variety of gadgets have long become an integral part of our lives. Mobile phones, laptops, tablets - these small in weight and size devices accompany us and at work, and in transport, and at home. If the laptop can be placed on any flat surface or, in extreme cases, on the knees, and the mobile phone is comfortable to hold in hands, the situation with the tablet is different. If you, for example, decided to watch a movie or cook a dish on a new video reception in the kitchen, then keeping the tablet in hand is inconvenient and impractical. Install it on the table without a special stand will not work. It is worth this accessory is not cheap, but buying it to use from time to time is impractical. But to make a homemade desktop stand for your tablet computer (tablet) is an excellent solution. It will take quite a bit of materials and time for this, and the functions made with their own hands will hold the tablet stand as good as the factory one.
We offer some interesting ideas on how to make a stand for a tablet that can be used to place a gadget on flat surfaces.
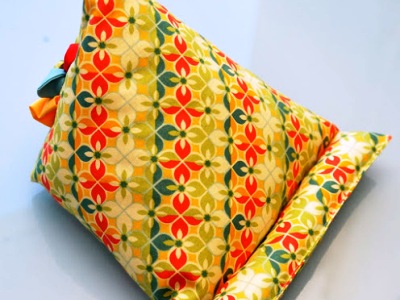
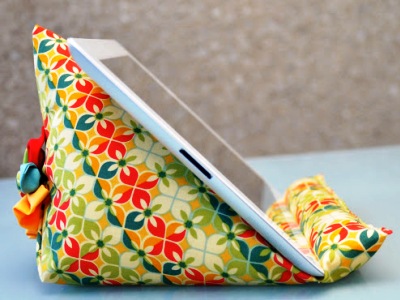
Stand-pouch
This option is suitable for girls who prefer stylish and bright accessories.
We will need:
- the cloth;
- button;
- scissors;
- sintepon;
- template of cardboard;
- needle, thread.
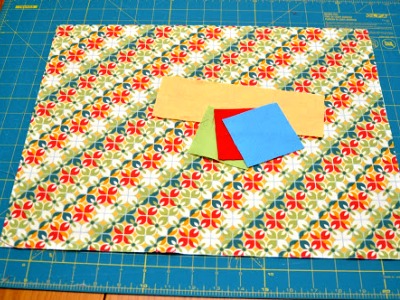
- Cut out a thick cardboard template, the size of which corresponds to the size of your tablet. Then from the fabric, cut out the rectangle. Its height and width should be equal to the height and width of the tablet, multiplied by two. From a fabric of other colors cut out three squares (10х10 centimeters) and one rectangle (30х10 centimeters).
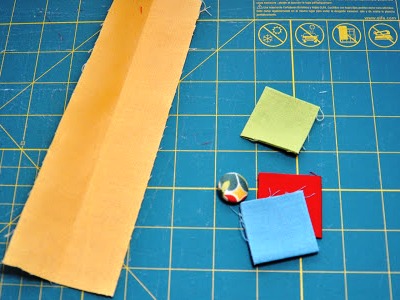
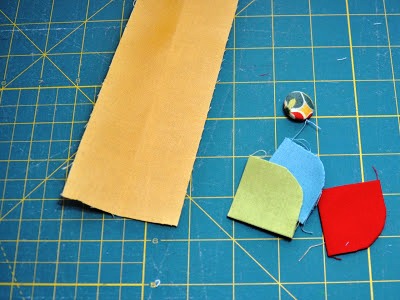
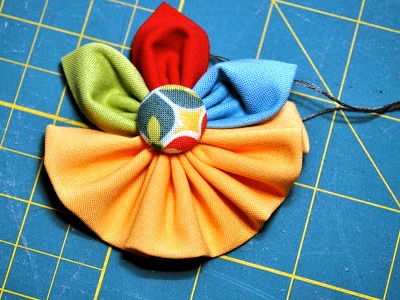
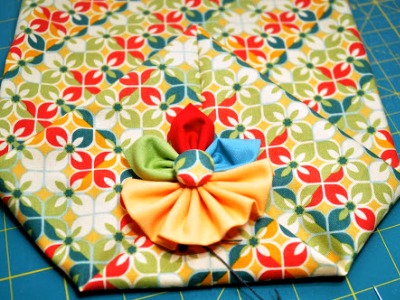
- Tighten the button with a cloth, and bend each square in half, iron it, then bend it again twice and iron it. You will have three squares, each of which consists of four layers. After that carefully round one corner of each square.
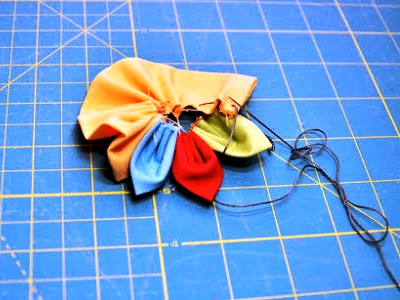
- Gather the parts and alternately sew, leaving the sharp corners free. To the three resulting petals, sew a rectangle. Tighten the thread so that the resulting hole had a slightly smaller diameter than the button (it should enter it, but not fall out).
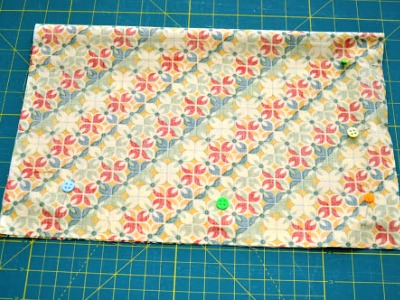
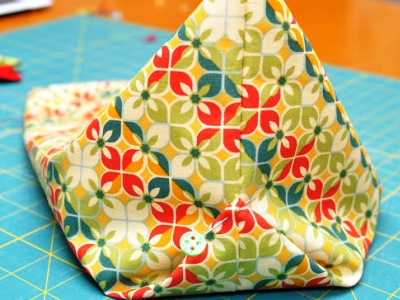
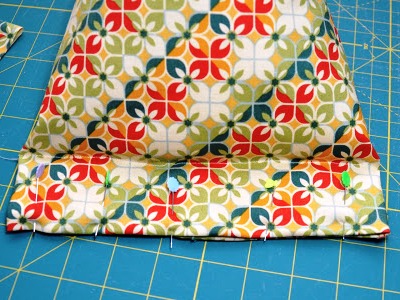
- Fold the fabric-base twice, mark with a pins a fold in 8-10 centimeters from the edge. Sew the resemblance of a bag, leaving one side unmarked. Cut off excess fabric by rounding corners.
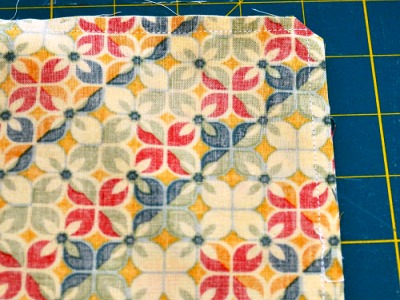
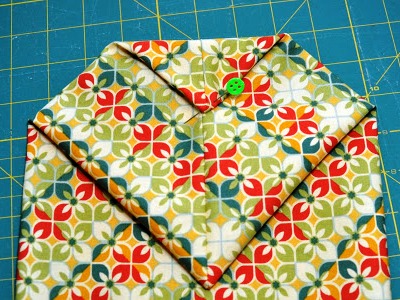
- Unscrew the bag on the front side and lay it so that the side seam passes through the center. At the end of the bag should be a diamond, iron it well.
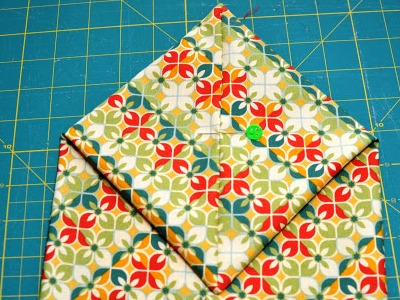
- Mark the point of intersection of the diamond diagonals with a pin, bend the upper corner to this point and fix it with a pin.
- Turn over the sack, sew the flower to the end of the bent corner.
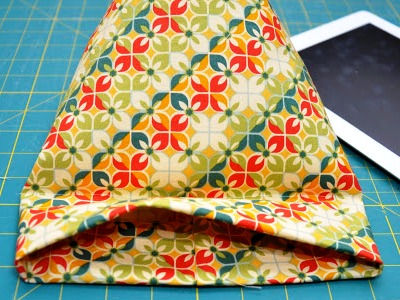
- Insert a cardboard pattern into the bag, lay on top of it with layers of sintepon. Stitch the bag by making a seam under the bottom edge of the template.
- Fold the edges, stitch them, leaving a hole for the filler.
- Fill the resulting roller with a sintepon and sew a hole. Done!
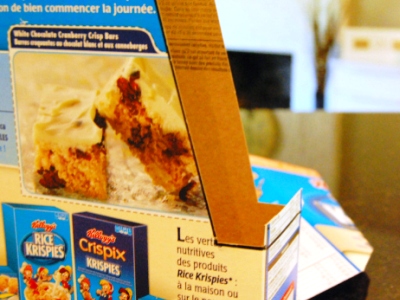
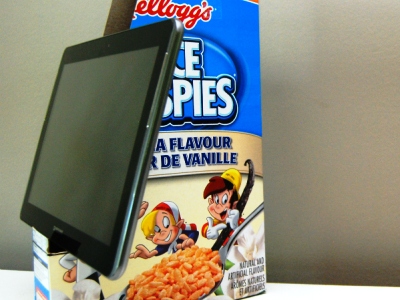
Whistle stand
If you need to use the stand right now, there is nothing easier than to make it from a carton of cereal or corn sticks. Measure on the side panel the desired height, draw a line. Step back from it 3-4 centimeters and draw another line parallel to the first. Draw the lines to the very top on the front and back of the package. Then cut out the resulting part. Express stand ready!
With your hands, you can sew for a tablet and a beautiful case.