If you want to get a really warm thing, knitted with needles, then you should choose a relief pattern. For them, face, purl loops are used, and also the tying of several loops from one with a slope to one side. The most famous of them are: "boucle", "pearl" , "asterisks", "corn", "plait", "lush spikelets".
In this article you will get acquainted with such a pattern for knitting with knitting needles like "asterisks", learn how and according to what scheme to knit, and also where it can be used.
A pattern of sprouts "stars" - a description
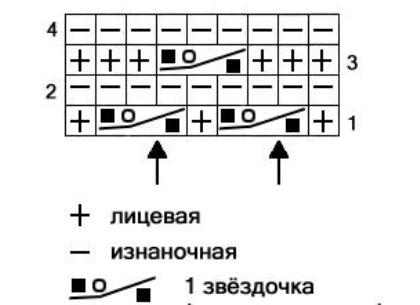
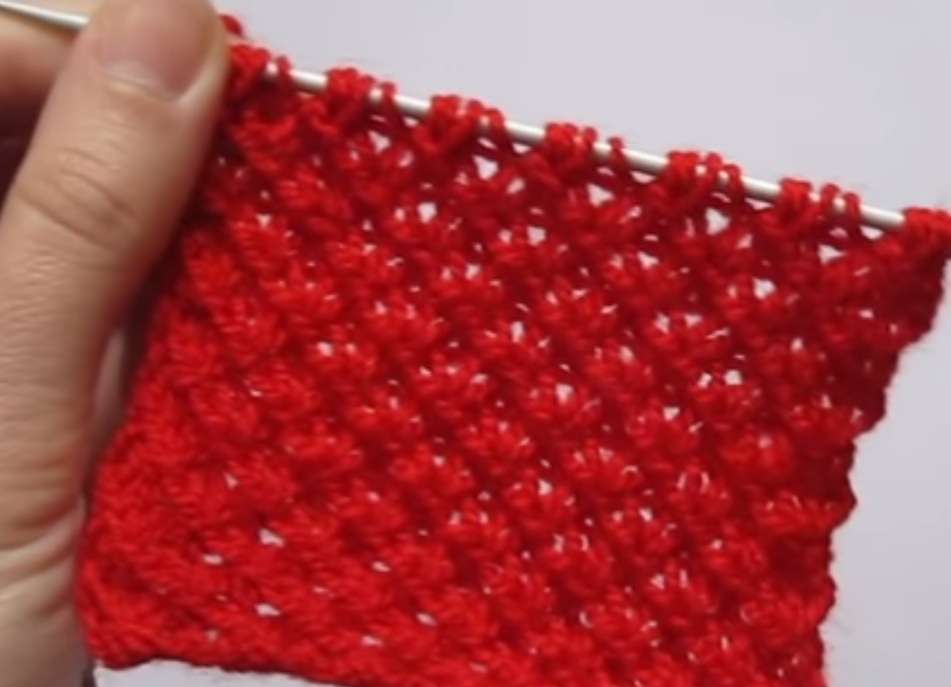
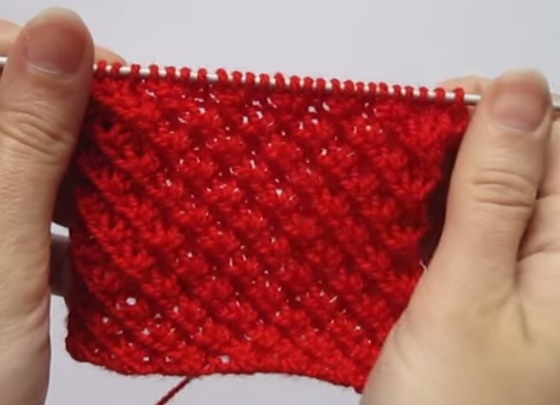
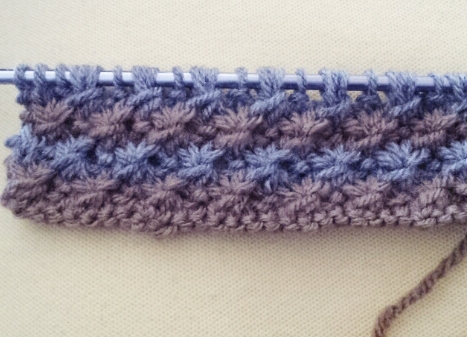
Looks like a "star" as a series of convex small stars or snowflakes on a dense canvas. The mating is soft and loose. This effect is achieved by combining the front and back loops with the loosening of three loops of three. Vertical rapport (repeating element) in it are 4 rows, and horizontal - 4 loops.
To perform the "star" pattern, you can take practical types of threads - from "summer" to "winter", such as mohair or cashmere.
How to tie a star pattern with knitting needles?
This relief pattern is matched according to this pattern:
It is executed so:
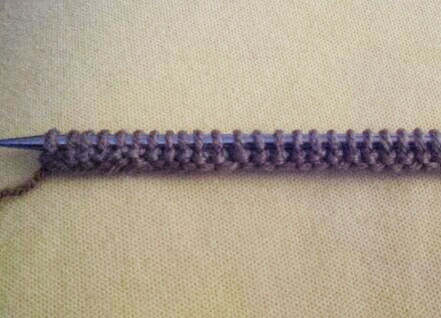
The number of loops to be made is initially counted as follows: a number that is a multiple of 4, + 3 (for symmetry) + edge (2 pcs).
If you start the edge with this pattern, you should first make the series only with the wrong loops. After that, the drawing itself is already forming. If you insert it in the middle, then this binding is not necessary.
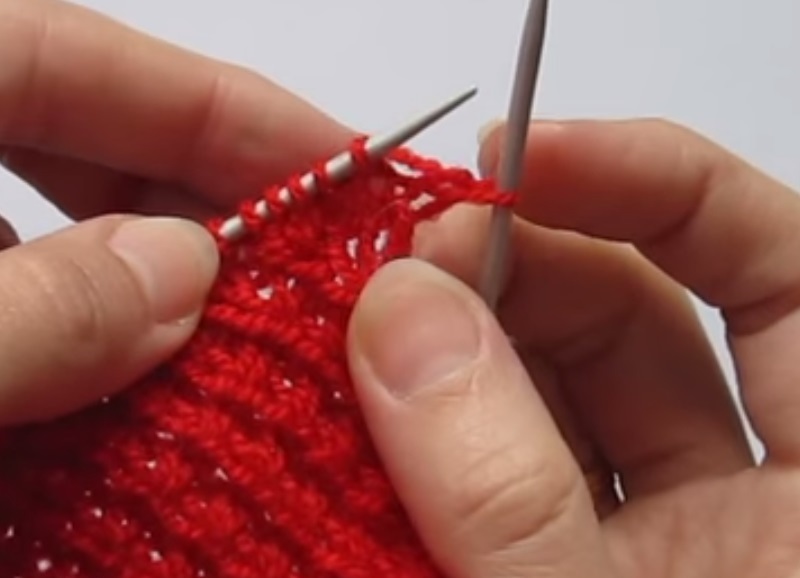
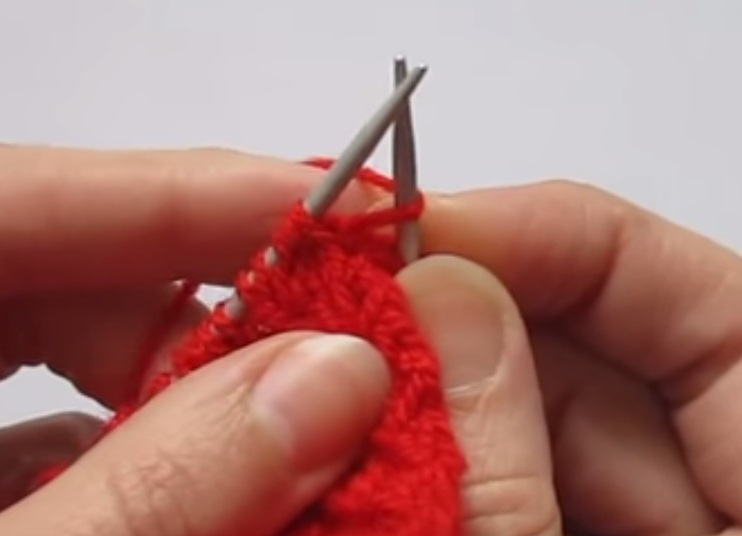
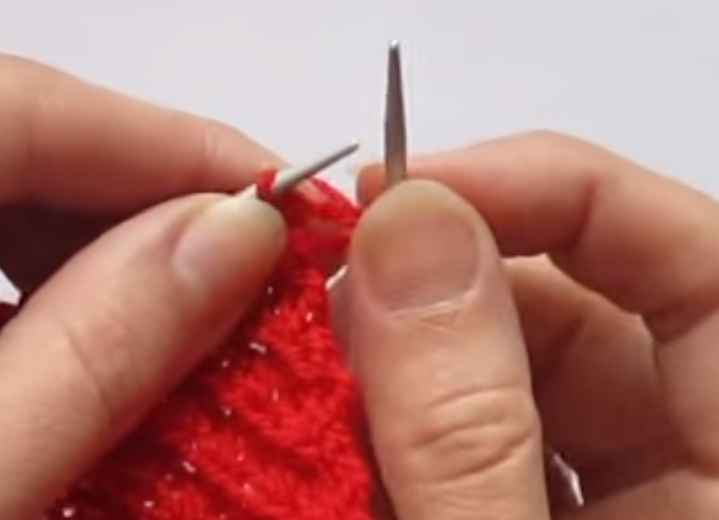
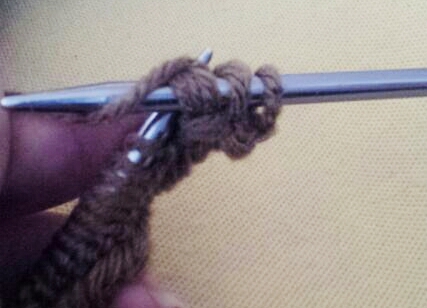
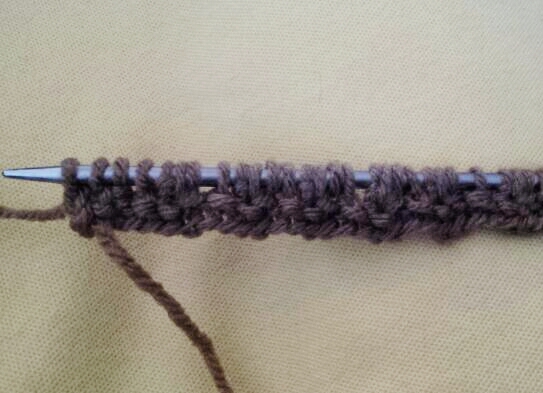
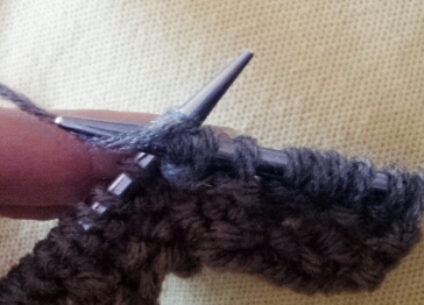
First row. Remove the edge loop and proceed to the execution of the "star" element.
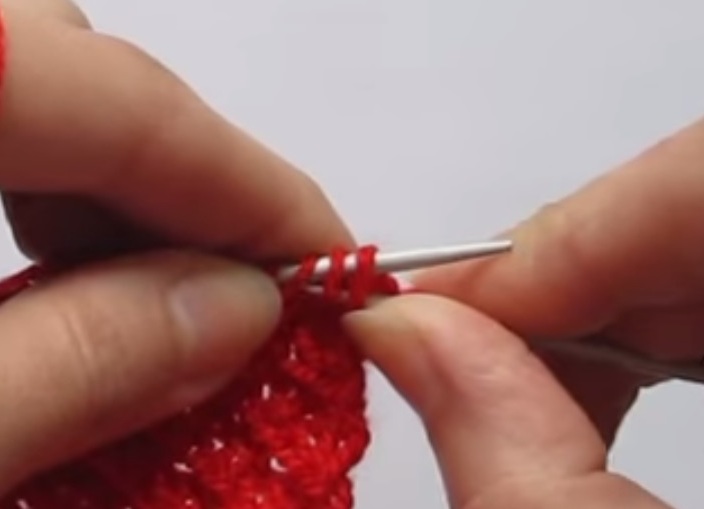
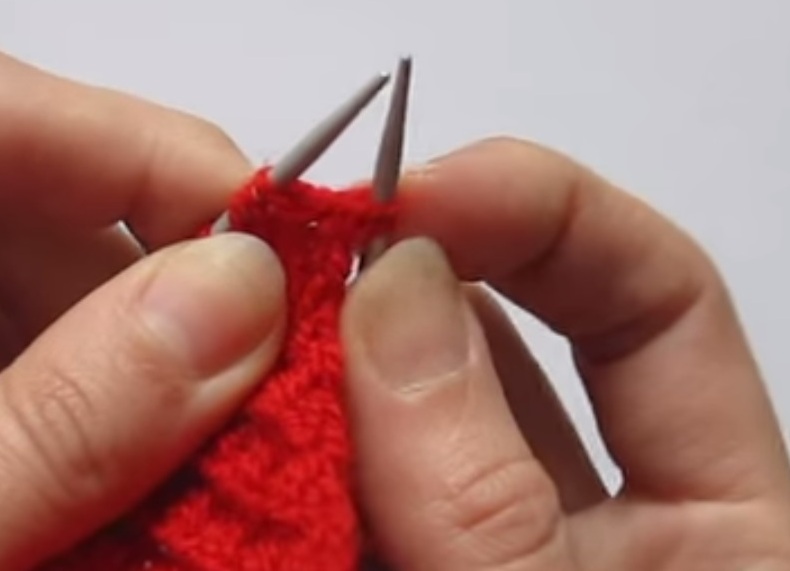
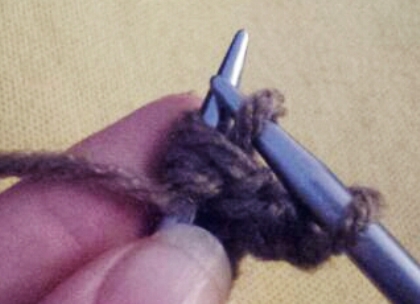
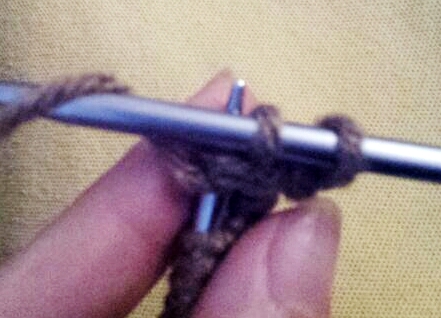
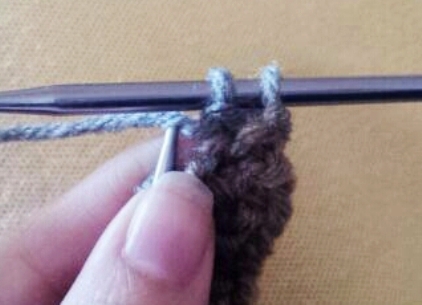
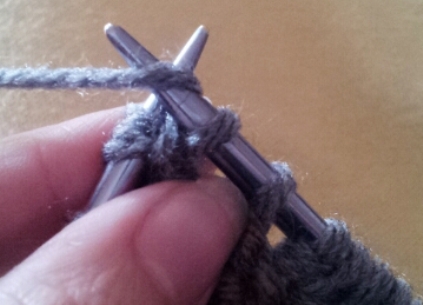
"Star". We impose three front loops through the first one, but leave the loops on the left spoke. Then we make a crochet on the right knitting needle and untie again through 3 loops of the front. After this loop we throw on the right. The item is complete.
| | |
| | |
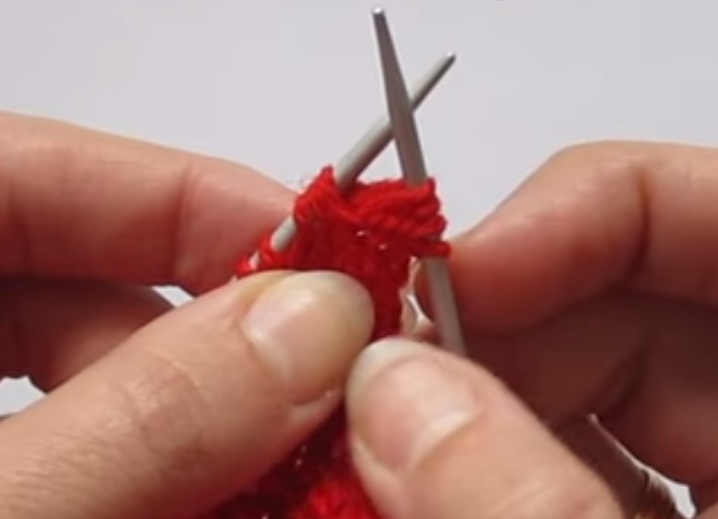
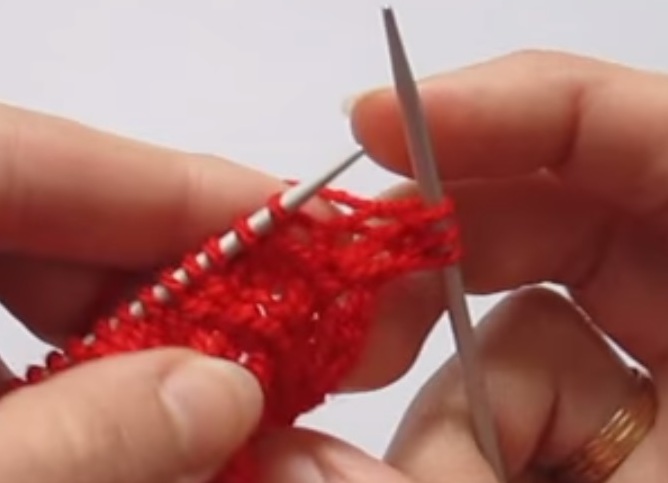
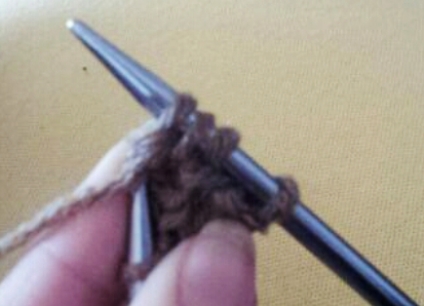
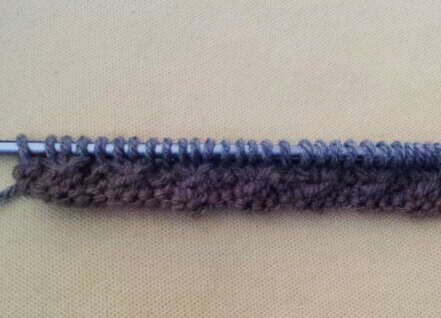
After the "star" we sew one face.
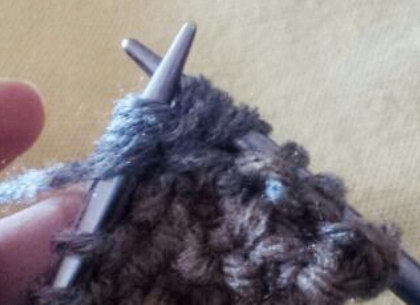
We repeat the execution of the "star" and the front one to the end of the row. We finish the edge (purl).
| | |
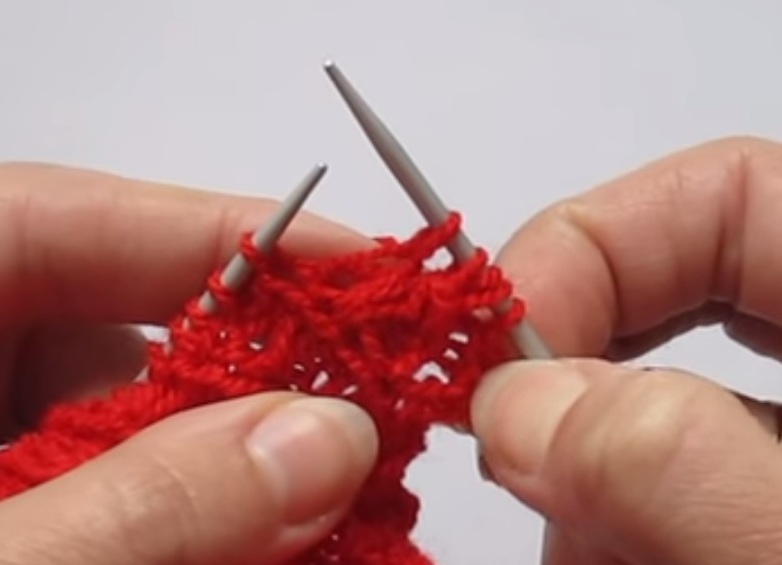
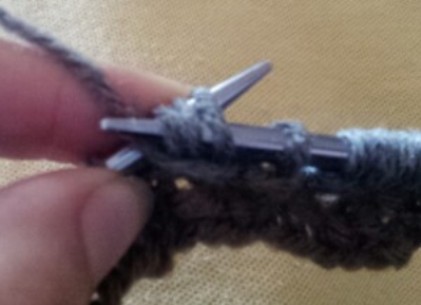
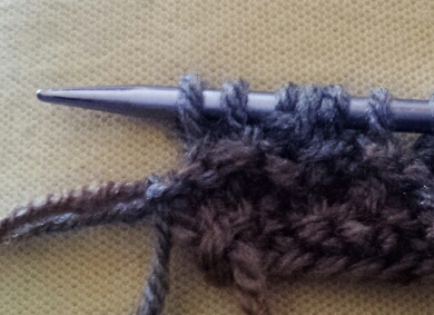
The second row of the pattern is sewed with a back loop.
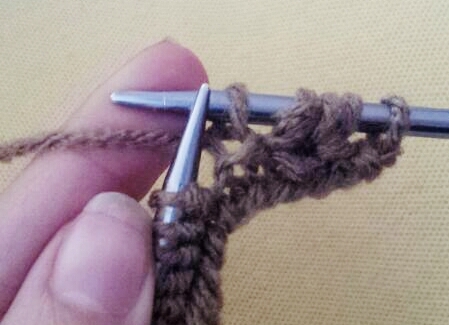
Third row. We make the edge and 2 facial, and then, alternately changing, we knit an asterisk (from 3 loops 3) and 1 facial. When there are three loops to the end, we make 2 facial and edge.
| | | |
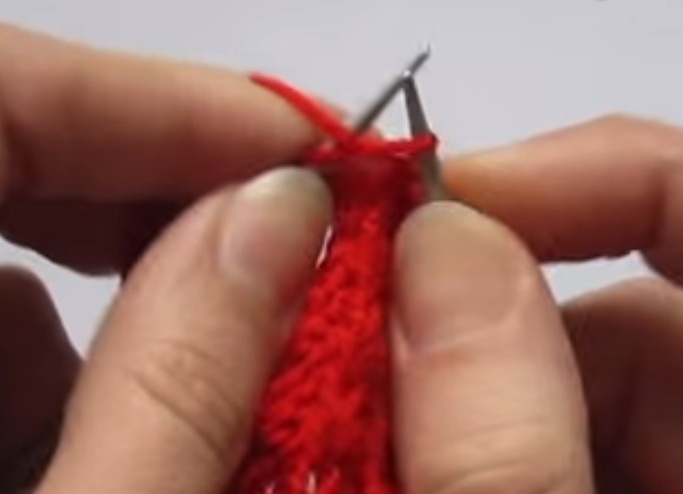
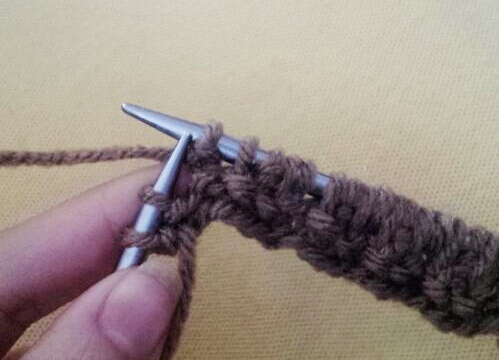
We are tying the fourth row to the wrong side.
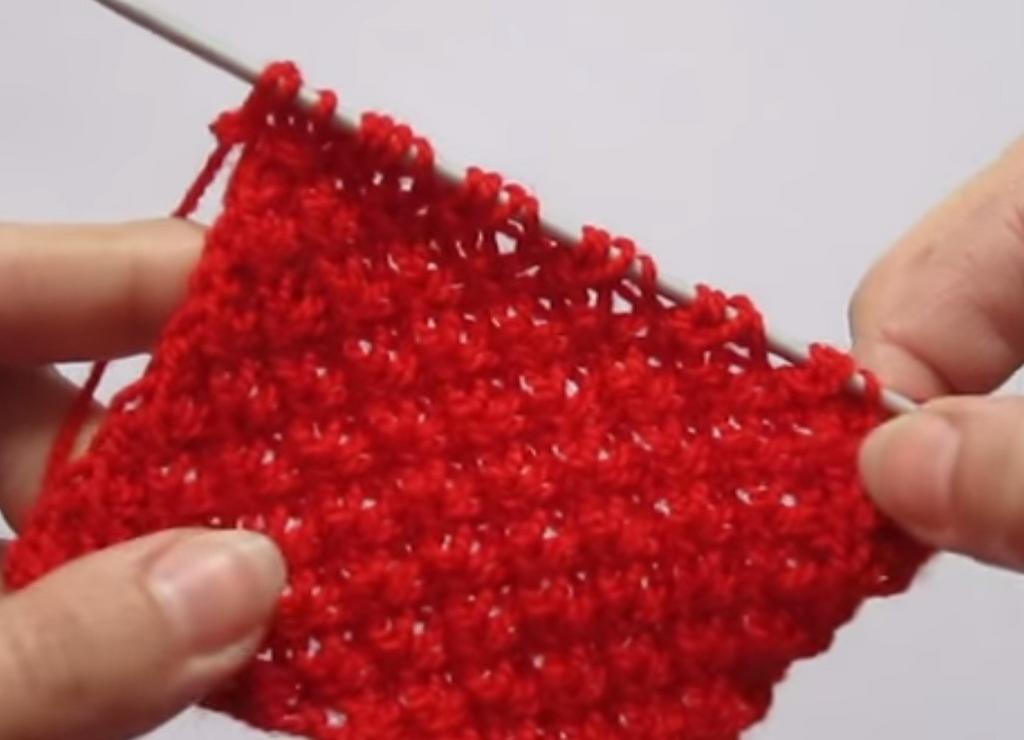
From the next row we begin to knit from the first to the fourth.
Very impressive looks "star" pattern, made in several colors, so let's talk about it separately.
How to tie a two-color "star" pattern with knitting needles?
We proceed as follows:
- We dial the hinges on the spoke and brown it from the beginning to the end with the wrong ones.
- The next row begins with the edge, and then we sew, repeating the element "star" and 1 front.
- We sew the pen loop with the penultimate loop and finish the edge band. After that, the thread should be fixed with a knot.
- We tie a thread of gray color and we sew 1 row with purl.
- Then repeat the sequence of tying the second row with brown threads.
- Continuing so to knit, changing the color of the thread every 2 rows, we get this interesting painting.
| | | |
| | | |
| | | |
| | | |
| | | |
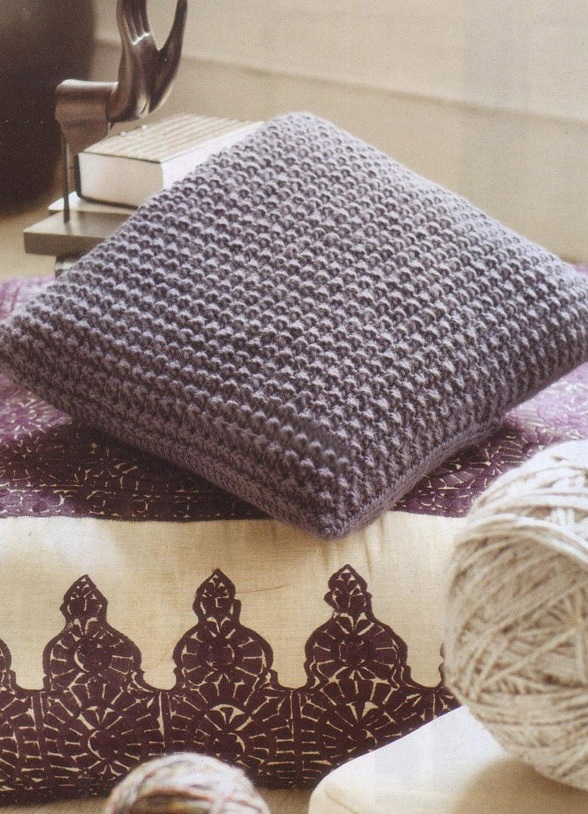
What can you knit using the asterisk pattern?
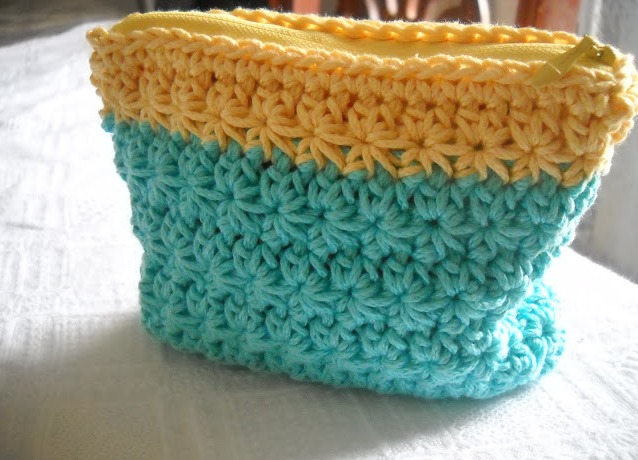
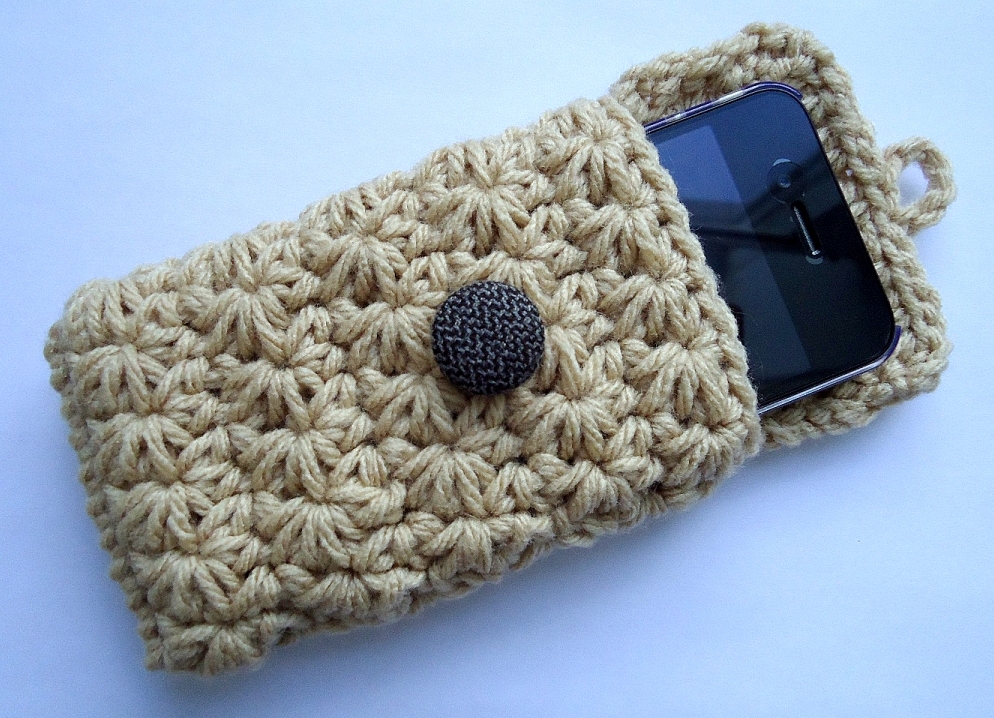
The most popular elements of the wardrobe, which knit with a needle pattern "stars" are hats , bandages and scarves, as well as sweaters and jackets. It is perfect for children's things. In addition, make such ladies' accessories as handbags and pouch. This makes them very stylish.
| | |
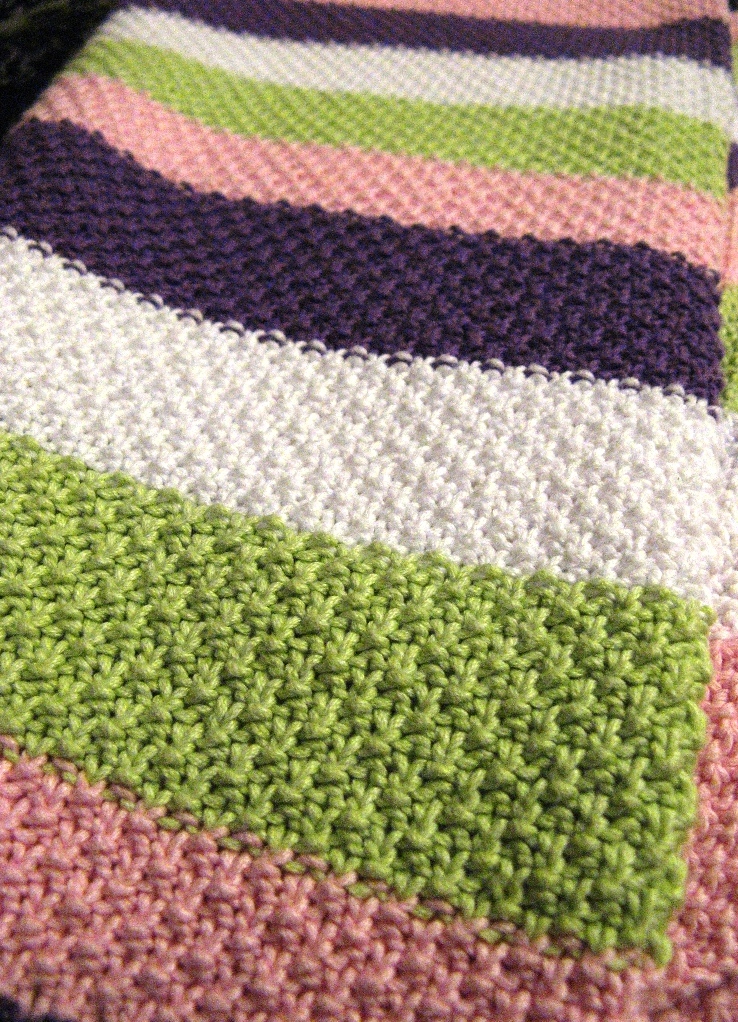
For home comfort with the help of it you can make beautiful bedspreads or decorative pillows.
| | |