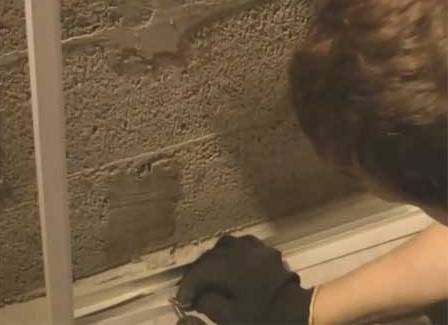
Wall cladding with plastic panels with their own hands can become a budget and fast way, which will refresh the appearance of the room. Such a transformation of the room can be done in just one day of work, and PVC panels can serve for many years, preserving their beautiful appearance.
Preparatory work
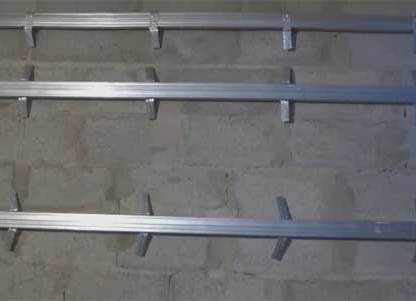
In order to wall the walls with plastic panels with your own hands, you must first install a crate, which then will be secured with PVC strips. The cladding can be made of wooden bars, but it is better to build it from metal profiles, which will not subsequently rust from the effects of water or steam. This is especially true if you decide to refresh the look of your bathroom. So, to build a crate you need:
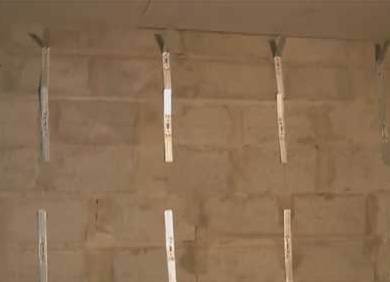
- Mark with the help of the level on the wall of the place where the frame for the panels will be located.
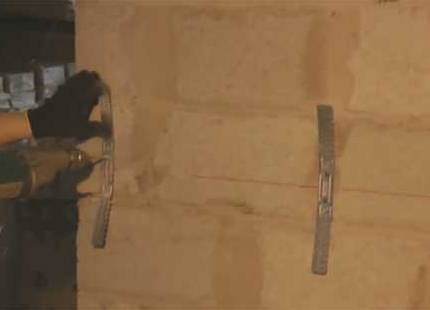
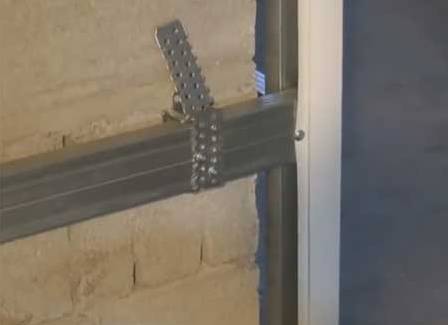
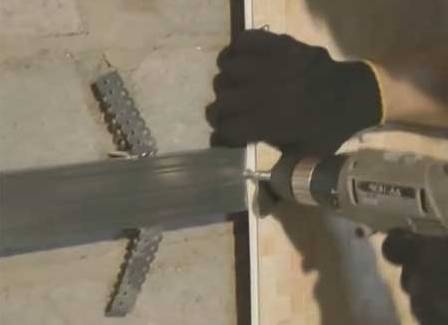
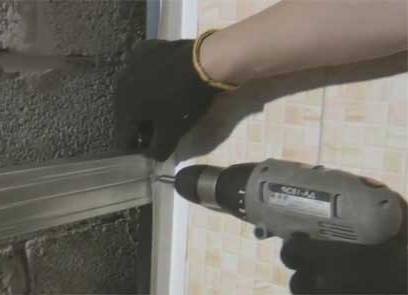
- Since the walls in the room often have unevenness, we will fasten the metal profile to special suspenders, which must be screwed around the perimeter of the wall at a distance of approximately 60 cm from each other. When working with suspensions, you should always check with the level reading.
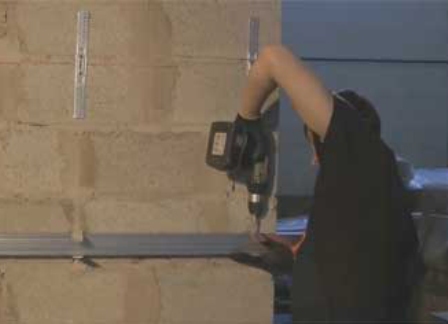
- We fix metal profiles horizontally to the floor and perpendicular to the future panels. We fasten them to the suspensions with self-tapping screws.
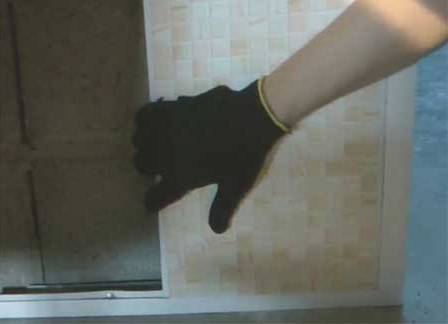
- We establish starting elements: starting molding and external angular molding. It is from them that the collection of our panels will begin. The starting molding is fixed parallel to the floor, pressing it firmly against the surface of the floor, along the entire length of the wall. The outer corner molding is fixed in one of the corners of the room.
Installation of plastic panels
After carrying out the preparatory work, you can start decorating the walls with plastic panels with your own hands. This work consists of the following stages:
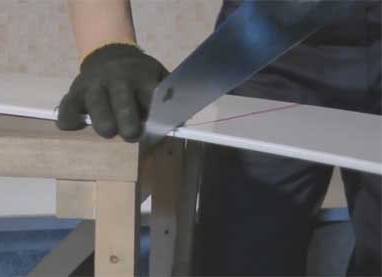
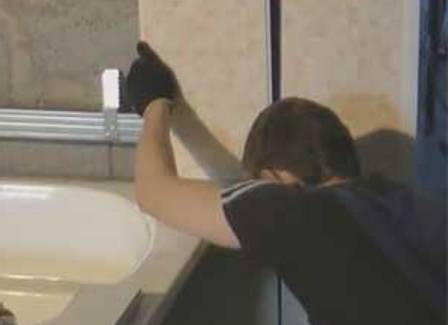
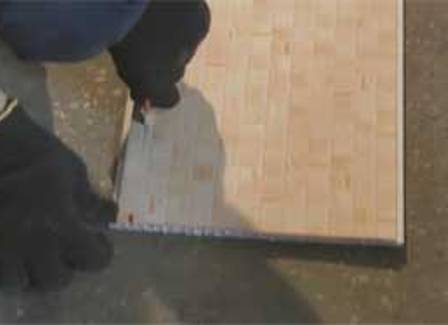
- We measure the required length of the plastic panel with a knife. It equals the height of the wall.
- Cut the panel with the bottom end we put in the starting molding, and lateral edge - in angular molding.
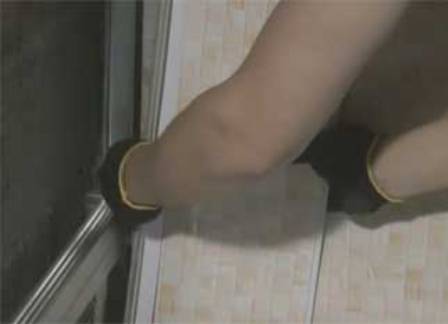
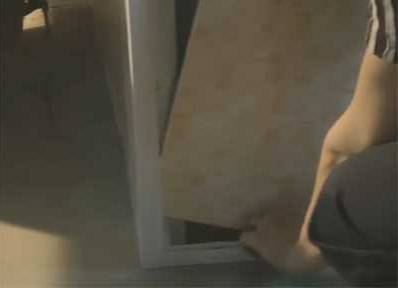
- All other panels are installed according to the above scheme, the only difference is that the side part will not enter the groove of the molding, but into the free edge of the previous panel. So the whole wall is going to. The free edges of the panels are fixed to the metal profiles using self-tapping screws. This method of installation is very convenient, they can even hold the exterior walls with plastic panels with their own hands.
- The last panel on the wall, if it does not fit completely, needs to be cut to the desired width, then put on it the inner corner molding and fix them together in the starting molding.
- Self-cut reinforcing corner molding to the frame.
- By the same algorithm, we collect the panel covering of other walls. The finishing panel is cut by 6 mm more than necessary. This will allow you to easily insert it into the corner molding already fixed on the wall.
- On this, the walls are finished.