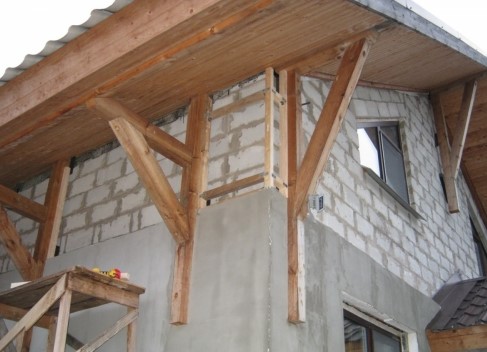
Warming of a private house is an important stage of construction, since the upholstery of the house with thermal insulation materials helps to significantly reduce heat loss during the cold season. The layer of insulation also serves as an additional leveling factor for the walls, which prepares them for finishing.
Warming of a private house outside
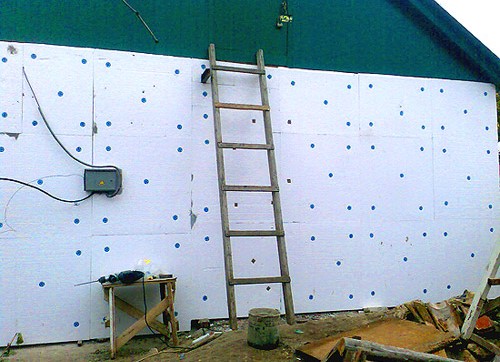
Most experts suggest using exterior insulation of the walls of the house, as this preserves the internal dimensions of the room, and also allows to insulate those places that can not be got from the inside of the house. Also, builders are advised to use material of different thickness for different parts of the house in order to create more reliable protection from external factors of influence. For example, warming the socle of private houses is advisable to conduct thicker materials than the main walls. Most often, two types of materials are used to insulate a private house: mineral wool and polystyrene. Consider how to insulate the walls with foam plastic .
Warming of the facade of a private house with polystyrene foam
- Before you begin to warm the walls in a private house, you should prepare the surface. For this purpose, old decorations, protruding elements (storm troughs, lanterns , carved structures) are removed from the walls. The level checks all the planes of the walls. Large cracks are wiped with putty. Then the walls are primed.
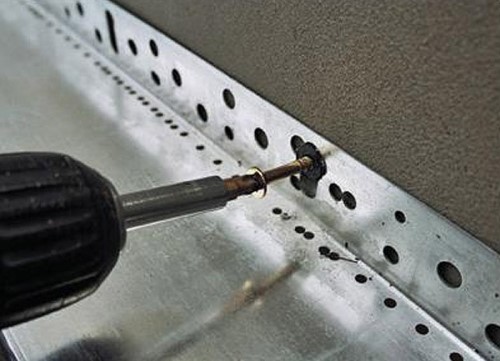
- Using the level, it is necessary to note the lowest point of the wall, from which the installation of the insulation will begin. This mark is transferred to all walls of the house. Then, along this line, a starting strip of metal profile is installed, which will support the lower sheets of insulation. It is fixed to the metal dowels.
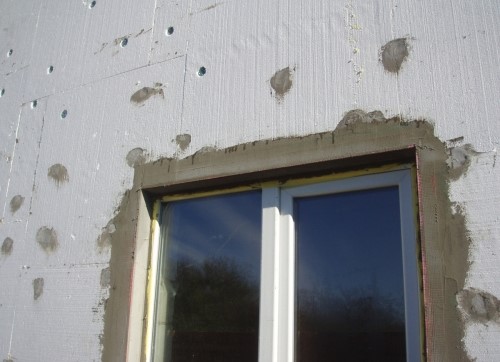
- Next, you need to install external sills. Their width is calculated taking into account the thickness of the insulation + 1 cm. Also at this stage it is necessary to punch all the holes between the double-glazed window and the wall with pieces of insulation.
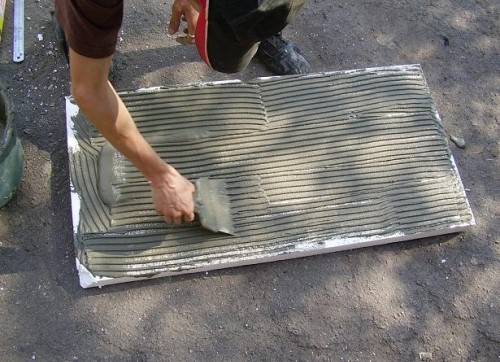
- Next, you should prepare a special glue for outdoor work. It is applied evenly on the wall, or on a sheet of foam (some masters recommend applying glue on both surfaces). The plate is firmly pressed against the wall and held for some time until it adheres.
- Close to the first plate is glued the second, then all the walls are insulated with foam plates. Plates are glued as closely as possible to each other. Gaps can later be blown with polyurethane foam.
- After the adhesive has dried completely, the walls are pierced using plastic dowels with a wide bonnet. Usually each plate requires 5 pieces: 4 in the corners and 1 in the center.
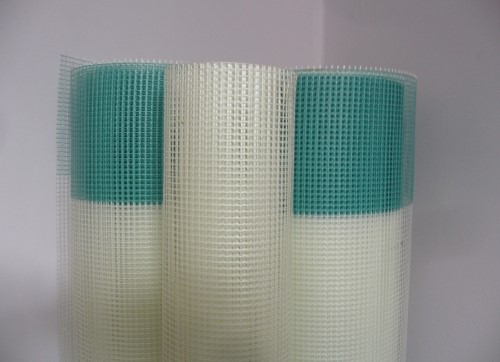
- The last stage is the installation of a reinforced layer that protects the foam from shedding. The grid is glued to all surfaces of walls with special glue.