A stove in a country house can very well become the main source of heat and a place for cooking. It will be quite difficult to build such a kiln with your own hands, but subject to all the rules and the ability to handle building materials, everything will turn out.
Brick oven with own hands
As a rule, to build a wood-burning brick oven with their own hands use red building bricks. It has high heat transfer rates, it quickly heats up and retains heat for a fairly long time. In addition, this shade fits perfectly into any interior of a country house .
- This relatively simple brick oven, which we will build with our own hands, starts with choosing a location. On the first photo you can see the air supply channels from the ash pan.
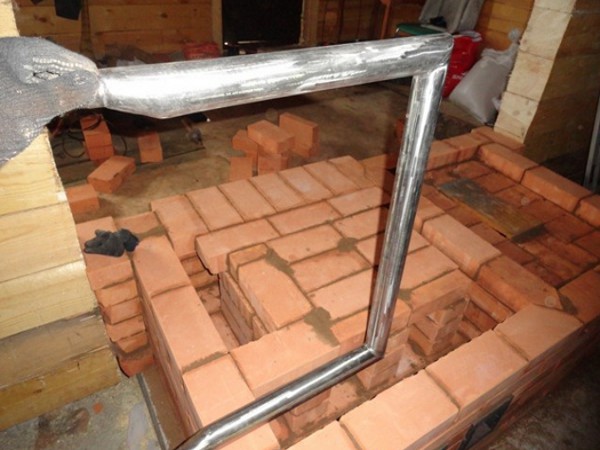
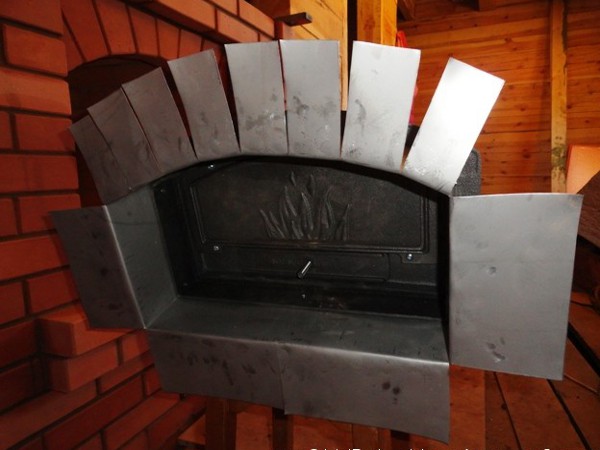
- It is also necessary to install a register for heating the water in its place. This part for durability should be made of stainless steel.
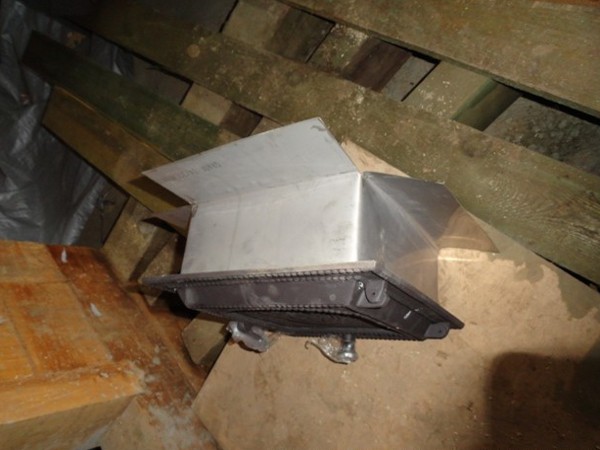
- Separately today it is possible to get not only built-in cases for fireplaces, but also such fastenings in the form of a frame for a fire door.
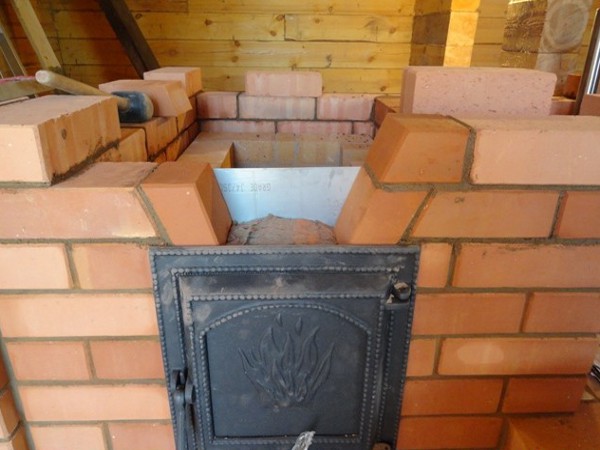
- We install the door in its place together with the stainless steel casing. At this stage, it is also necessary to completely secure the bottom of the water heating register (shown in the photo to the right). The so-called basalt cardboard should also be installed around the door along the perimeter. The floor of the fireplace is laid out of refractory bricks.
- At this stage of the work on the brickwork of the furnaces, the inner part is visible with their own hands, namely the bevels under the coal. A special tilt slope allows the coal to roll directly onto the grate.
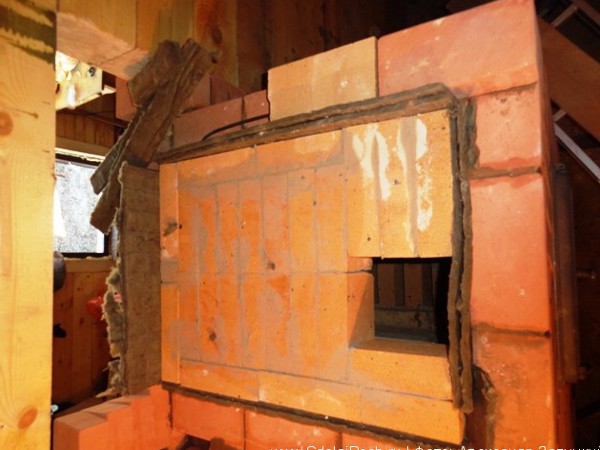
- And this is how the beginning of laying the wedge over the furnace door looks like.
- Wedge jumper is completely ready.
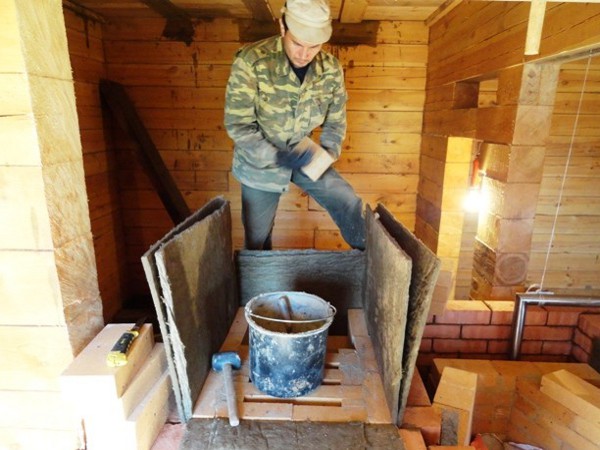
- Next, you need to make your own for the brick kiln insulation of a red stone from a red brick. To do this, you can also use the basalt cardboard we already know. It is desirable to use just two layers of cardboard for better insulation.
- That's what the catalyst looks like when it's ready.
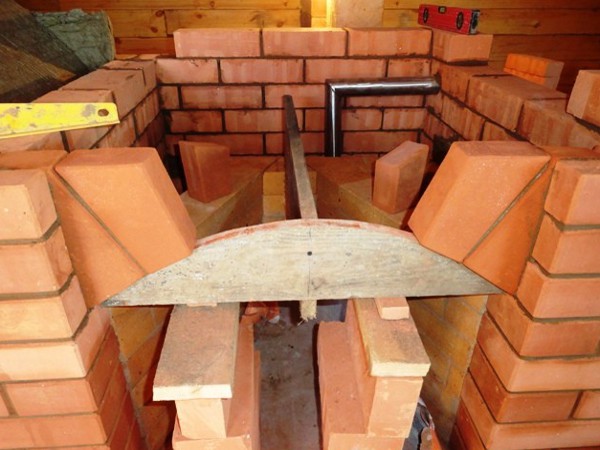
- The next stage of construction of a brick kiln with your own hands is the work on the fireplace arch.
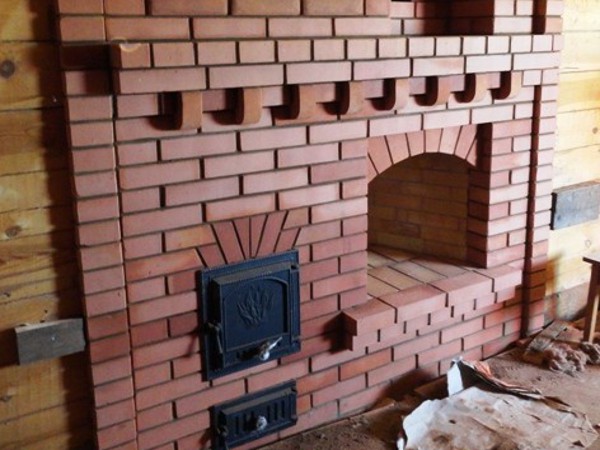
- The photo below shows how the arch looks in its finished form. They put a decorative shelf on top of everything.
- And this is how the beginning of the laying of the kamyanka looks like, which is usually used for the construction of brick kilns, made by own hands.
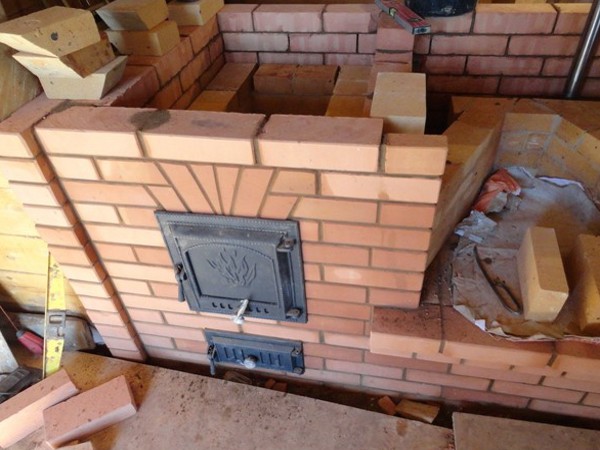
- The door under this ledge should be similarly wrapped with a stainless steel box.
- This photo shows the register for water, or rather its protruding parts. One of them will be used under the sink.
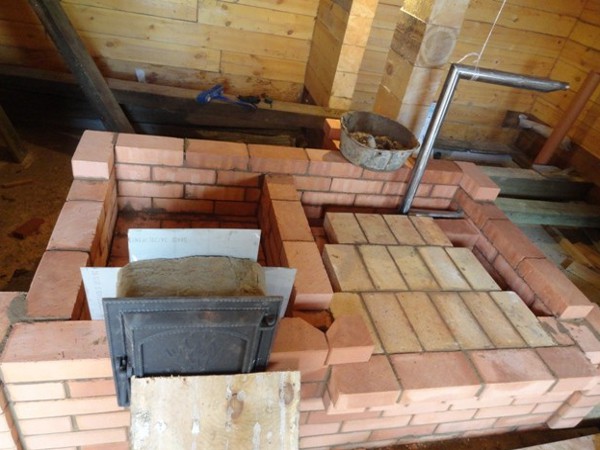
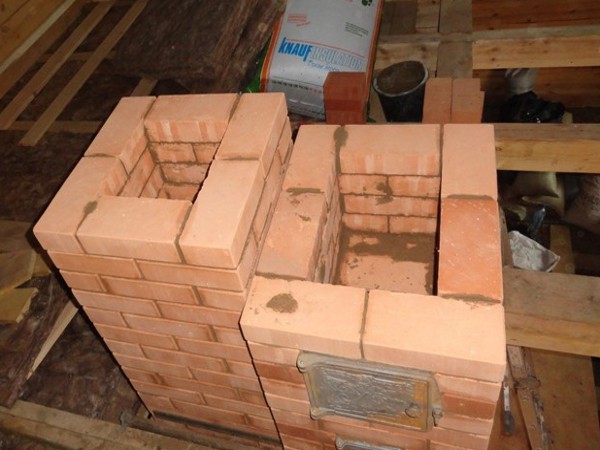
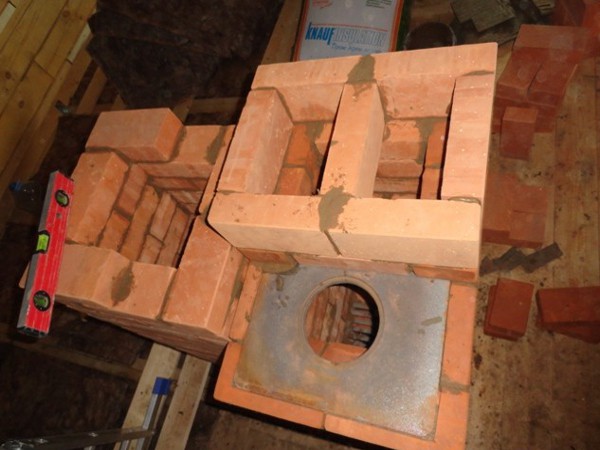
- Then lay out another row of brickwork, which will block the heater.
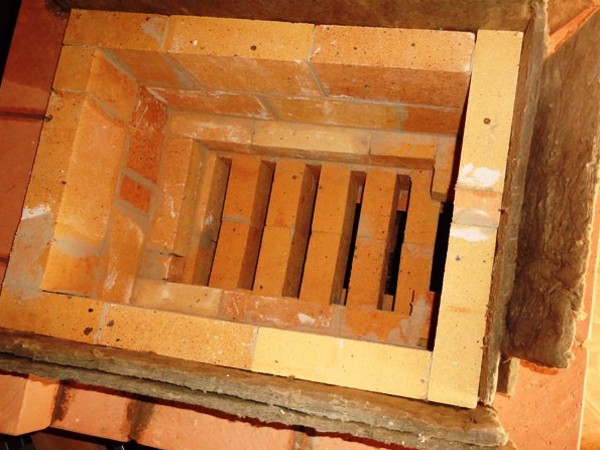
- This is a special hole for the exit of smoke.
- After the skeleton under the stove is completely completed, it is necessary to refine the appearance. To do this, do so-called seaming joints. This process involves the completion of work on the seams and giving them a decorative look.
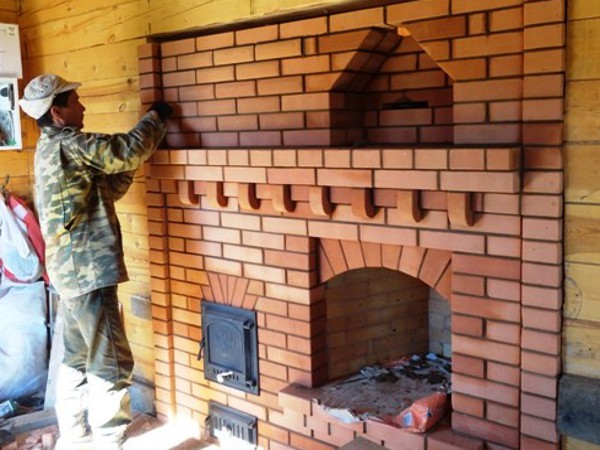
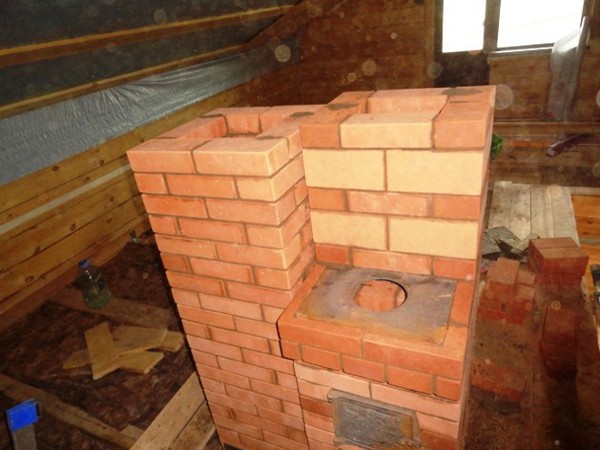
- In our version of the brick kiln construction, the construction will go to the second floor. On the second floor there will be a heating and cooking stove. The system of such a design is straightforward. This technology is considered relatively new.
- Directly next to the stove is a pipe that opens from the first floor.
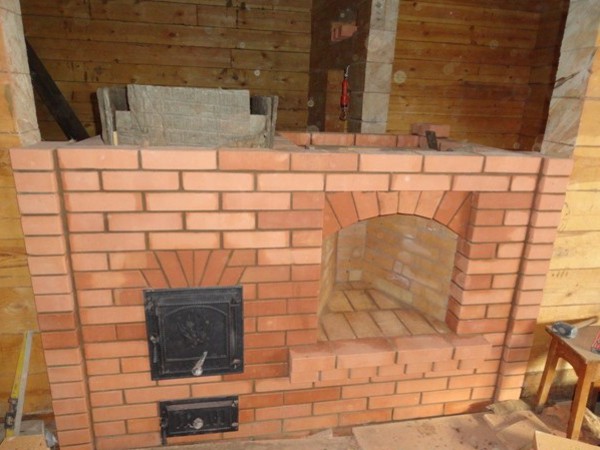
- This is how our relatively simple brick oven, built by our own hands, looks like. As a result, we get a fully warm house and another place for cooking.
If possible, it is better to involve in the process a person who knows how to work in stoves. Lay out a brick or buy ready-made cast iron and metal parts is not a problem, but competently lay out row after row a whole science, because the smoke must go out and the heat retained under a certain design. It is also worth looking for ready-made prototypes of kilns with orders.