This technique involves the use of glue and corrugated paper. The process is very interesting and uncomplicated, but the result looks impressive. With the help of corrugated paper making, whole pictures and sculptures are made.
Application of corrugated paper in the technique of facing
First, let's look at a couple of lessons that are meant for beginners. You can perform the technique of corrugated paper cutting on the plane with a child of the Garden Age.
Duckling in the technique of corrugated paper facing
For work it is necessary to prepare corrugated paper of yellow color, glue PVA, cardboard and colored paper, plasticine and wooden skewer.
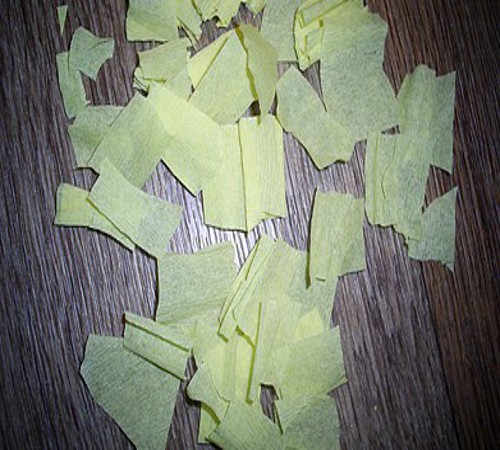
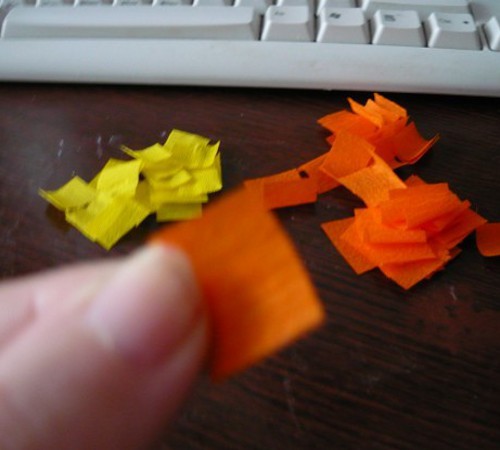
- From corrugated paper, we cut the workpieces in the form of squares of 2x2cm.
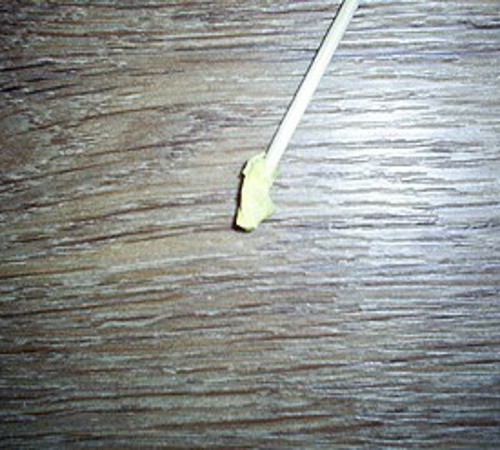
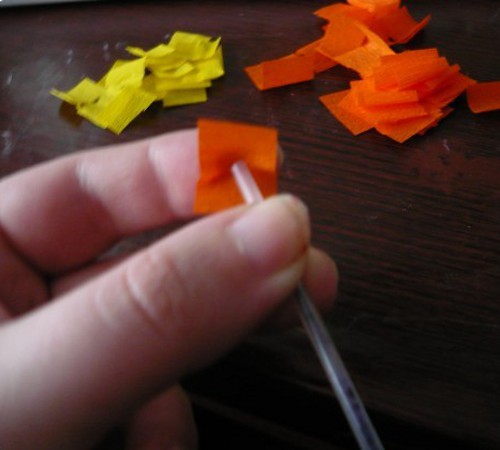
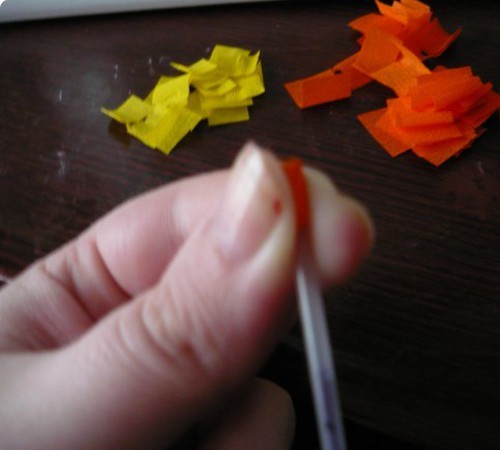
- To make the face, screw the paper from the tip of the skewer.
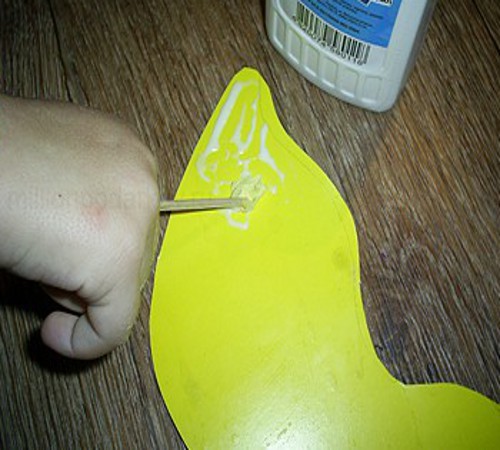
- From the colored cardboard we cut out the workpiece in the form of a duck. We apply glue to the surface of cardboard. Press the workpiece from the surface and remove the skewer.
- Thus, we work through the entire surface.
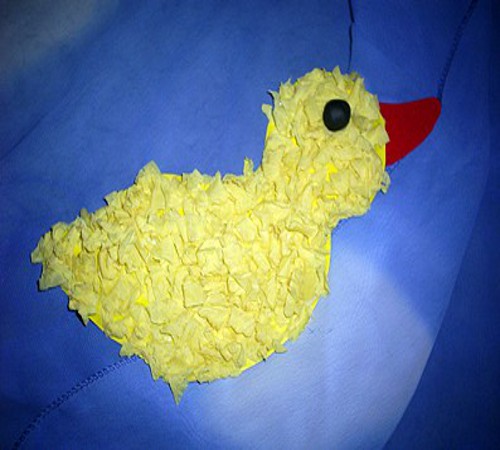
- We cut out the beak from colored paper.
- From the piece of plasticine, we make an eye. You can buy ready-made eyes in the shop for needlework.
- Here is such a duckling in the technique of corrugated paper facing turned out.
Corrugated paper facing: pictures
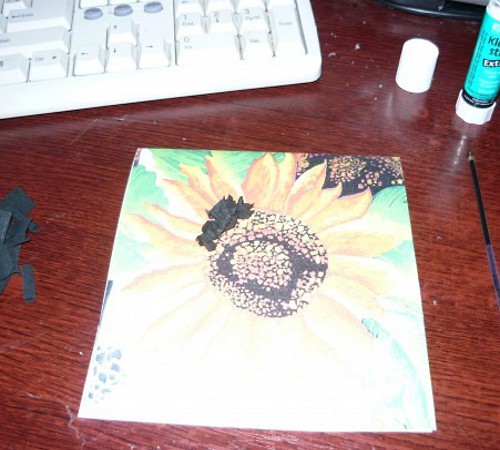
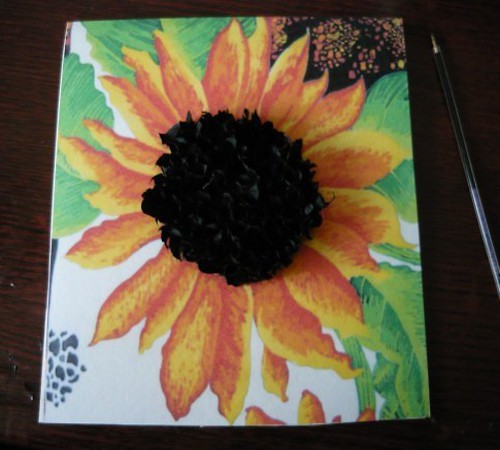
A beautiful card from corrugated paper can be made with a child of primary school age. To begin with, you need to select an image in color, which will be applied to the glue and fix the workpieces.
- From the colored corrugated paper we make the blanks in the form of squares. Since the drawing is smaller and more complex, their size is 1x1cm.
- Cut a small number of squares.
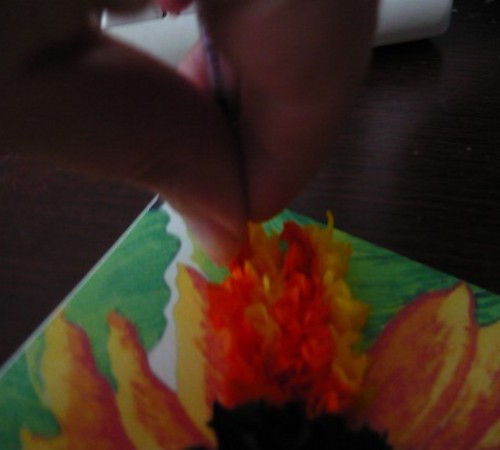
- We put the end of the skewer or the rod from the ballpoint pen into the center and wind the paper.
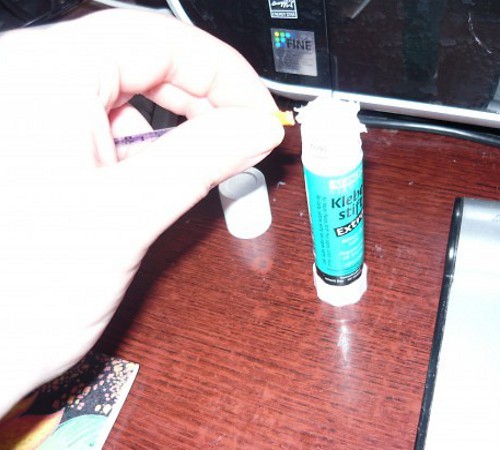
- Now we will apply the glue directly onto the workpiece, not the picture.
- In this case, it is more convenient to use glue in the stick.
- Apply the stick to the stick with the paper, then attach it to the surface.
- Getting started is better from the middle.
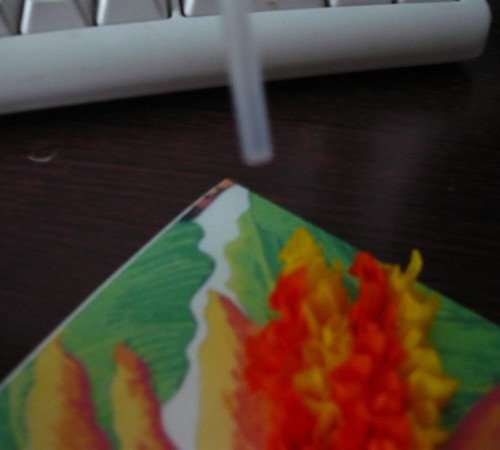
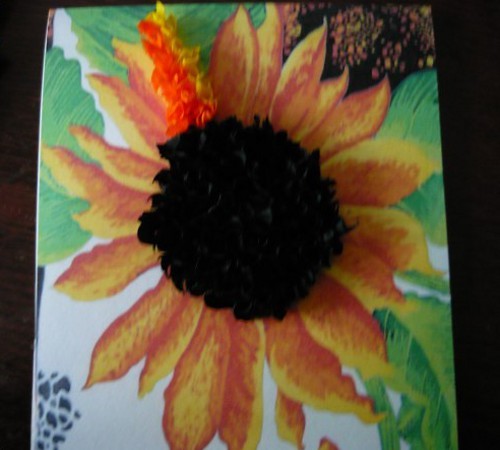
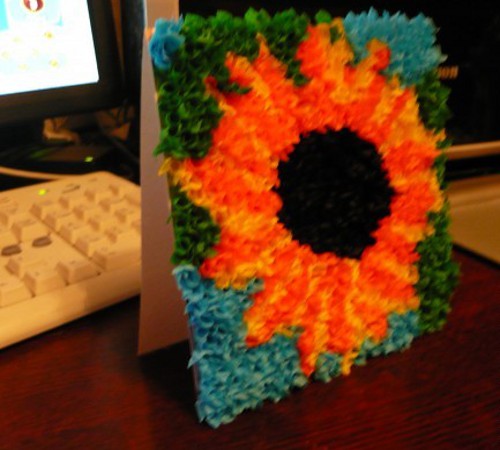
- First we will make the center of a sunflower.
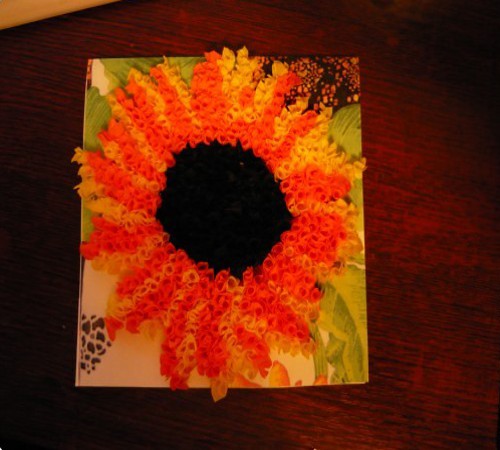
- Next, go to the petals.
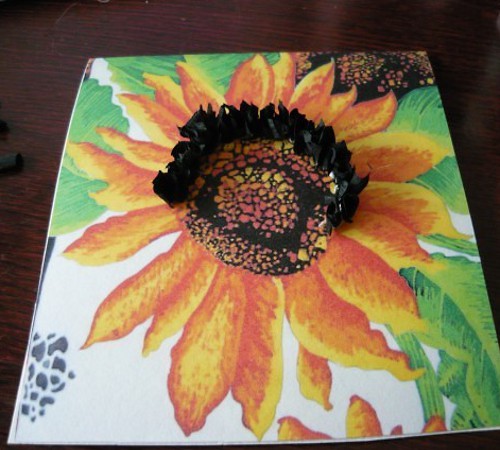
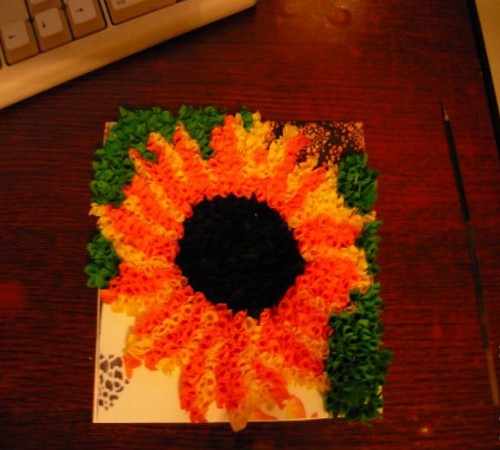
- At the end, make out the background and the greens.
- The postcard is ready!
| | |
| | | |
| | | |
| | |
Such a postcard can become a wonderful hand-crafted article for the mother for the holiday.
Corrugated paper
We have already described the master class of facing on plasticine , which can be done with the kids. With older children, you can make a more complex volumetric option. Now we will fasten the corrugated paper to plasticine or a piece of foam plastic.
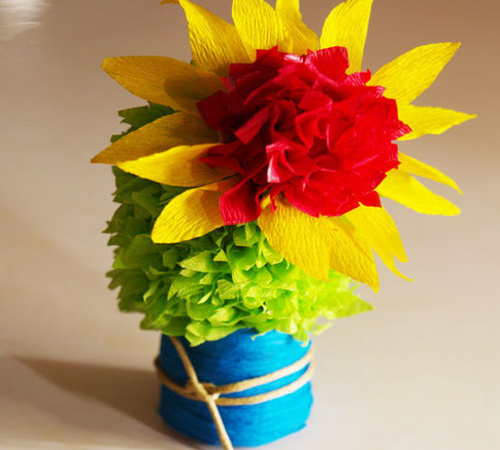
Corrugated paper craft in the technique of facing: a flower in a pot
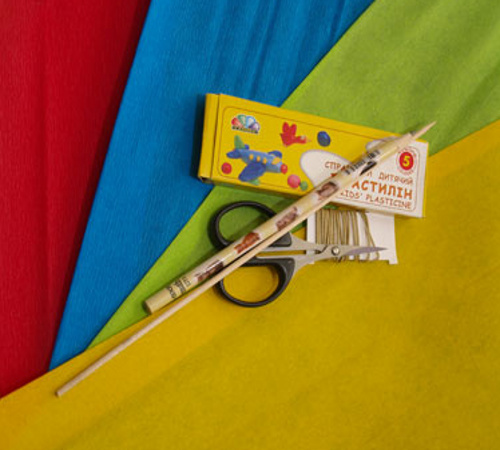
To work, you need to prepare clay, paper for cutting, a ruler and scissors, a wooden skewer or a similar tool.
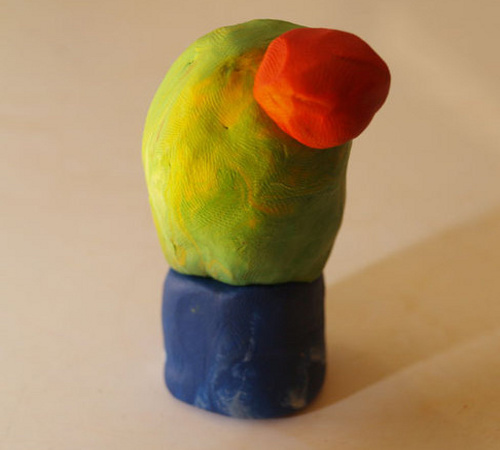
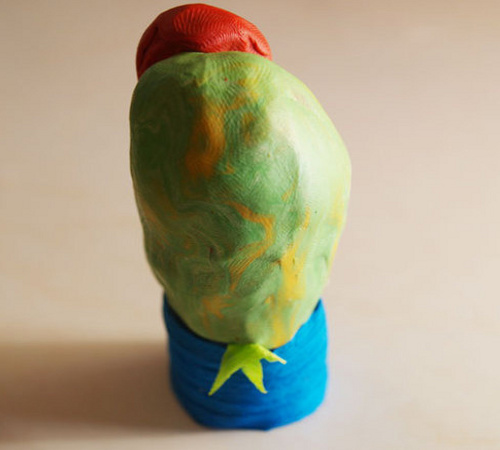
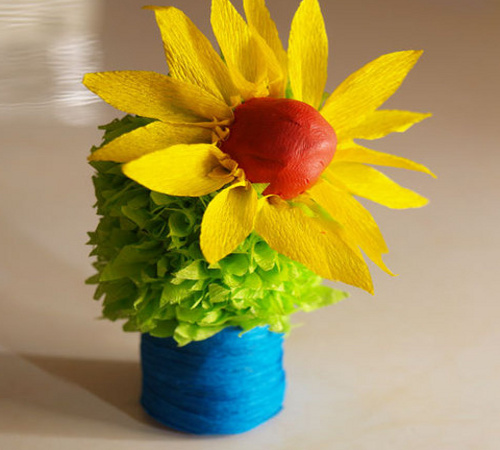
- From plasticine we form the basis. This lesson shows how to make a cactus.
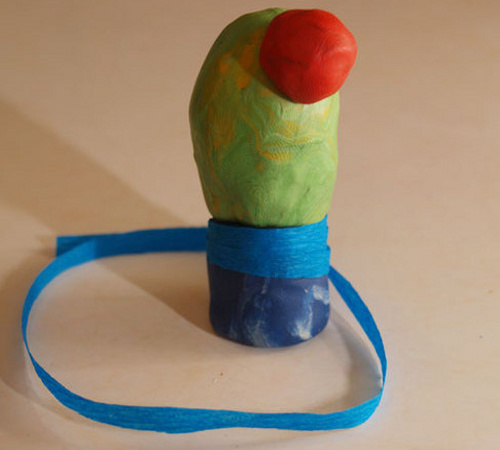
- From the paper of blue light, we cut out a ribbon and wrap it around a pot.
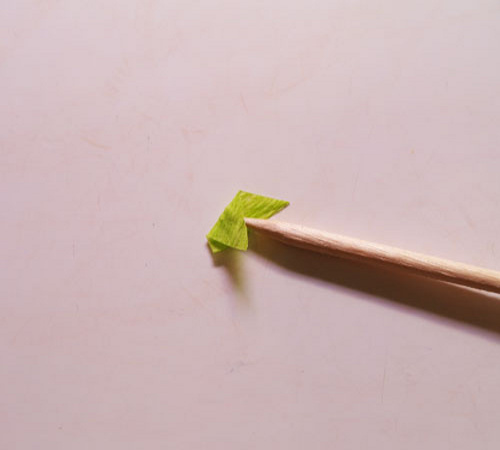
- From paper of green color we cut squares in the size 1,5х1,5см.
- Then cut the squares diagonally.
- We put a stick into the center of the triangle and wind the paper.
- We fix the workpiece to the clay.
- Moving from the bottom up.
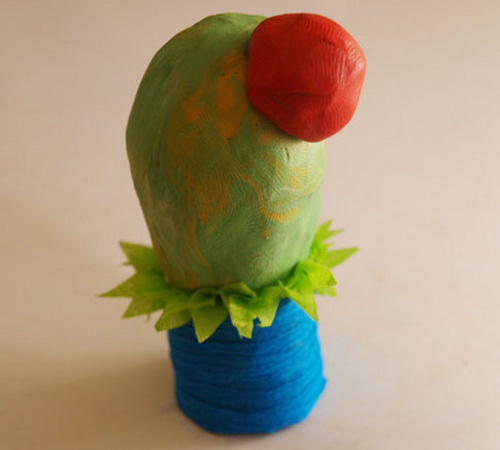
- To put trimmings in such a way that they do not constrain each other. But there should not be any gaps.
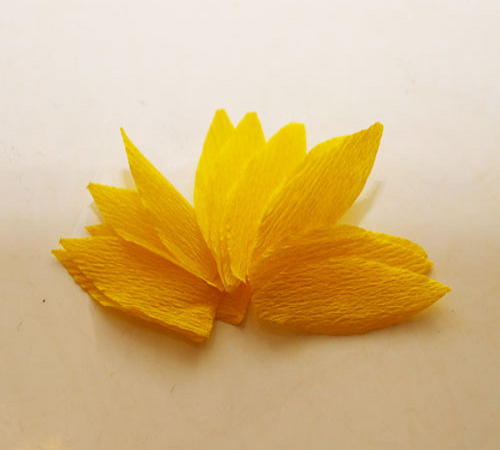
- From yellow paper cut the petals for a flowering cactus.
- We attach them to the basis.
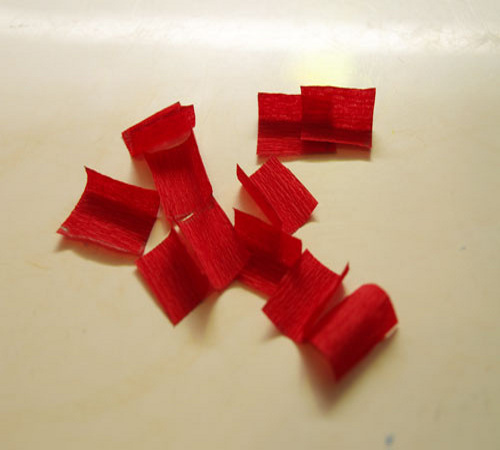
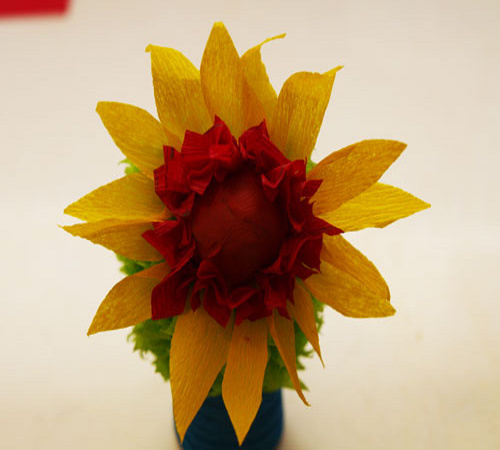
- From the red paper we cut out the squares 1,5x1,5cm. We do the trimming and glue to its place.
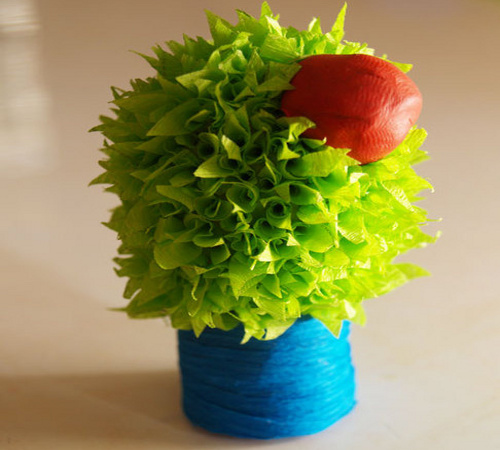
- It remains only to decorate the pot and the artwork is ready.
| | | |
| | | |
| | | |
| | | |
| | | |
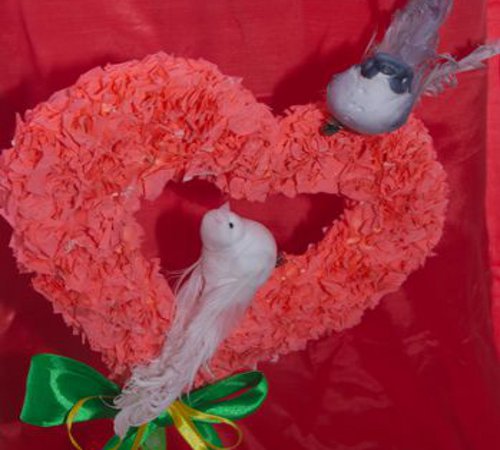
Corrugated paper facing: a tree of happiness
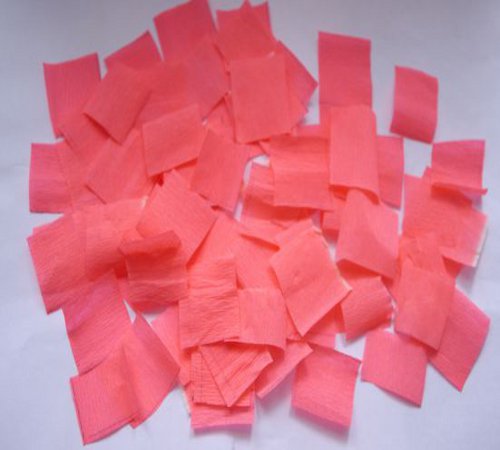
Now consider how you can use foam and PVA glue.
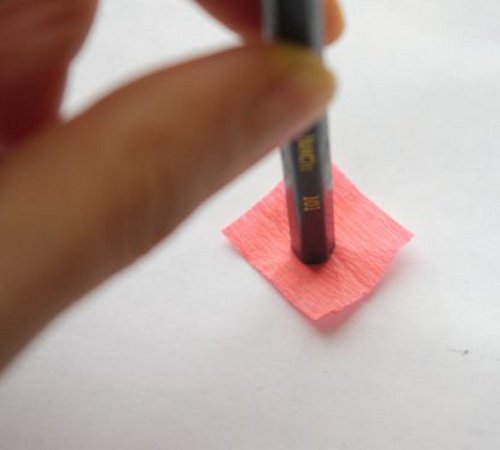
- We cut as much as possible blanks in the size 2х2см.
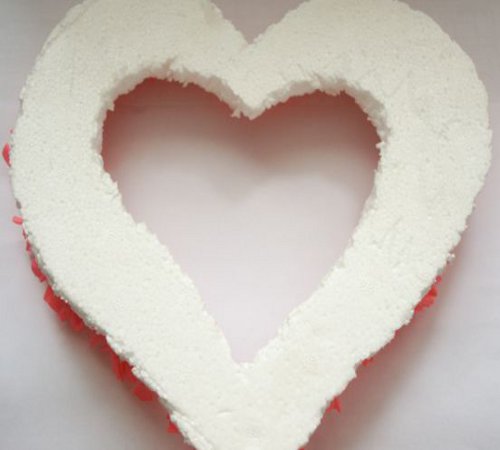
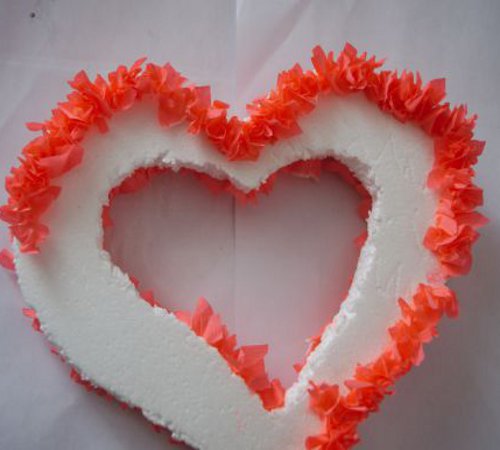
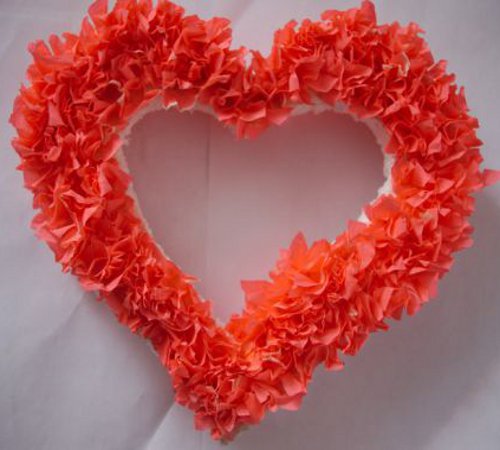
- We cut out a base in the form of heart from a foam.
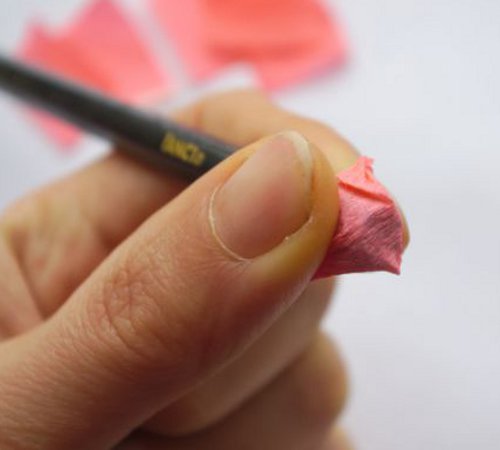
- Since the work is of a rather large size, it is better to use a pencil for the cutting. We do manipulations with the pencil for the endings.
- The glue can be applied in advance on the entire surface or dunked each end separately.
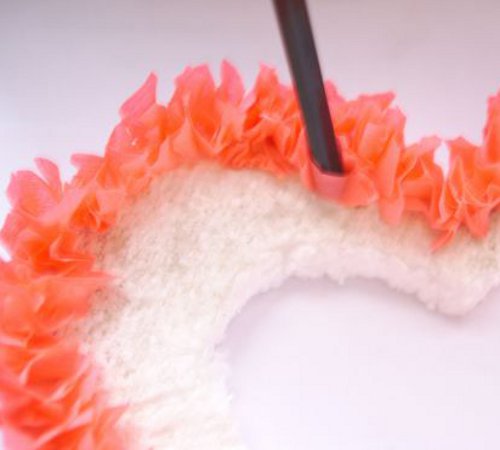
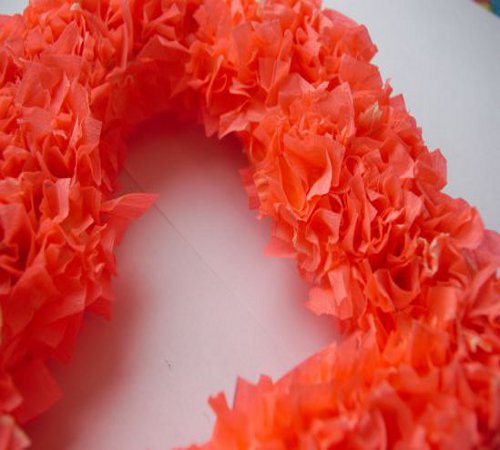
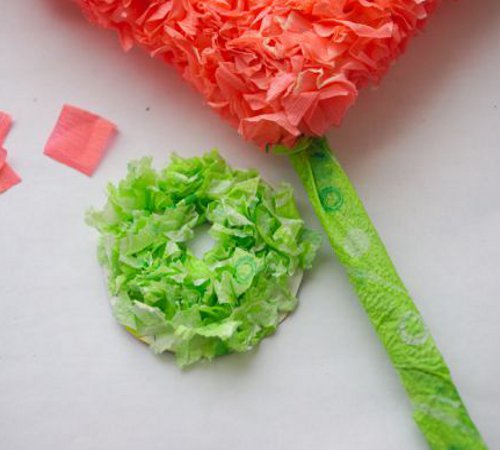
- This is how the article looks at this stage.
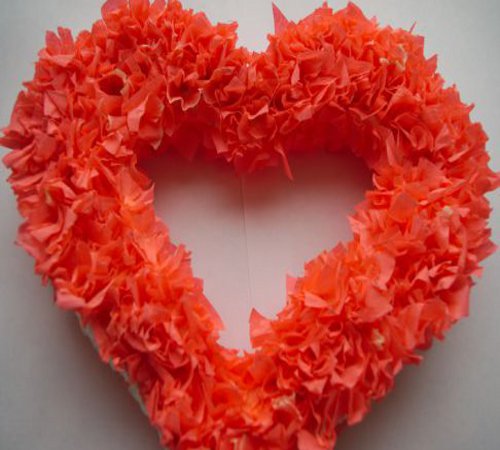
- We pass from the outer edge to the inner.
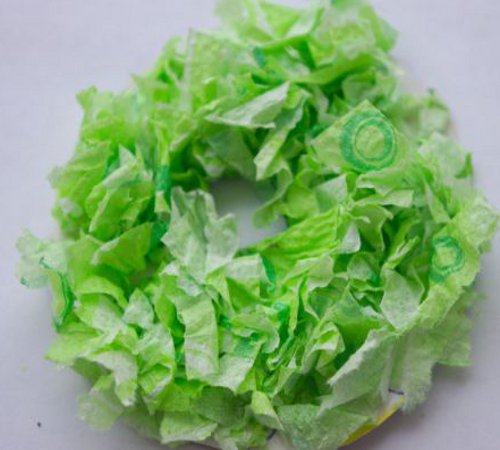
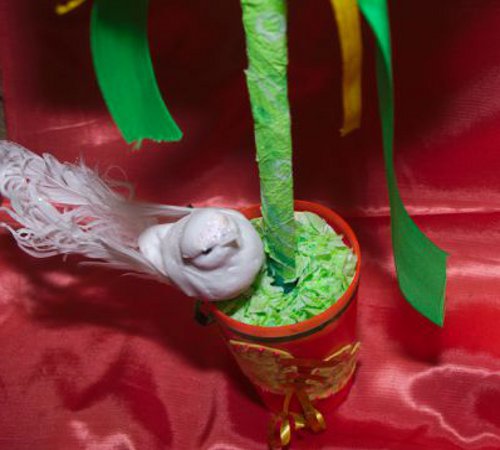
- Now, in the prepared pot, we insert our tree in the form of a heart. We decorate it with a corrugated paper of green color: it is a paper circle of sizes with the diameter of a pot.
- It remains only to add decorative elements.
- The tree of happiness is ready!
| | | |
| | | |
| | | |
| | | |