The technique of dry felting of toys (felting, filtrating) is gaining popularity from year to year. And this is not surprising, because the materials for making such toys are available, the process itself captivates, and the result is always pleasing. Toys made in the technique of dry felting, look at home cute, so not only for children, but also will decorate their room. If you decide to try your hand, stock up with unkempt wool, the volume of which should be three times the volume of the product you plan to mow down, and a set of special needles. You will also need a thick foam rubber sponge, which is put under the product in the process of felting. It is necessary in order not to spoil the working surface with needles. And in this master class for beginners you will learn how to make a toy, a funny cat, from wool by dry felting.
We will need:
- wool for felting;
- acrylic;
- Needles for felting of different sizes;
- sponge;
- scissors;
- glue;
- thread.
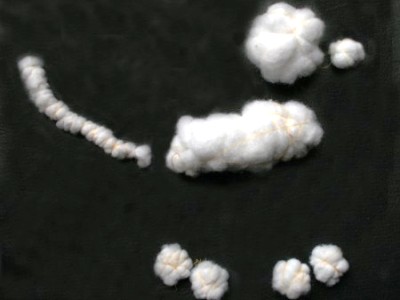
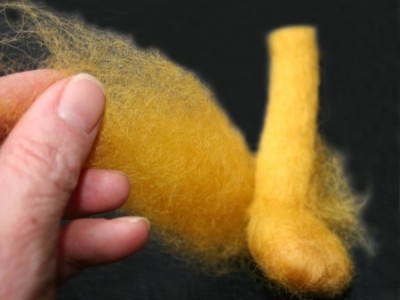
- Make the base elements of acrylic, forming them into lumps, and then wrapping them in threads. You should have eight parts: a head, a nose, a trunk, four paws and a tail.
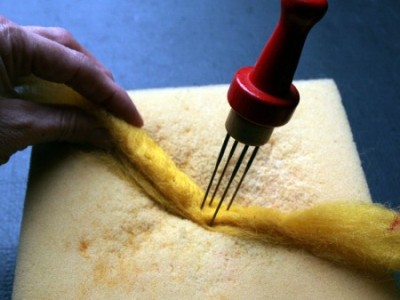
- Choose the wool of the required color and proceed, in fact, to felting. To do this, lay the wool on the sponge, first rolling it into the tube, and piercing it with needles, shape the paws. Try to press on the needle more strongly, so that the wool is properly compacted.
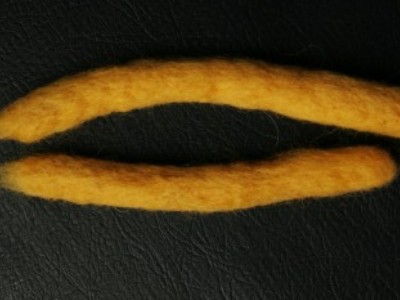
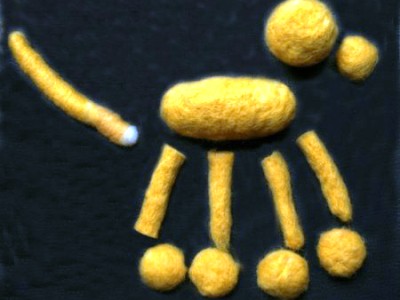
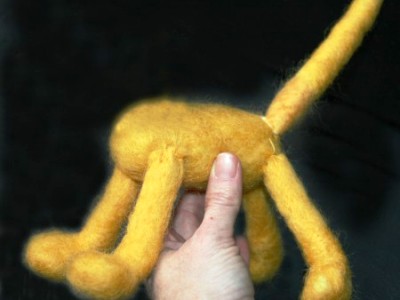
- Similarly, pile three more paws, tail, trunk, cat's head. Then lay out all the base elements on a flat surface, check that the paired parts are the same in size. Then cut each foot into two parts. Leave one part in its original form, and from the second roll four balls.
- Give each ball using the needles shape of the foot, and then sew the feet to the legs of the cat. Wrap the ankles with a coat of wool so that the seam between the legs and the foot is not noticeable. Now you can begin to stitch the toy. Sew your legs and tail to the trunk.
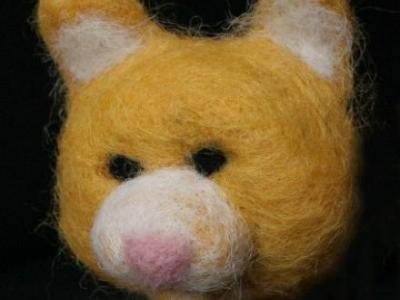
- Now let's look at the cat's head. First make the ears. To do this, take a piece of wool and fold it with a triangle. If the ear turned out too thin, increase the number of layers of wool. Sew-ready ears sew to the head.
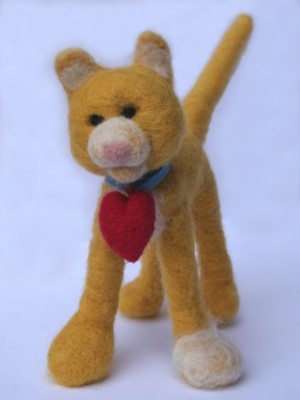
- Apply a layer of wool of the same color to the face, and in the places where the eyes should be, attach two pieces of black wool. Use needles to form the shape of the face, fix your eyes. Then hide all the seams under an additional coat of wool. Spread the noses and ears with white wool, carefully driving it with needles. You can put pink wool on the tip of the nose. If desired, make a breast on the breast white, and one paw "dress" in a white "socks." Charming cat ready!
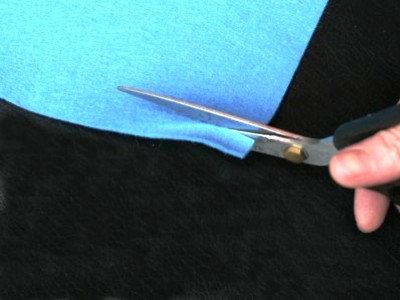
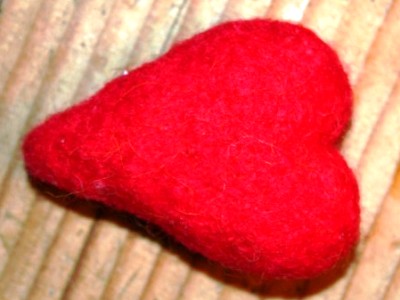
And now you can make a cat a gift in the form of a collar with a pretty heart. This decoration is made very simply. From felt, cut a narrow strip, the length of which is equal to the circumference of the neck of the toy. Then from acrylic make a detail in the form of a heart, wrap it with threads, and on top coat with a coat of red color. Felting the heart does not differ from the felting of the toy itself. In the same way, using needles, give the heart a clear shape. Then attach the heart-pendant to the collar made earlier, and attach to the toy. The ends of the collar can be glued or sewn together.
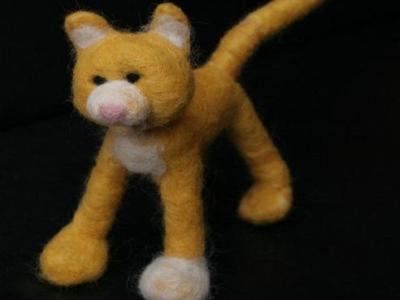
Such a charming cat will surely please your child, and the process of creating toys in the technique of dry felting will enthrall you for a long time, prompting to please the family with new masterpieces made by oneself.
Also, wool is used to create unusual paintings .