Ceiling skirting is not just a decoration of a room. Although they invented it primarily for this purpose, but they also help to hide flaws, with them the design of the room becomes a complete look. It's no wonder that many owners who plan repairs are interested in how these decorative ornaments are erected.
How to paste a ceiling skirting board?
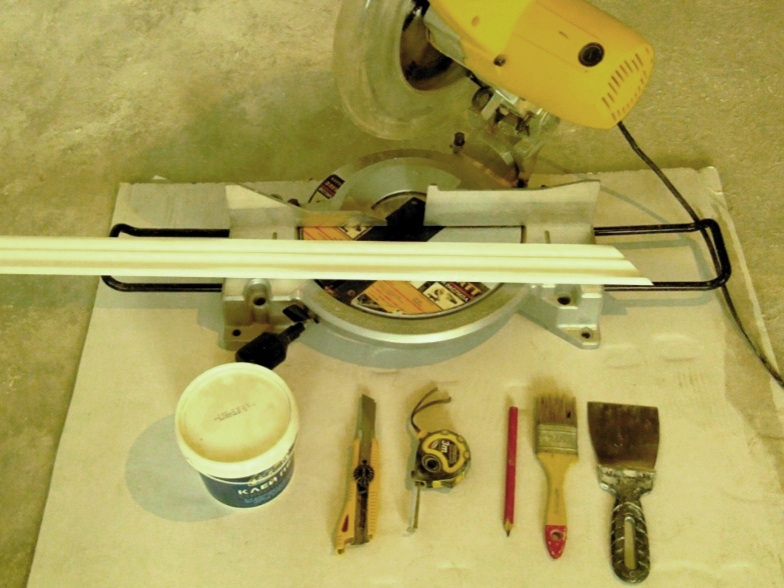
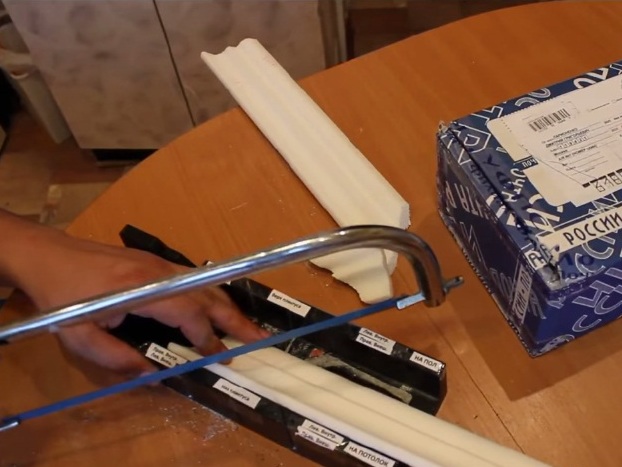
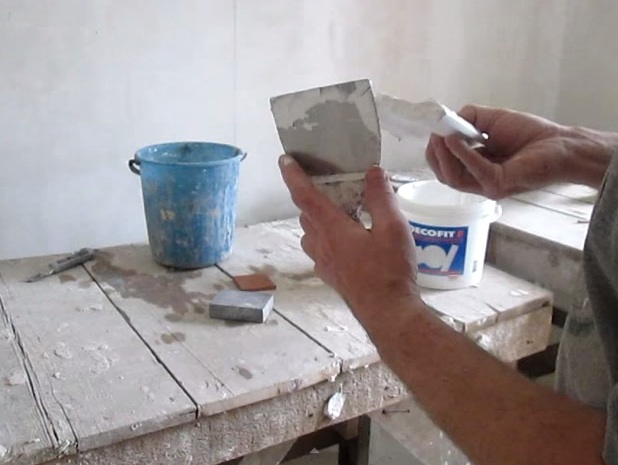
- Tools for work - tape measure, ruler, hacksaw for metal, stool (you can take a special electric saw with markings), glue, primer.
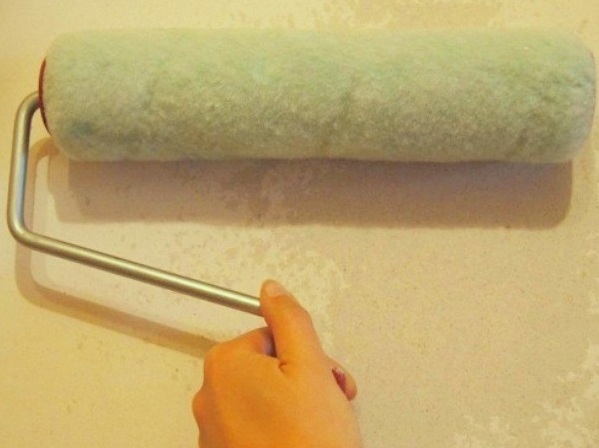
- In the preliminary stage, it is desirable to moisten the place of fixing the skirting with a primer, which greatly facilitates the installation. You can walk a roller or brush, the main thing is that the surface is well primed before work.
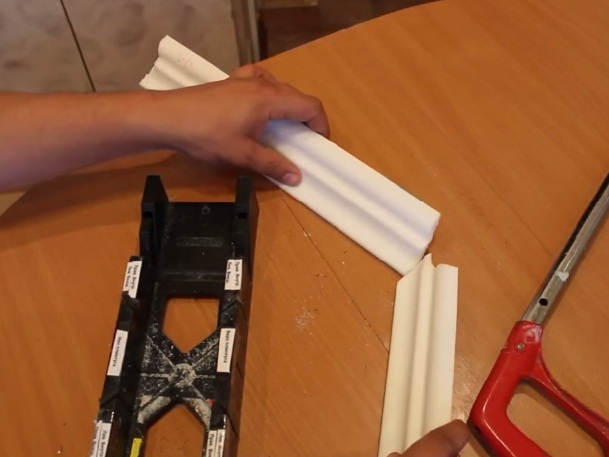
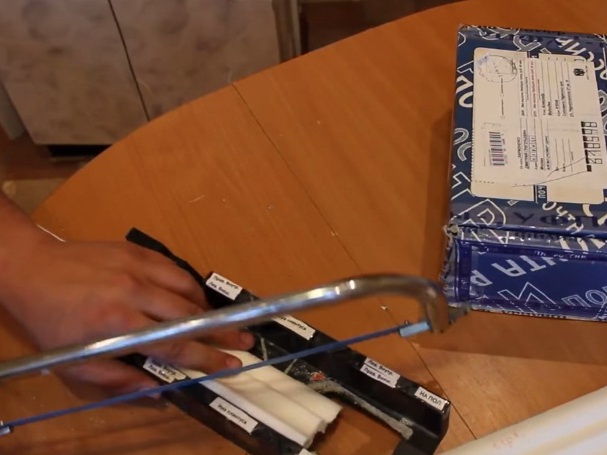
- It is best to start the plinth starting from the corners, then add straight blanks. It is this process that causes the greatest difficulties for many. In the process of how to glue the corners of the ceiling skirting, it is very important to cut the workpieces correctly. We need a hacksaw for metal and a tool called a stool. The floor plinth is sawed on its far side, and the ceiling is on the near side. For convenience, you can sign on the instrument where you want to cut, which will not allow you to make mistakes when cutting blanks (left inner corner, right inner, etc.).
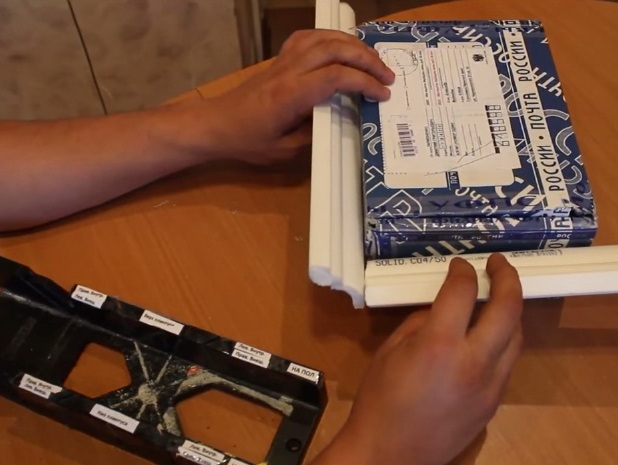
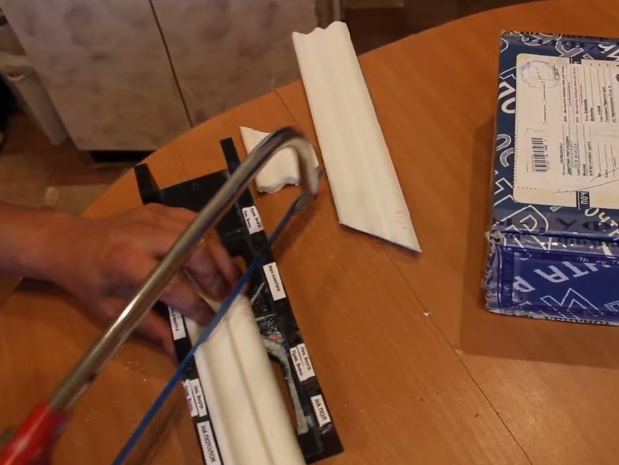
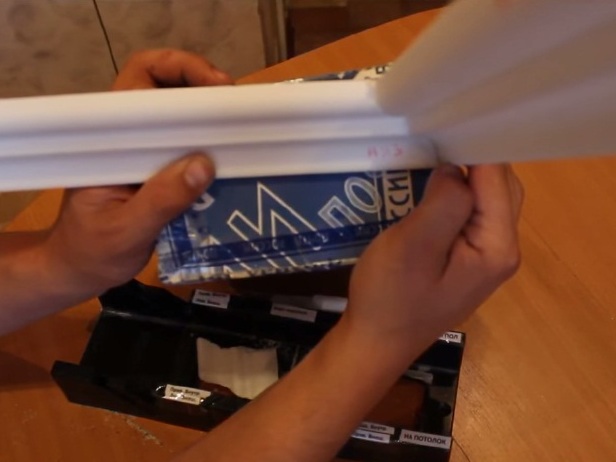
- For clarity, to avoid confusion when cutting the side of the baseboard, use the paper box as a template and you do not need to run every time to the wall. That's how we try on an external ceiling angle.
- We cut the left outer corner.
- Then we cut the right outer corner in the same way.
- Attaching to the box, we check the result of the work.
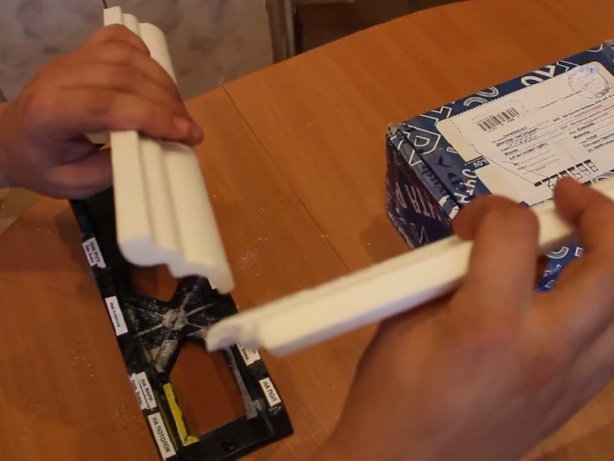
- To cut the inner corner, take two blanks of the skirting board and see how they will be located on the ceiling.
- We turn the workpiece so that the bottom of the skirting is in the stool at the top, on the part that is closer to you.
- Cut the workpiece at an angle, following the markings on the tool.
- We cut the second inner corner, but in the other direction.
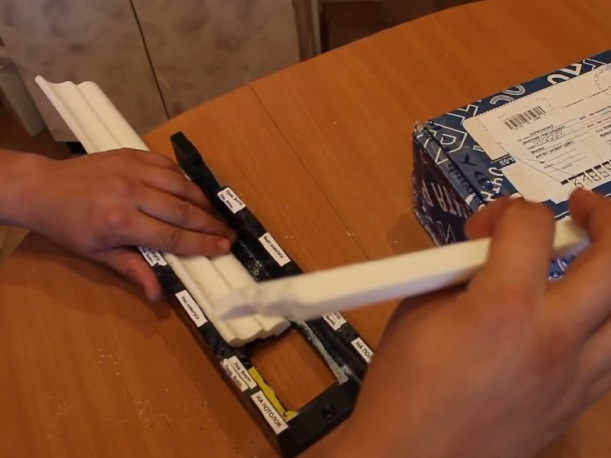
- Applying the blanks of the skirting board to the box, we look and control the result of the work.
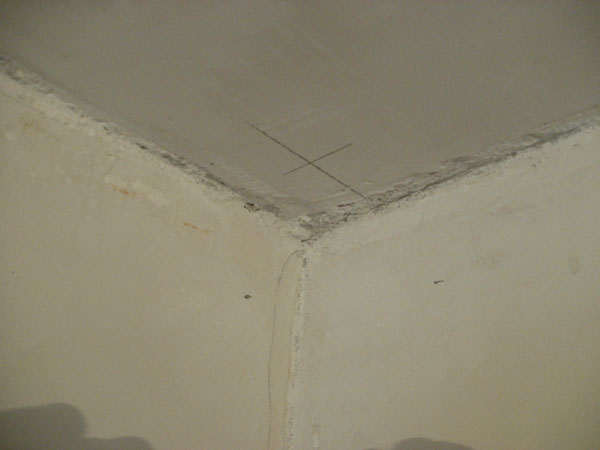
- For convenience, we put marks on the ceiling. Applying the workpieces in turn on both sides, we get the intersection point - the crosshairs of the two parts of the plinth.
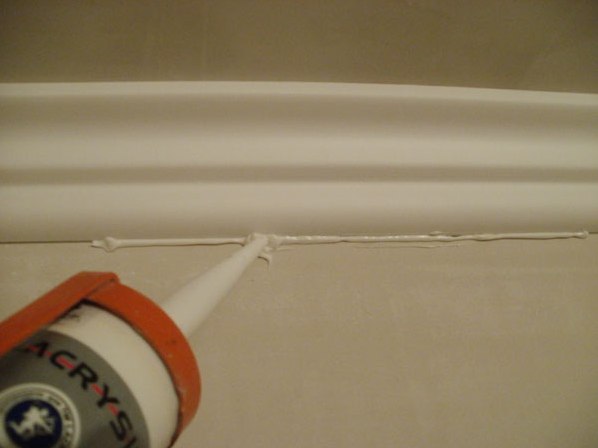
- We apply glue to the surface on the whole shelf.
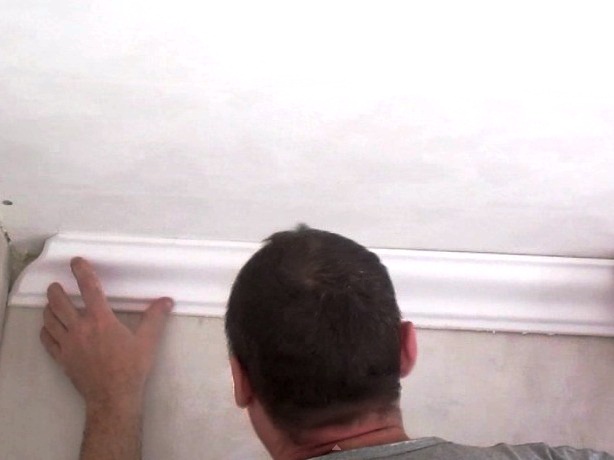
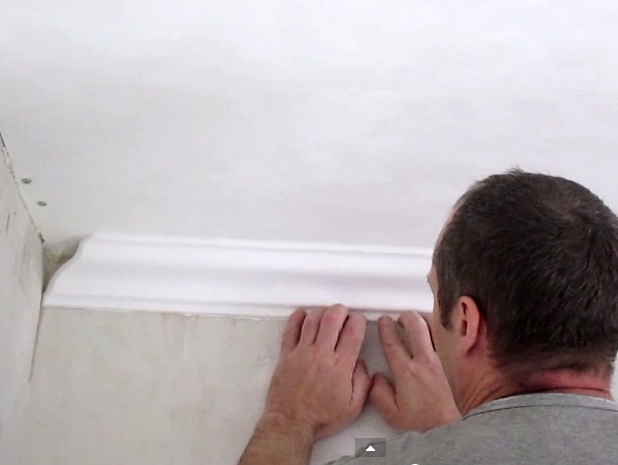
- We install the plinth in place.
- The shelf is pressed lightly until the glue begins to come out from under the cracks. Avoid leaving dents on top.
- If there is not enough glue somewhere, you can add it and cover up the cracks.
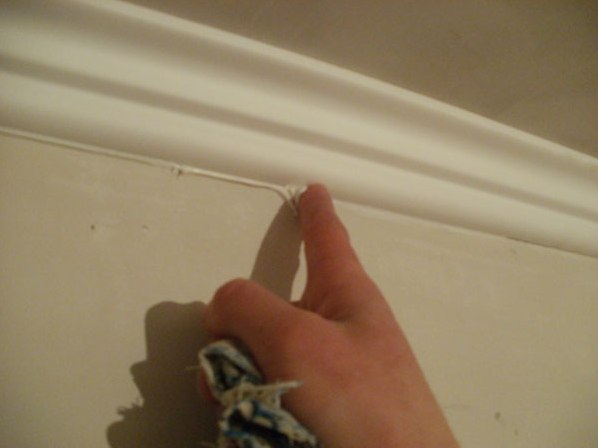
- Superfluous structure smear with a finger, it will serve as a putty.
- We measure the baguette, cut off the desired piece and join it with the workpiece that has already been glued.
- If everything is done by markup, then we should have an ideal start to the second corner.
- In the place of joining, do not regret glue, even try to squeeze it a little inside, so that it penetrates into the pores.
- To ensure that the skirting board does not move away from the joint, you can temporarily attach it with needles for a guarantee.
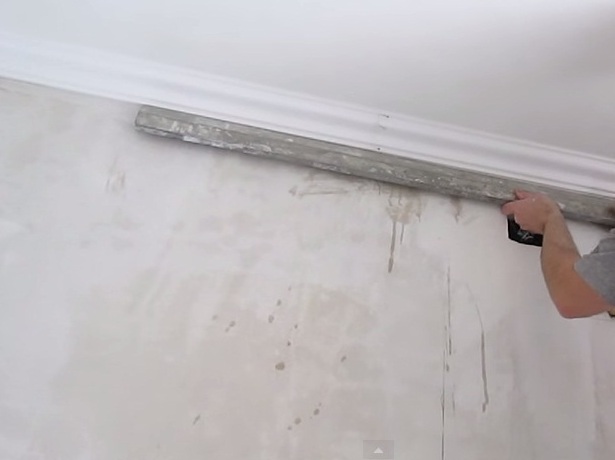
- For a guarantee we check the work by rule. If the baguette is glued well, then the junction area is practically not determined. So the instruction how to glue the ceiling skirting board, you learned correctly.
How to glue the ceiling skirting glue?
Polymeric compositions are used for polyurethane, wooden profiles, plinths made of foam. For ceiling decorations from gypsum I use shpatlevku. If the skirting board is heavy, the adhesive may not hold it. It is necessary to use long self-tapping screws for fixation. After a while, they twist or harden the hat, masking it with a layer of putty.
How to glue the ceiling skirting on the wallpaper?
Sometimes the plinth is installed after the wallpaper has already been pasted. In this case, it is good to use material like "Moment Editing". This method is not bad when the walls are almost perfectly aligned, otherwise you will have to seal the resulting cracks with glue. "Moment Editing" is good in that it has a white color, which when frozen does not change. Everything must be done as carefully as possible, so as not to stain the wallpaper. We hope that our advice on how to glue the ceiling skirting will help to finish the repair of the apartment correctly and qualitatively.