To a very beloved and popular doll Barbie you can buy almost everything that a real person has: houses, cars, swimming pools and much more. But it's all very expensive.
From the article you will learn how to make a car for a Barbie doll with your own hands.
Master-kalass: a car for the Barbie dolls own hands
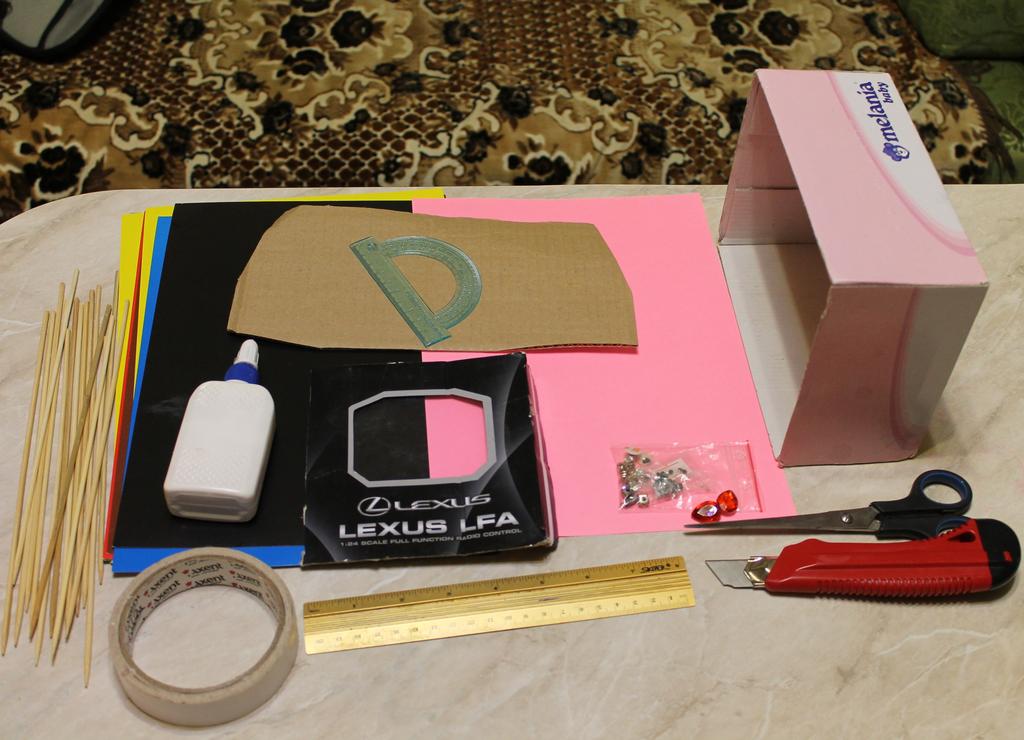
It will take:
- a shoe box;
- colored paper;
- dense cardboard;
- colored cardboard;
- adhesive, double-sided adhesive tape;
- long wooden skewers;
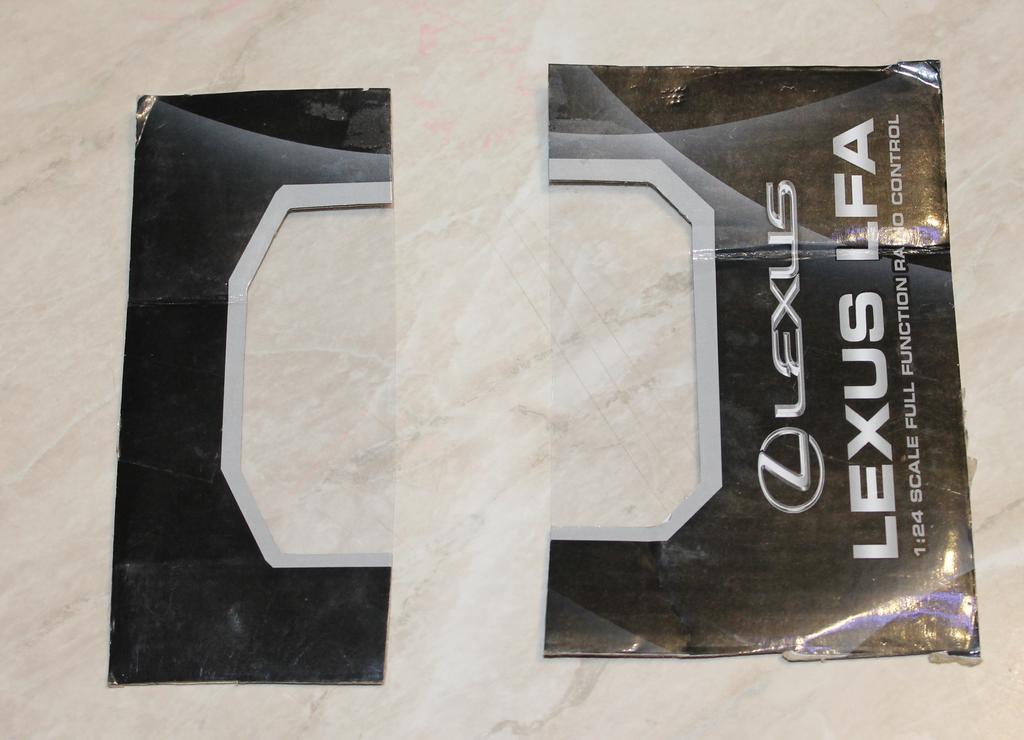
- a piece of clear plastic from the box from under the toy;
- large crystals for headlights and other ornaments.
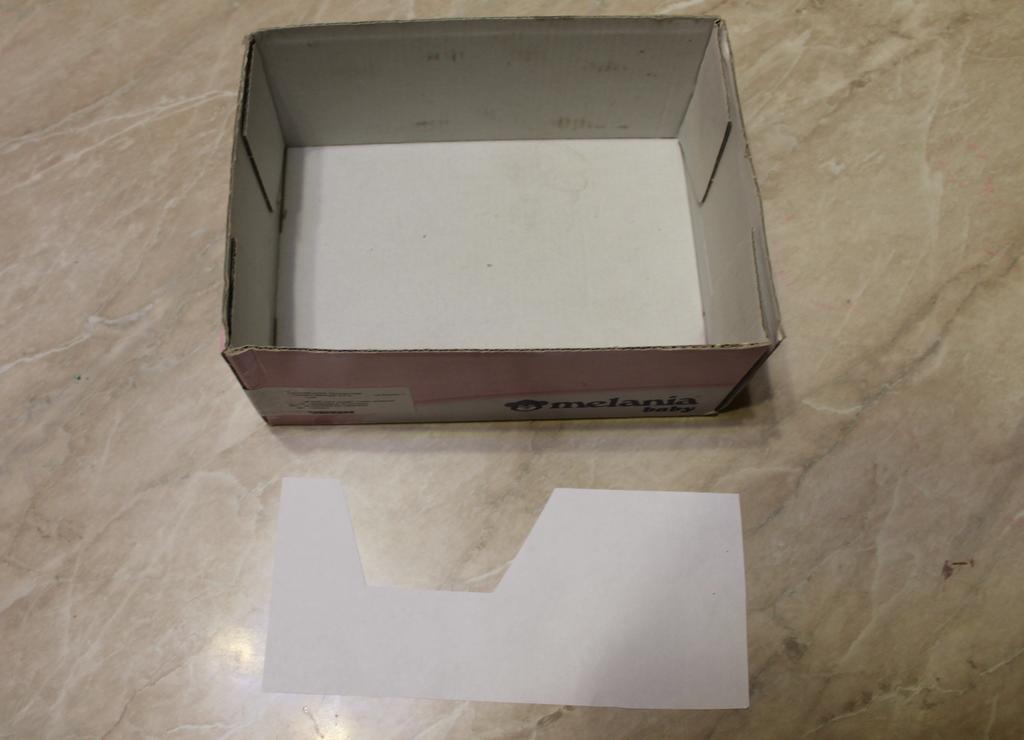
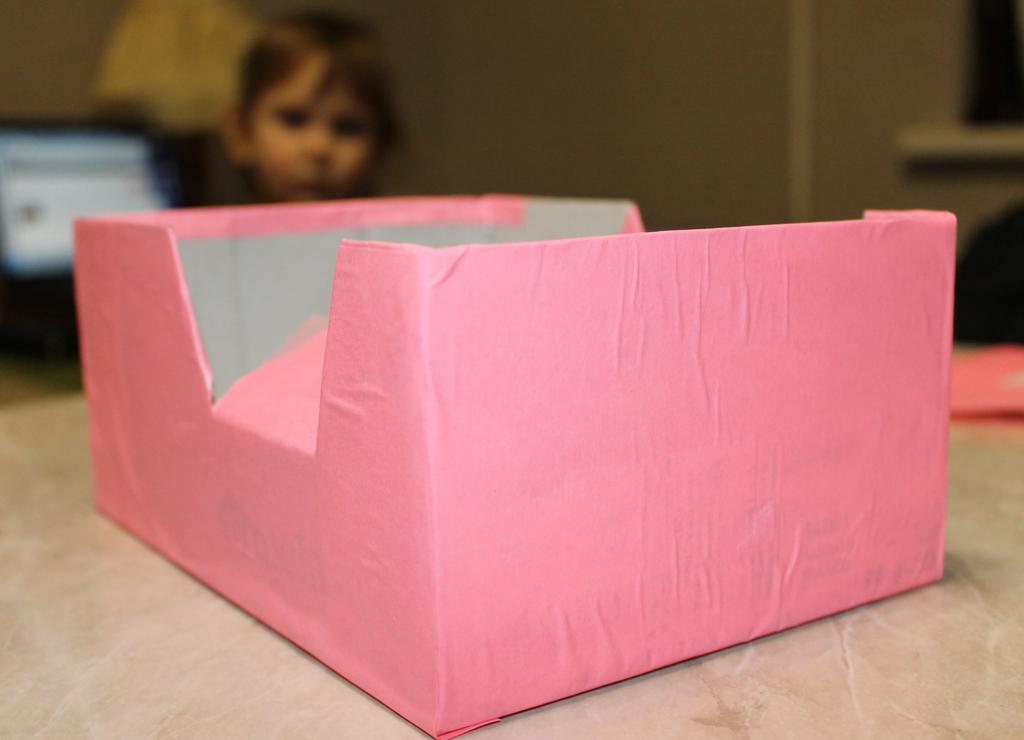
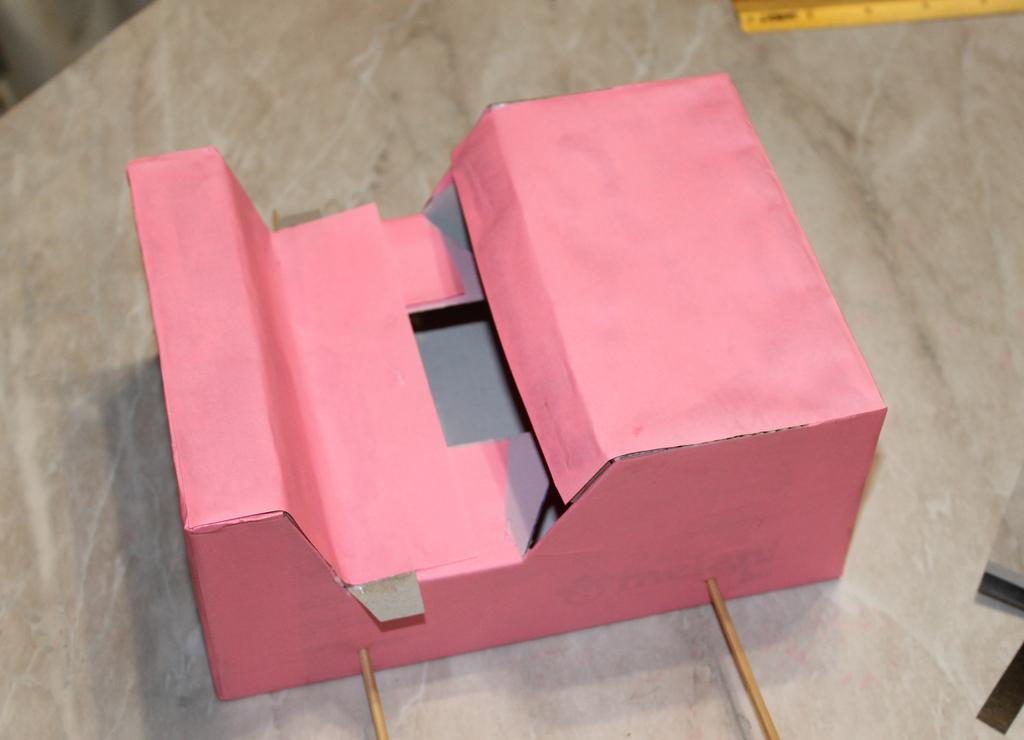
- We make a drawing for cutting out the doorways on the sides. To do this, it should be borne in mind that in the Barbie doll, the length of the legs in the sitting position is about 17.5 cm.
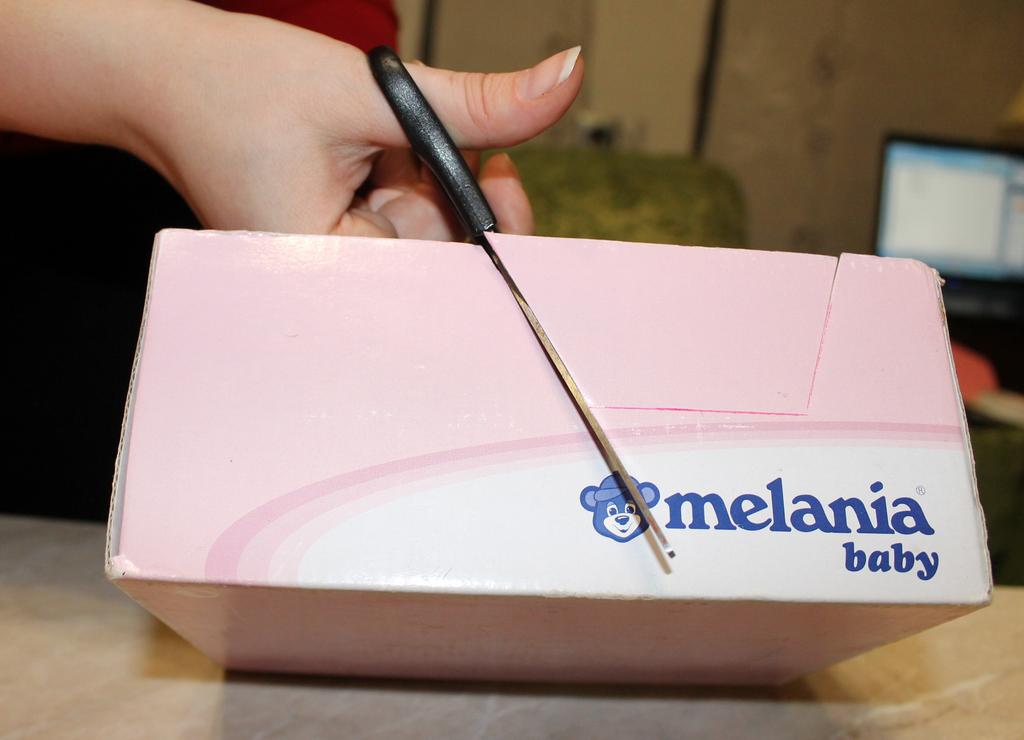
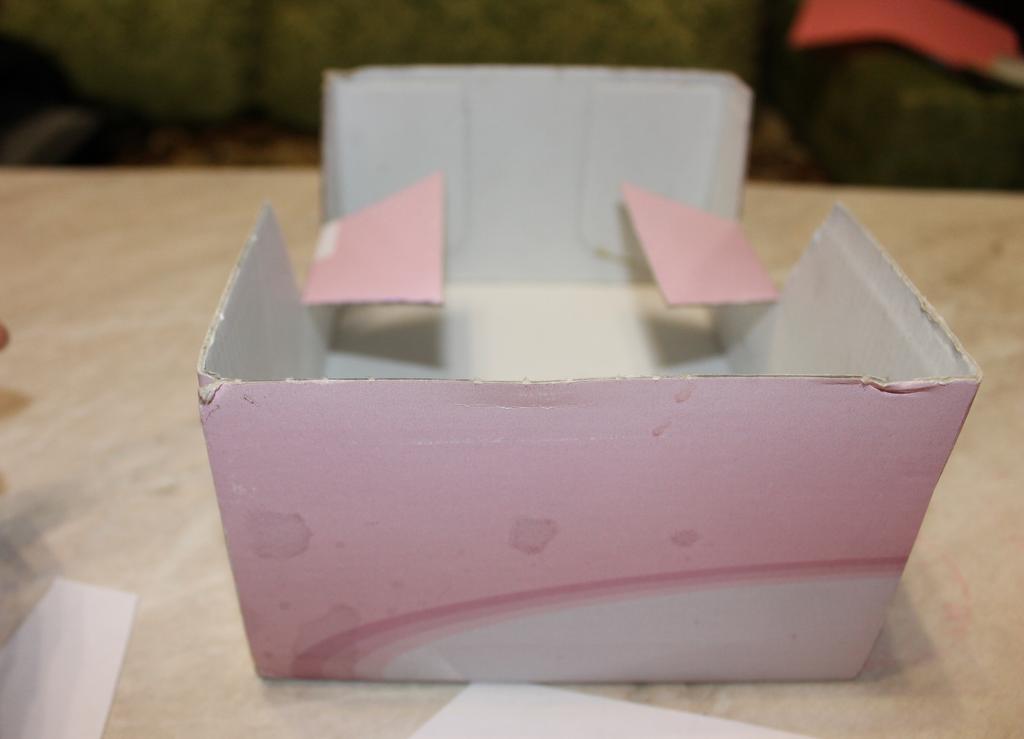
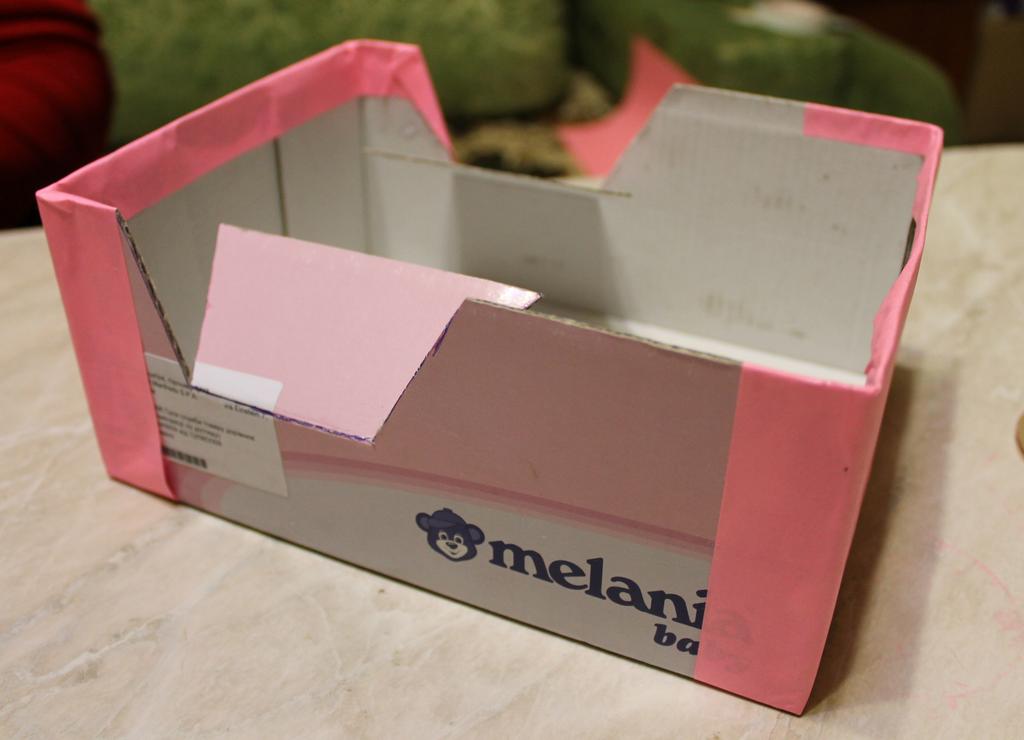
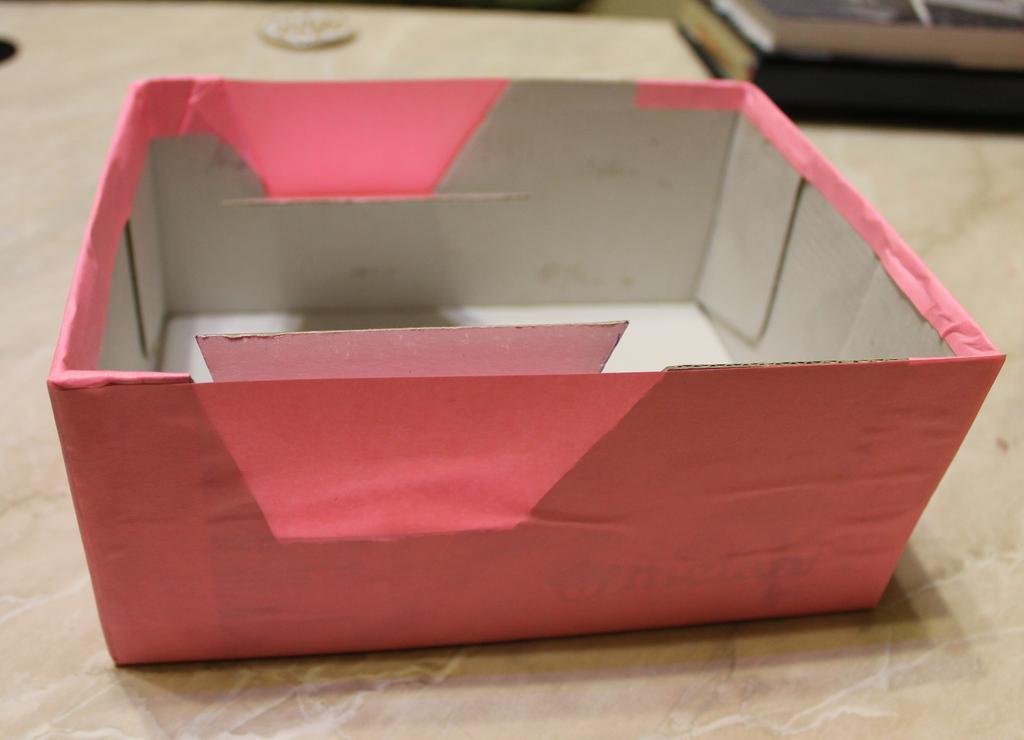
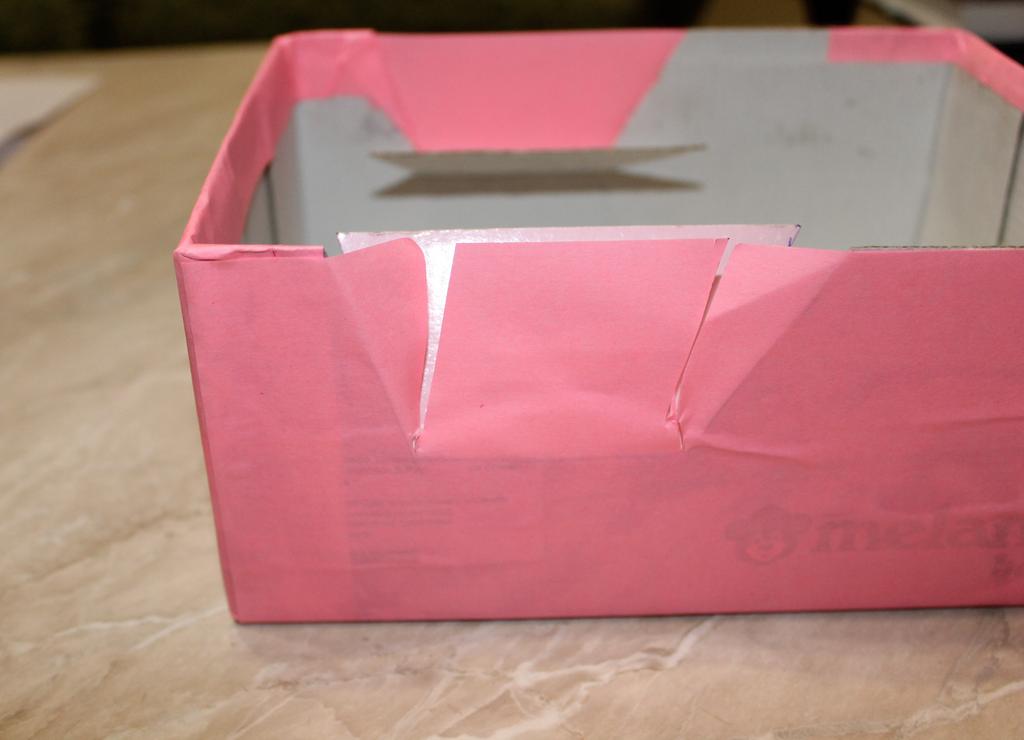
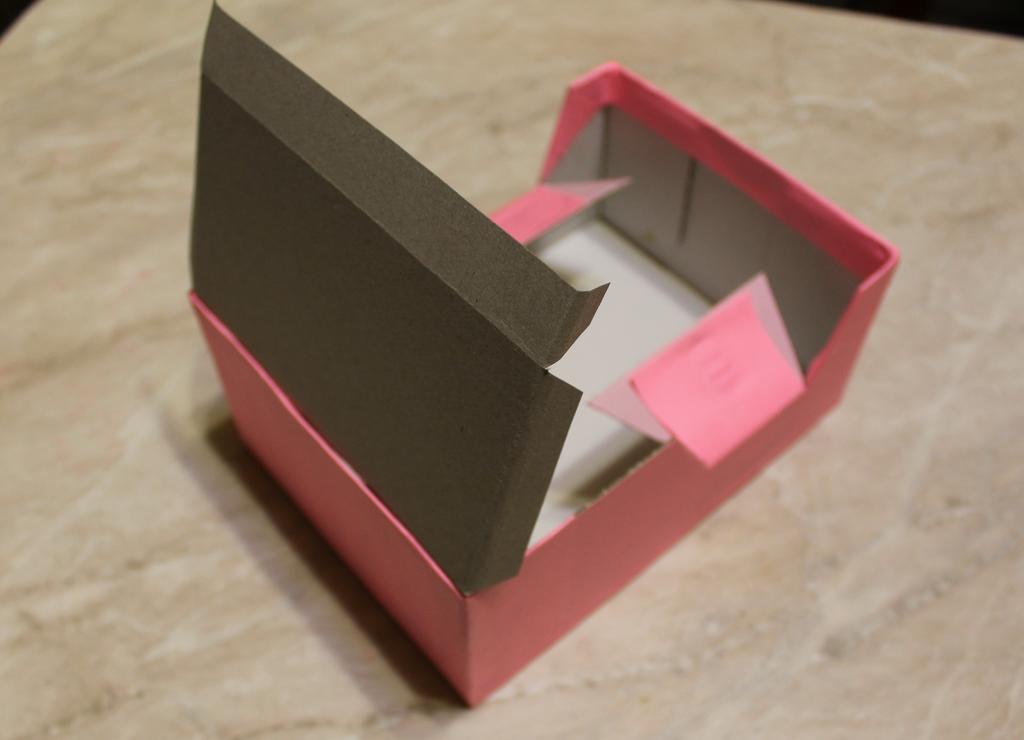
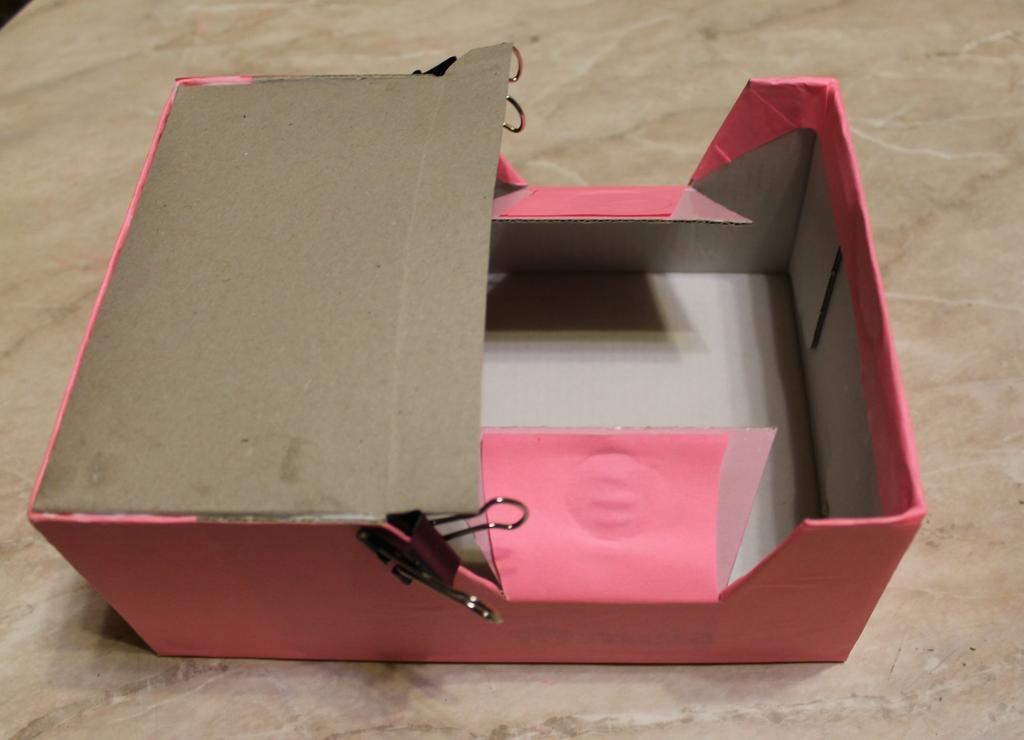
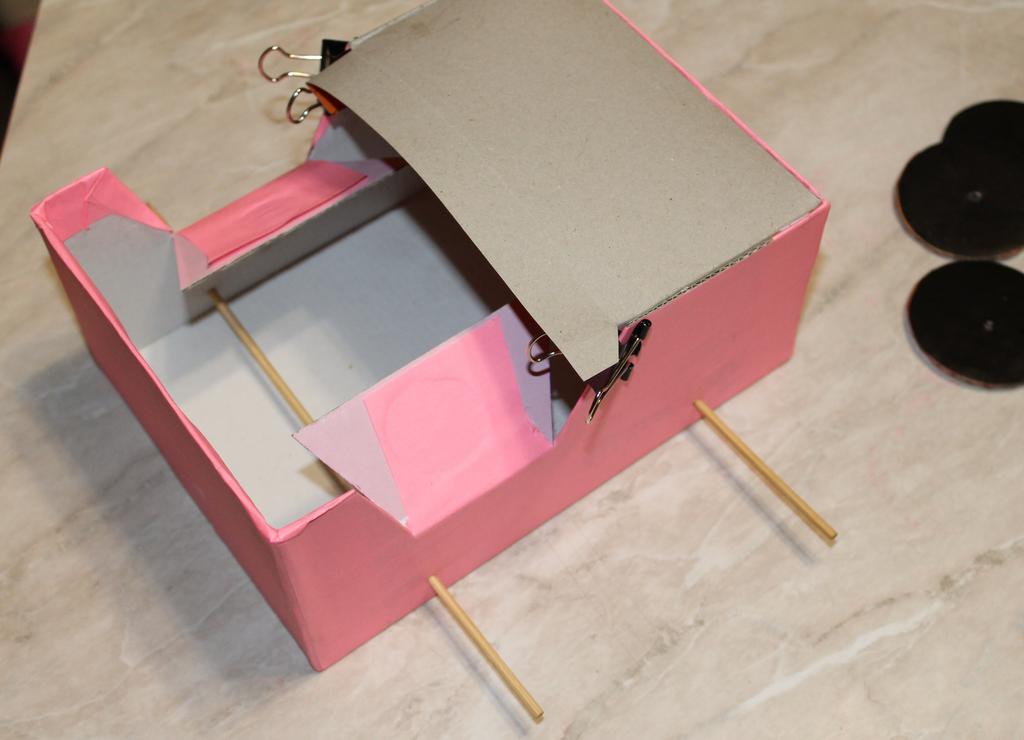
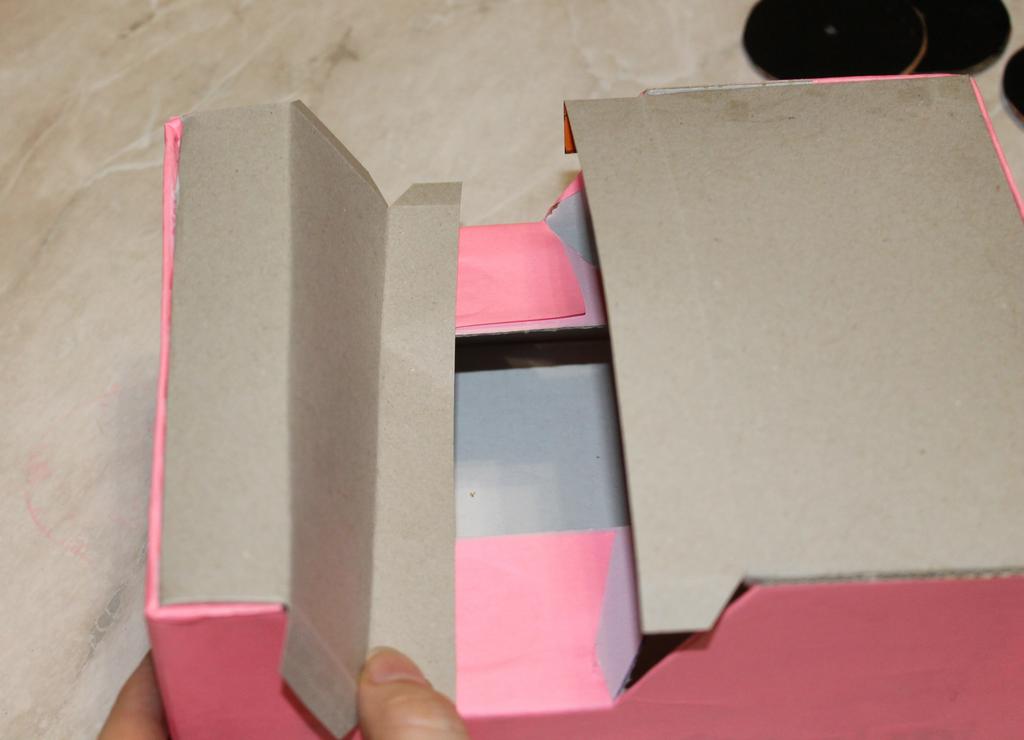
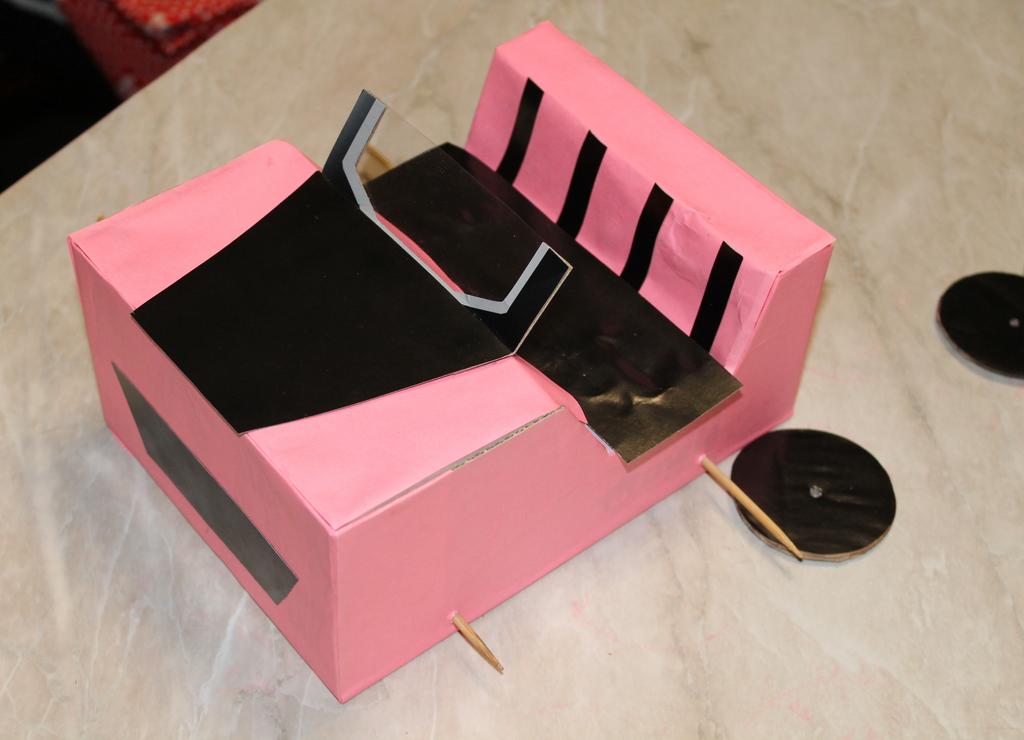
- Circle the pattern on the two sides and cut the sides of the box to the horizontal line on both sides and bend the cut pieces inside. We will then attach the seat to them.
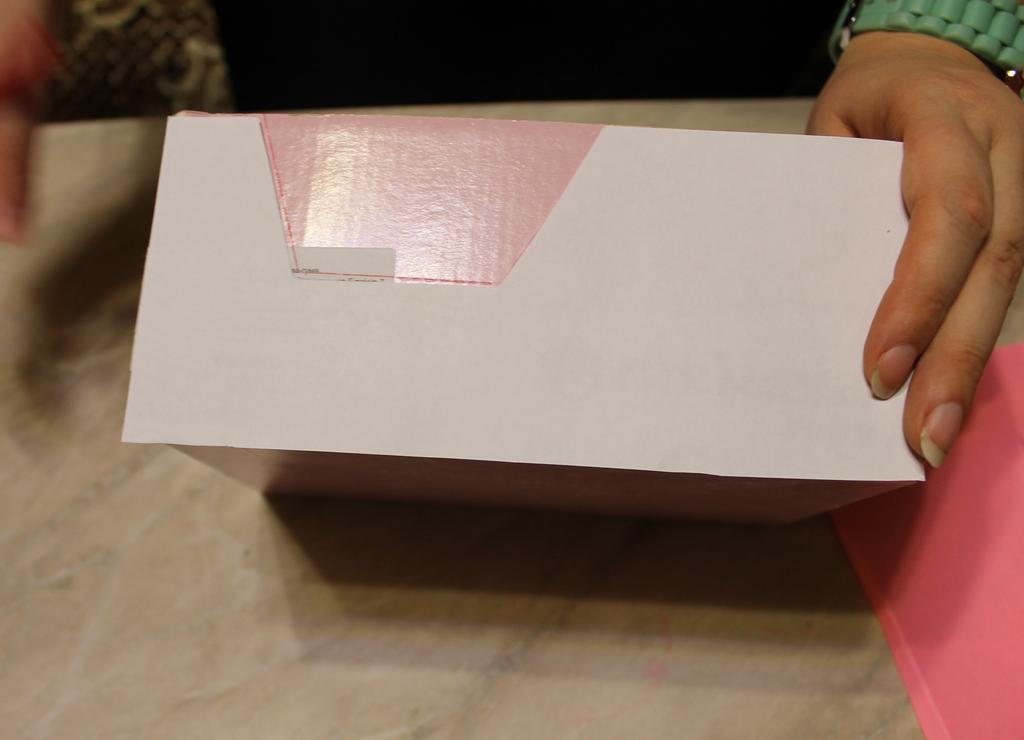
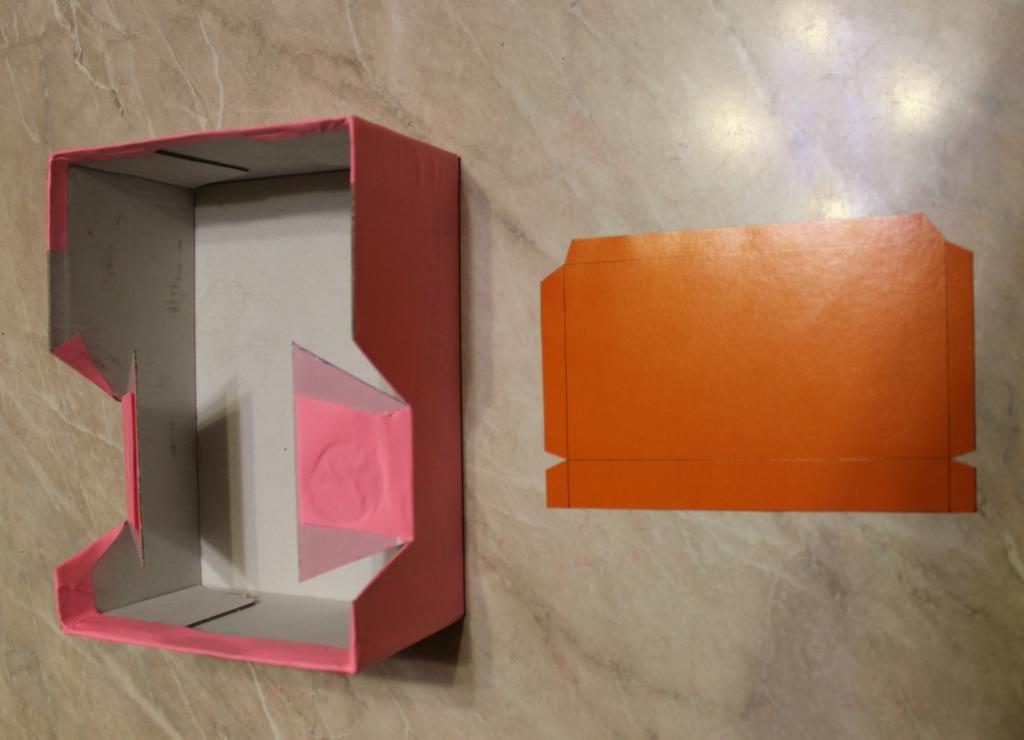
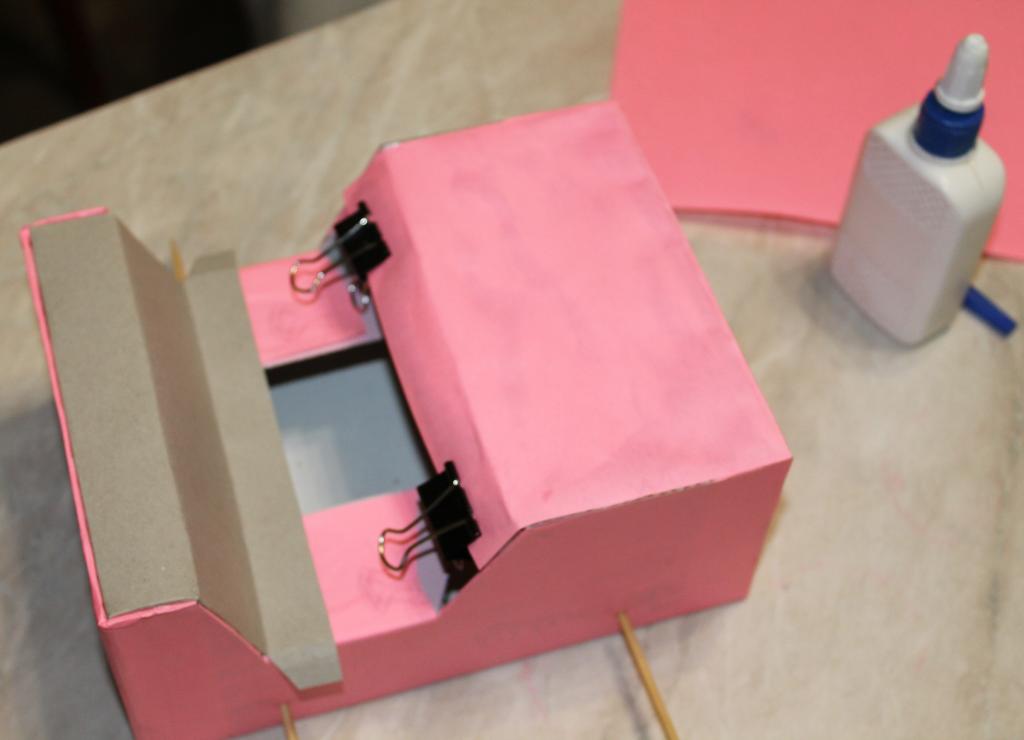
- We glue the box with colored paper, first in front and behind, and then on the sides. In places where there will be a seat, we make incisions to the corners and gently glue the edges, wrapping them inward.
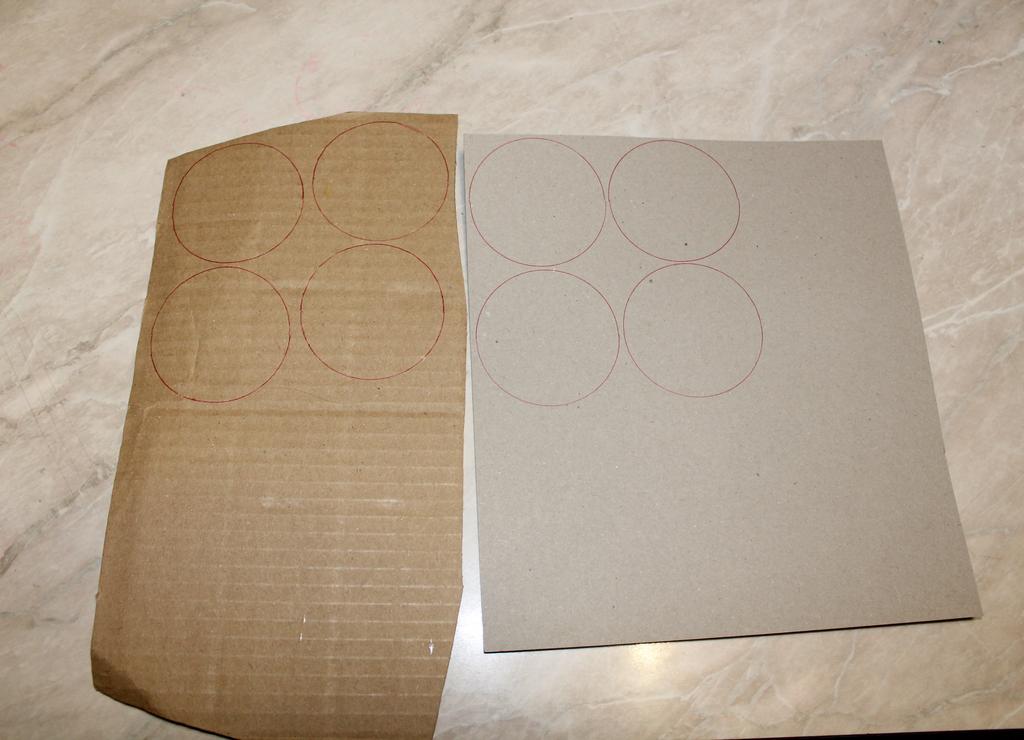
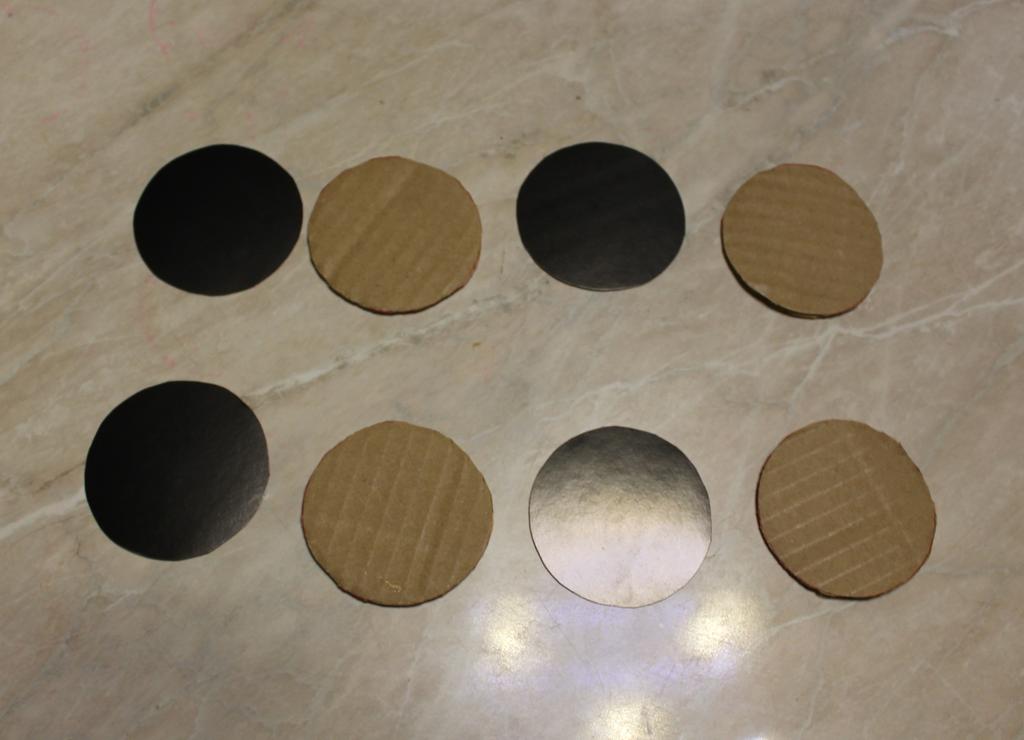
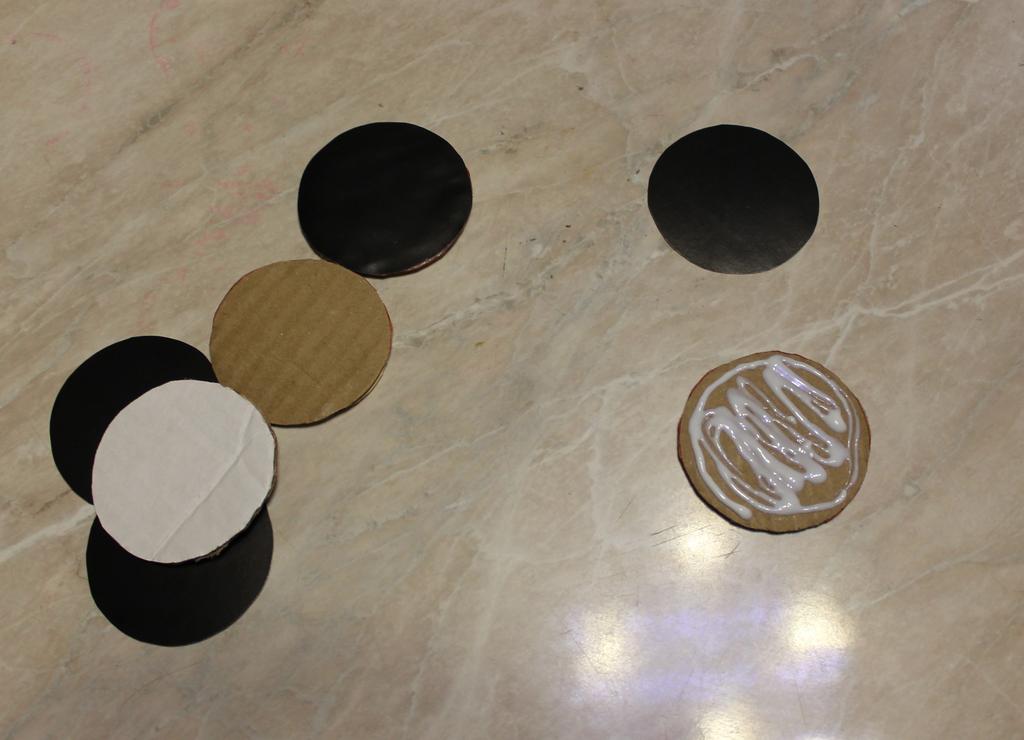
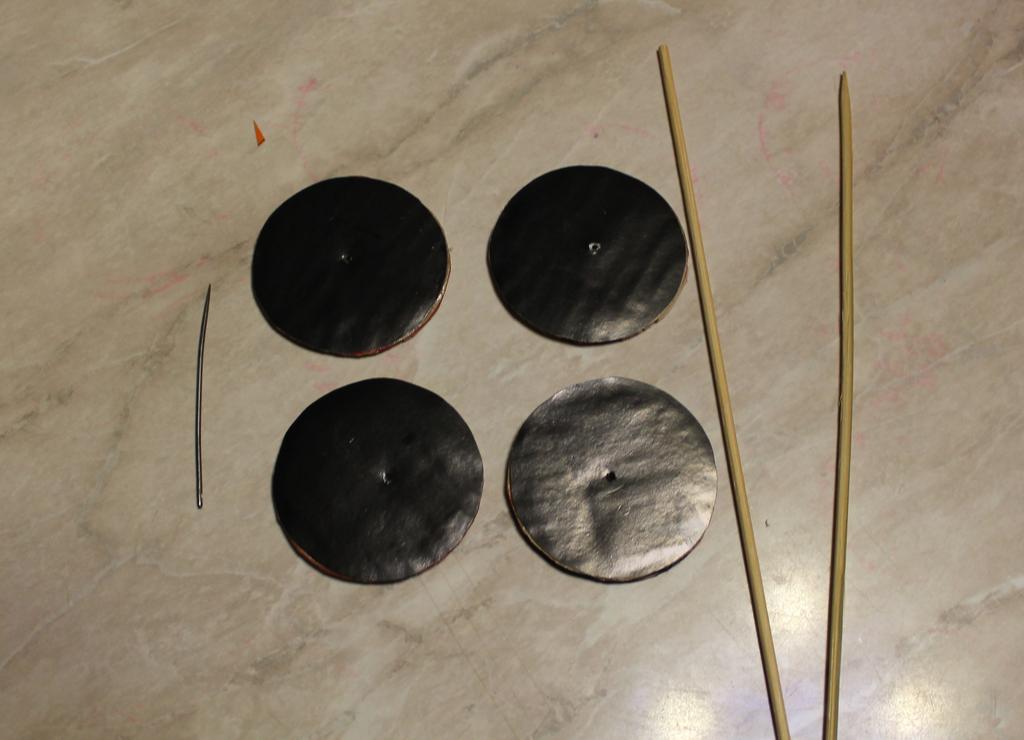
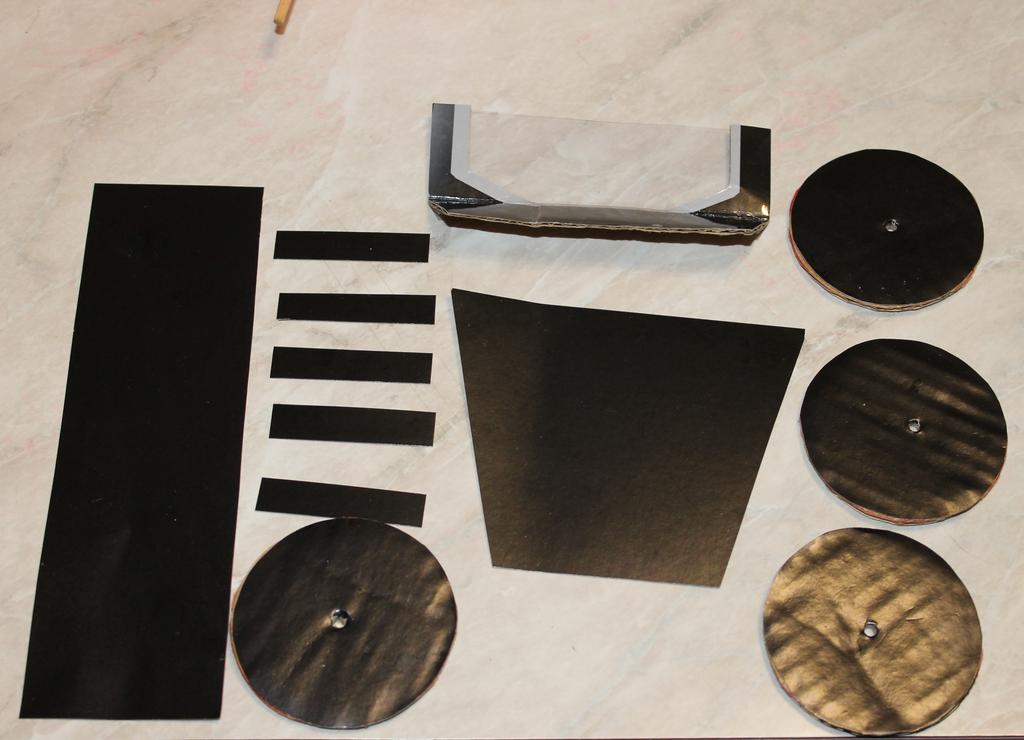
- Cut out of a thick and colored cardboard for 4 circles with a radius of 3 cm and glued together in pairs. This will be the wheels for the car.
- In the middle of the wheel, make a hole with a needle, then expand it with a skewer.
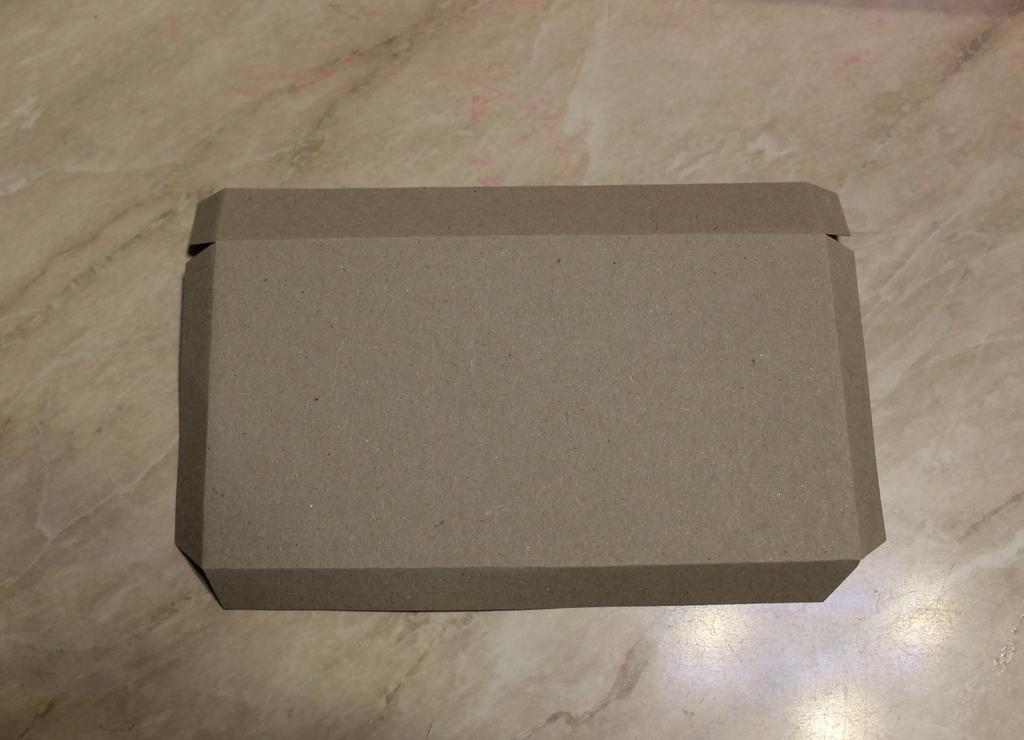
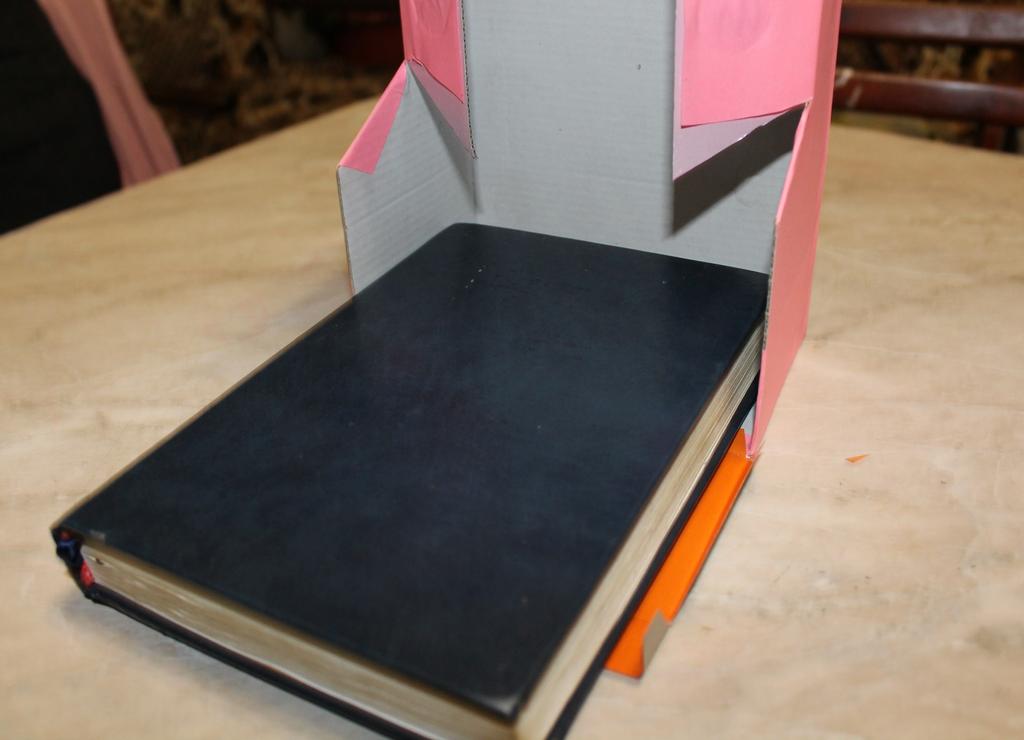
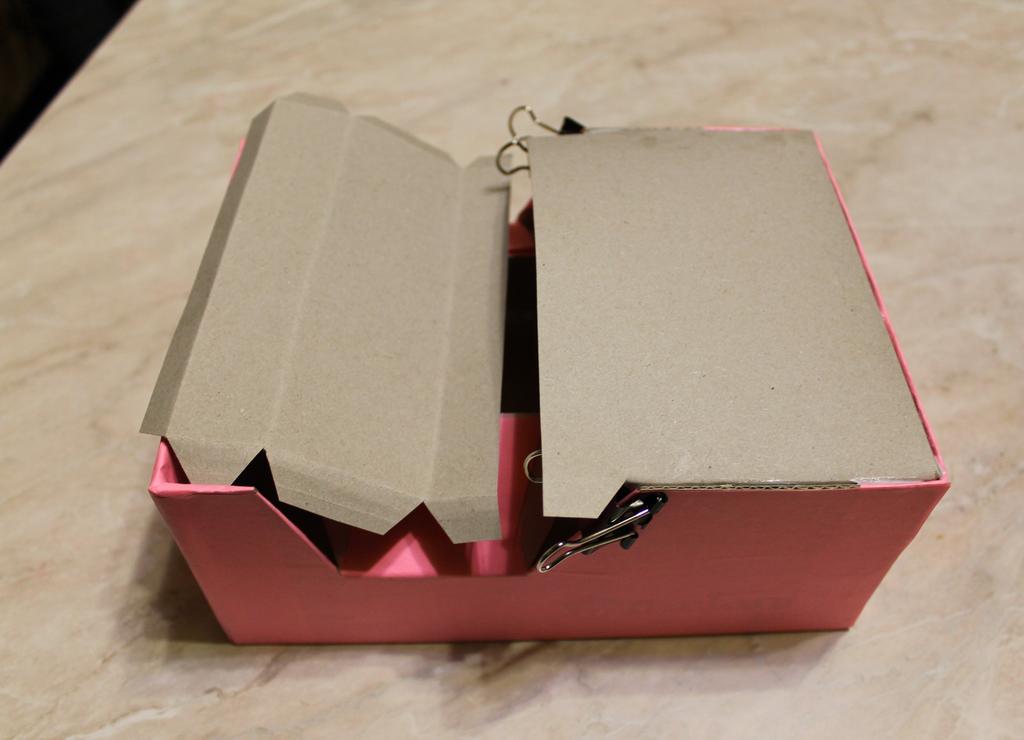
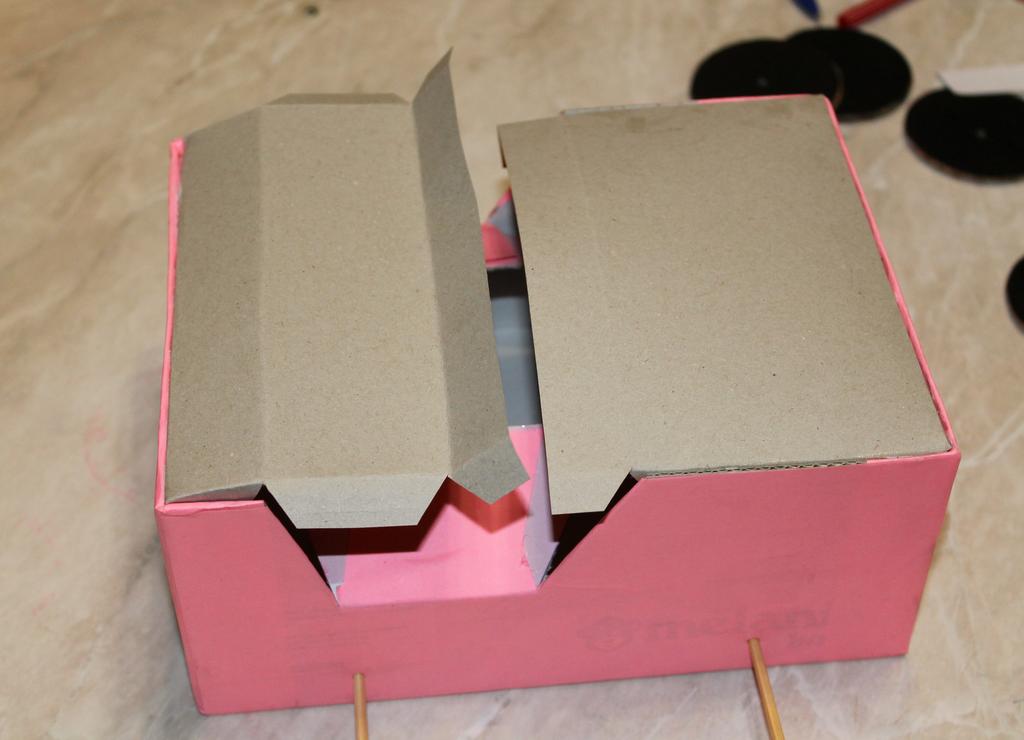
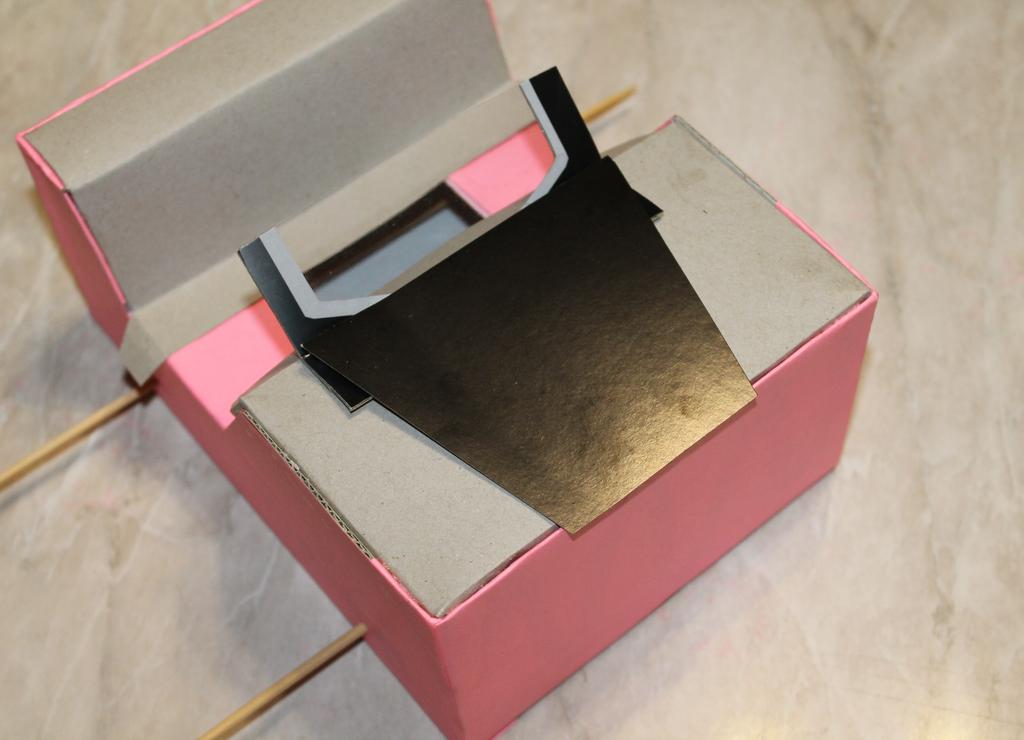
- From the cardboard we make two blanks for the hood and trunk. We make the allowances for 1 cm for 1 cm for gluing and cut the corner in the places where the part will bend.
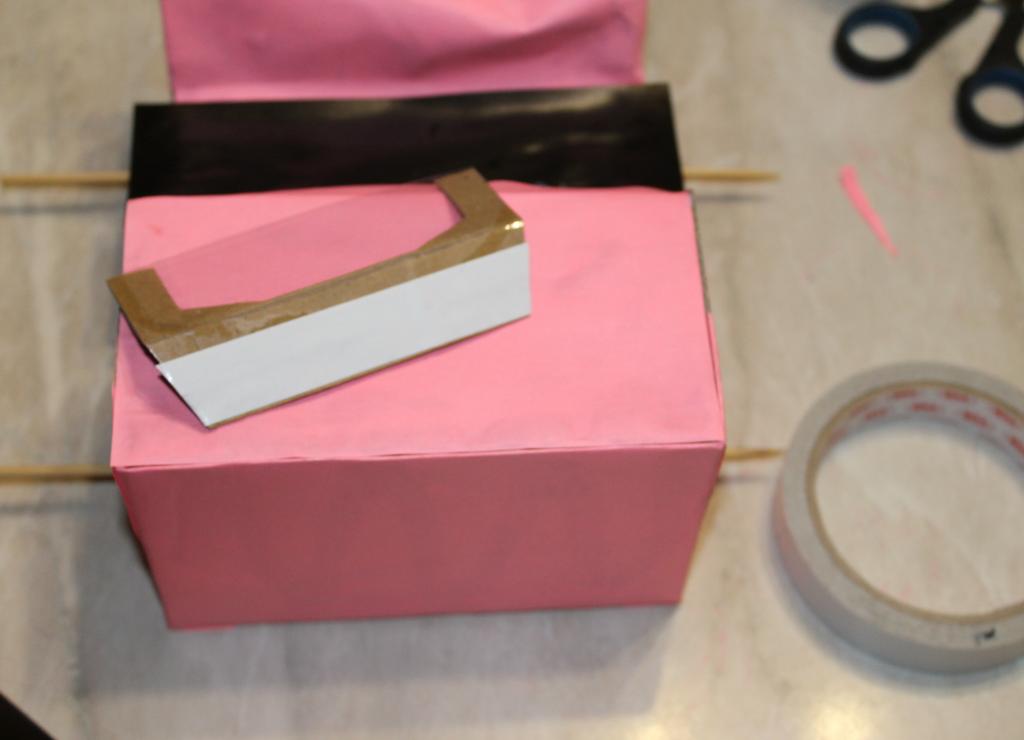
- We glue the front part in parts.
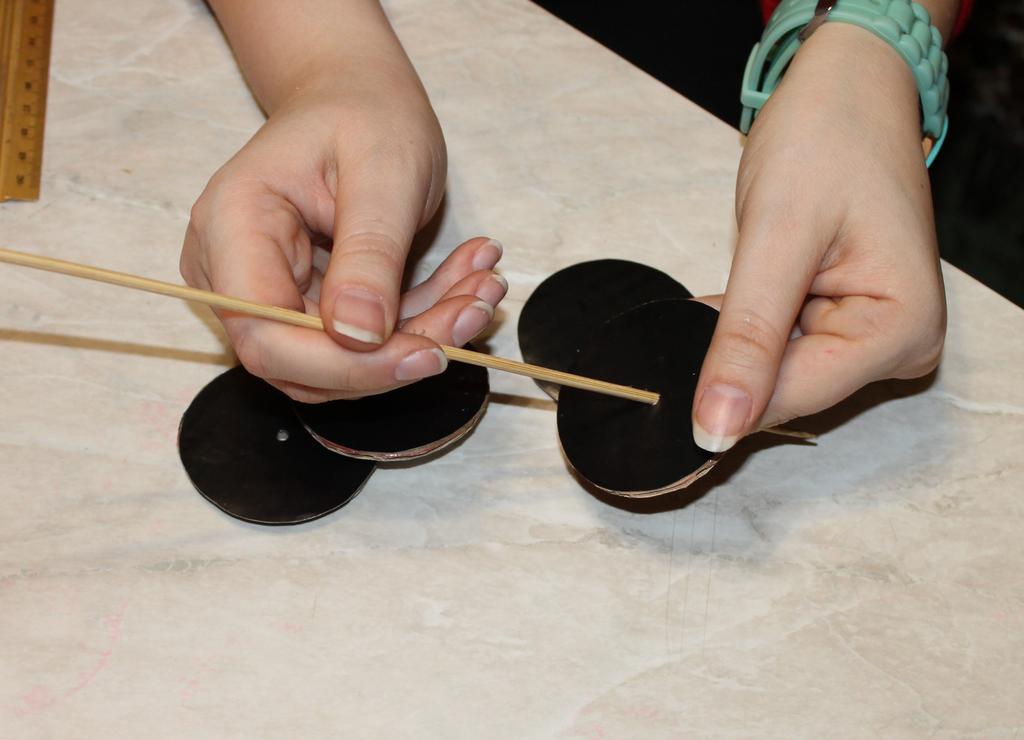
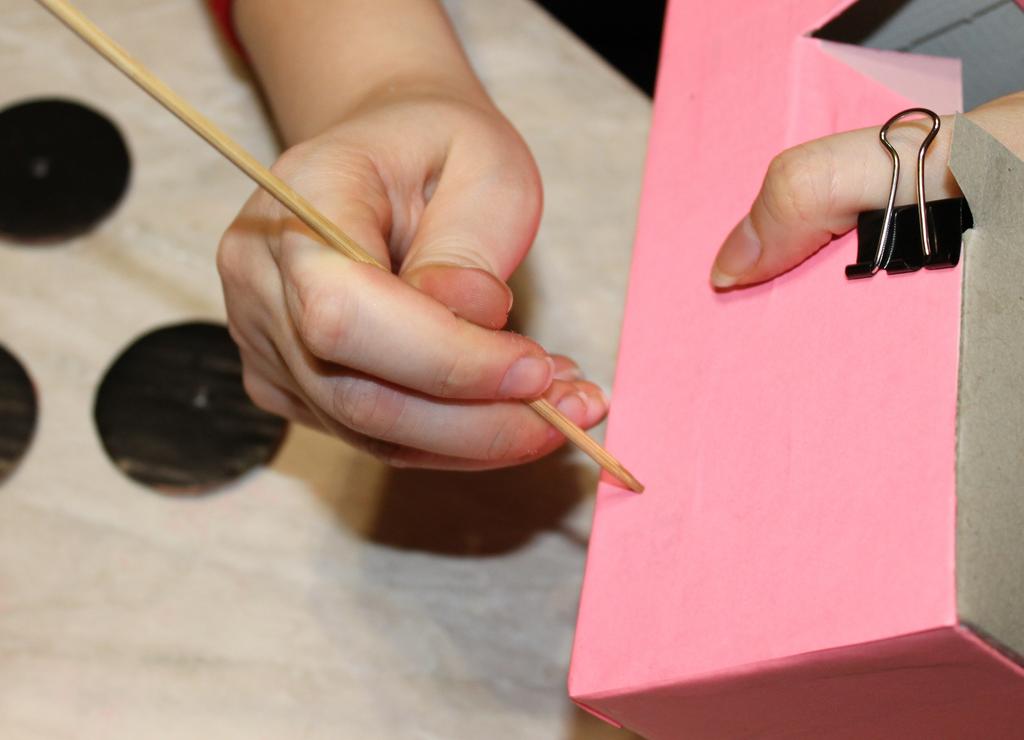
- Make holes for the wheels and insert wooden skewers with a sharp end.
- We glue the upper back part, also in parts.
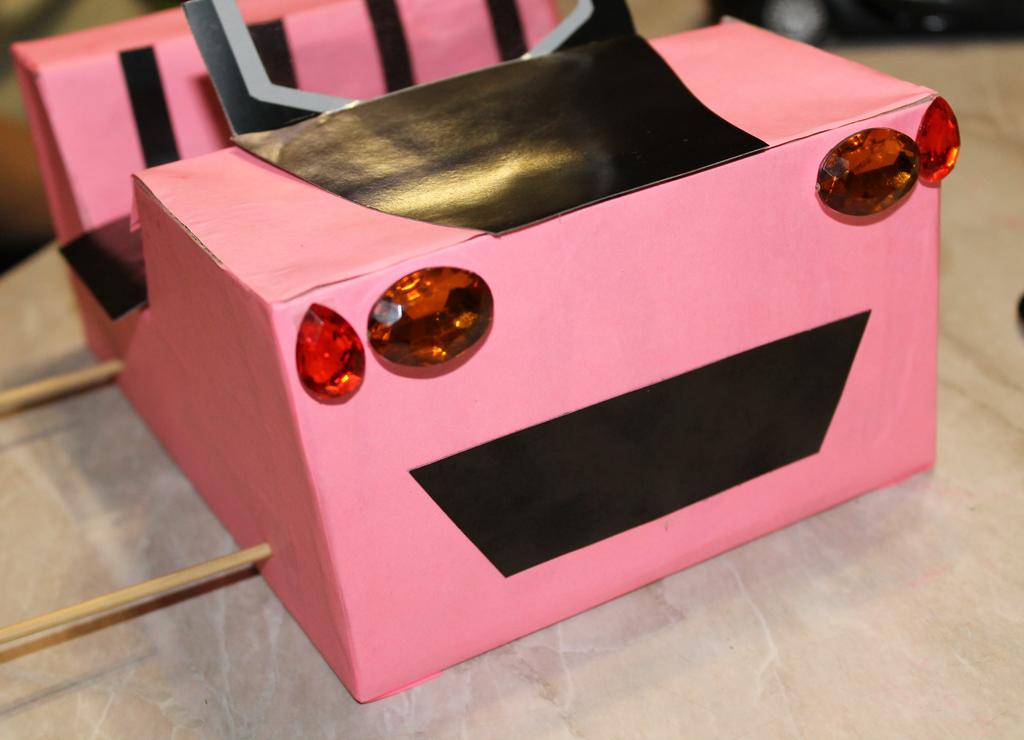
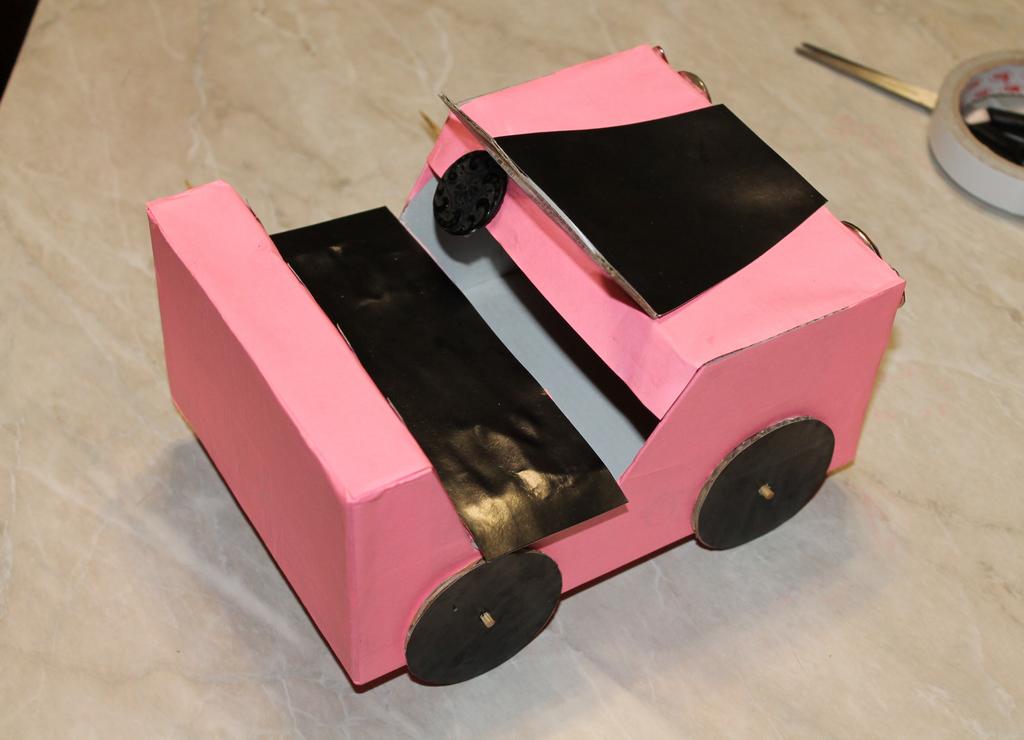
- On the front part of the machine from cardboard and transparent film we make a hood with a windshield.
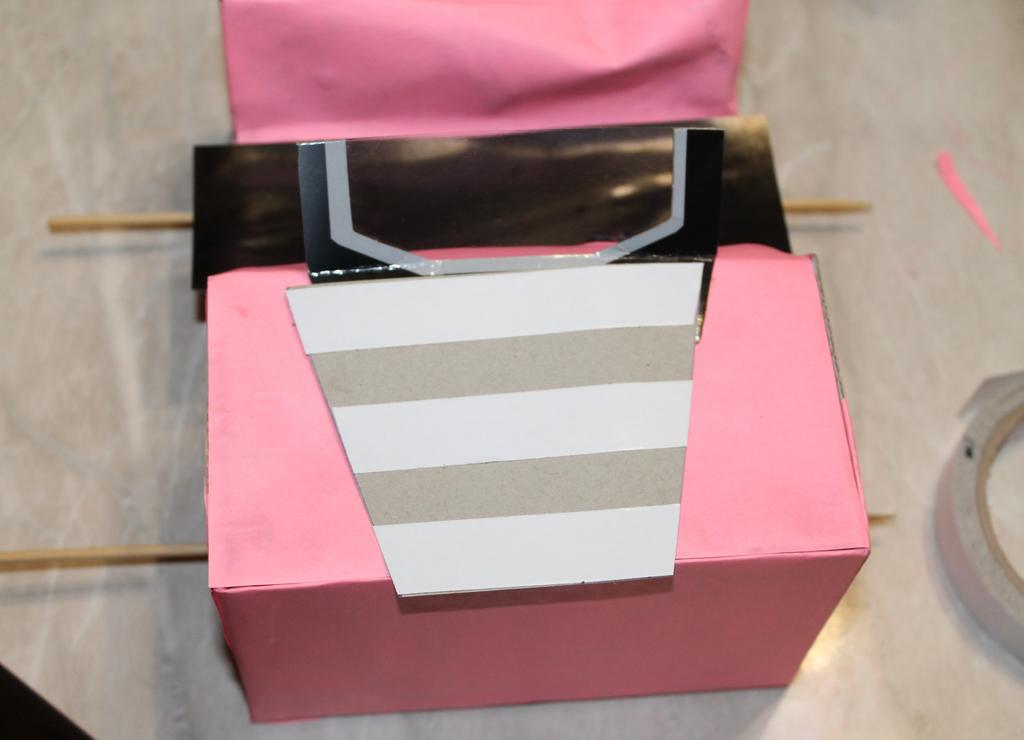
- We paste the colored paper, the remaining parts of the machine.
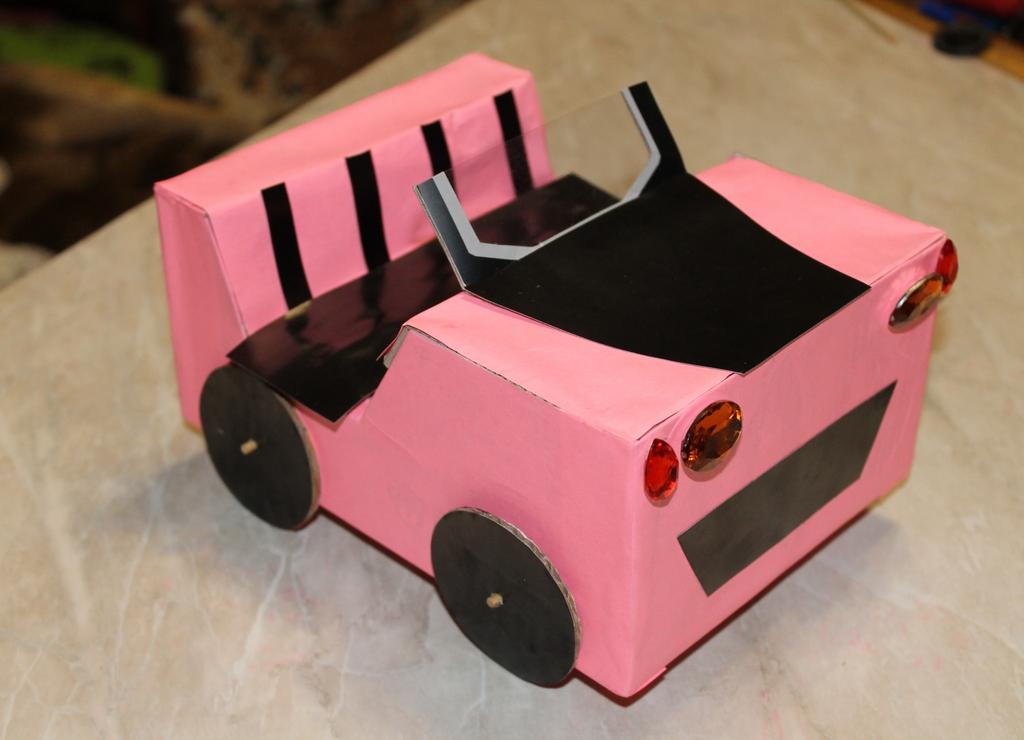
- Cut out the black cardboard rectangle is slightly longer than the size of the seat. Our car has black parts: wheels, seat, hood, bumper.
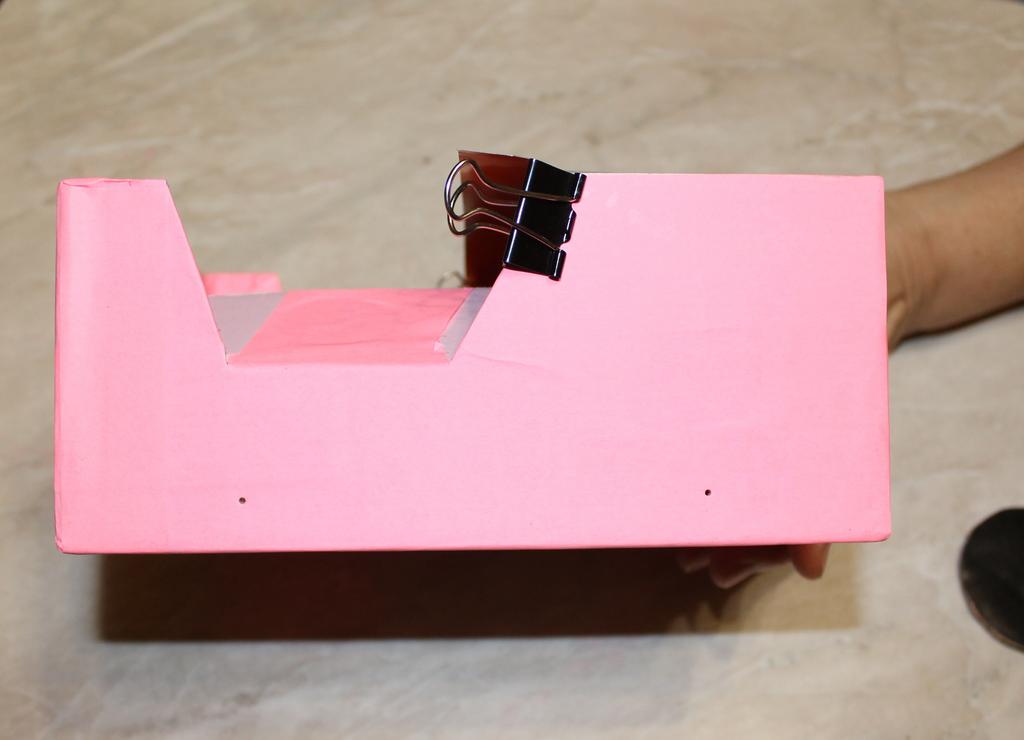
- For the seat, first glue a strip of dense cardboard, and from above we glue a black rectangle.
- Using a double-sided adhesive tape, attach the top of the bonnet and the windscreen.
- On the double-sided adhesive tape attach the bumper, strips on the seat and headlights.
- We put on the wheels, and shorten the skewers.
- We fix the steering wheel from a button or wire, and add different "decorations" to the car.
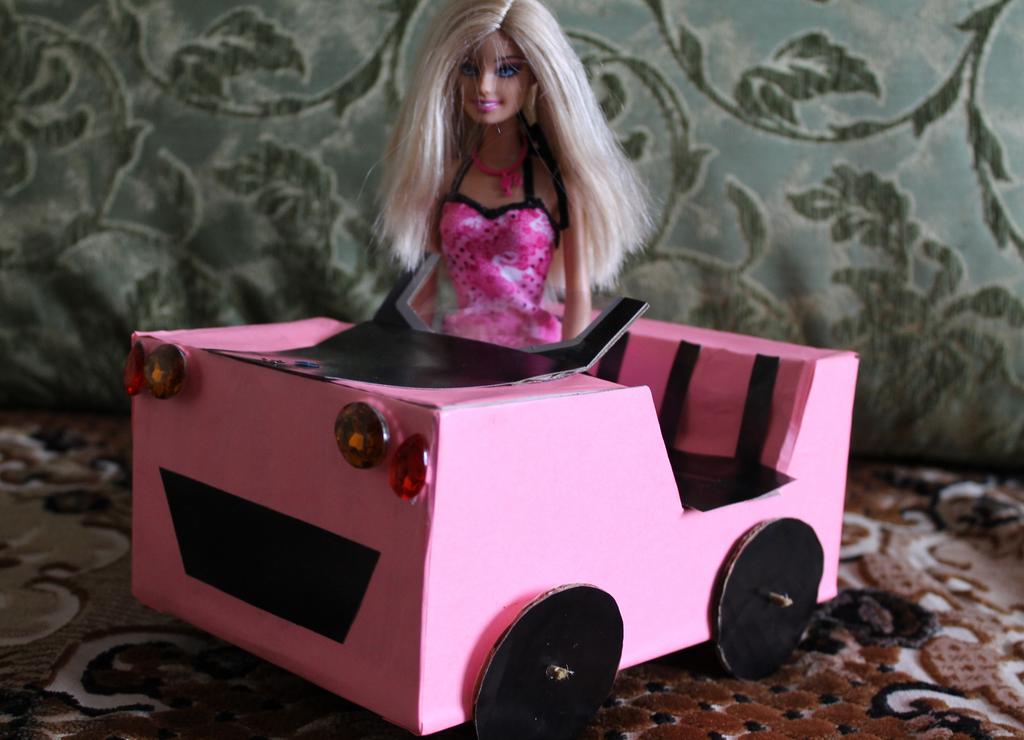
That's what a beautiful pink car for the Barbie doll we got!
Such a typewriter for a Barbie doll like this one can be done with a child and then it will be doubly pleased with the result.
Also for Barbie you can make a comfortable bed and make fashionable shoes .