To begin learning knitting with knitting needles is best from simple patterns, for example: "corn". Among needlewomen, he is also known as "knots" and "hedgehogs." We will get acquainted with him in more detail in this article.
Patterns of "corn" knitting needles - description
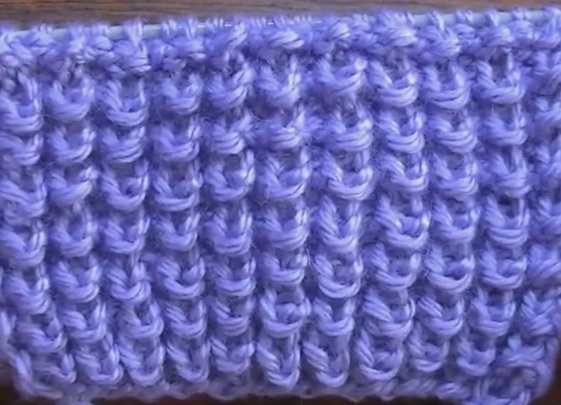
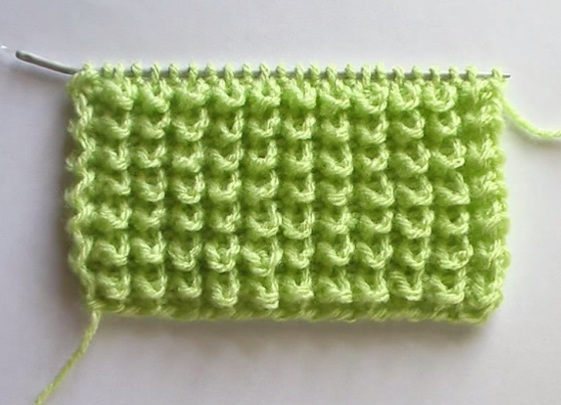
A distinctive feature of this pattern is the texture: on the reverse side, it is very voluminous (resembles grains), and with the front one - smooth. At what they are used on the contrary - the volumetric side outwards.
| | |
It is good to use for knitting cardigans , warm jackets and hats, as it keeps the shape well, but soft to the touch. Such things will be very warm, since the air element adds a volume to the canvas, which means that the body temperature will be better preserved. Also, due to its density, the "corn" pattern is very often found in decorative pillows or blankets.
Repeat is made vertically 4 rows, and horizontally - 4 loops. Knitting with the needles of the pattern "corn" is carried out according to the following scheme:
Master class - how to knit a pattern of "corn" knitting
How to Knit:
- For this pattern, you can type any even number of loops.
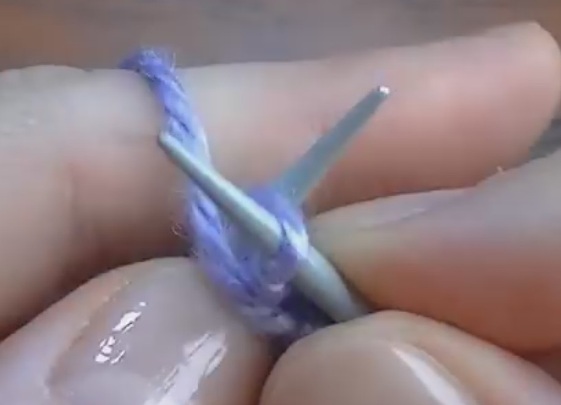
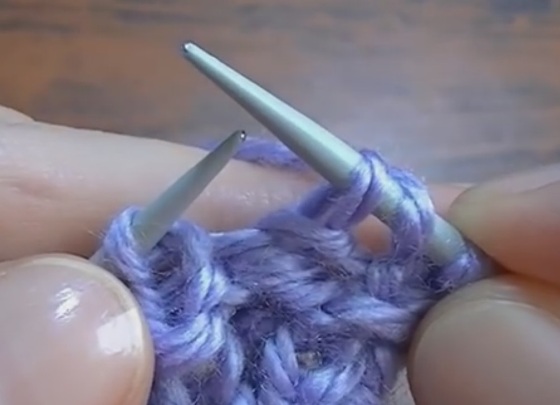
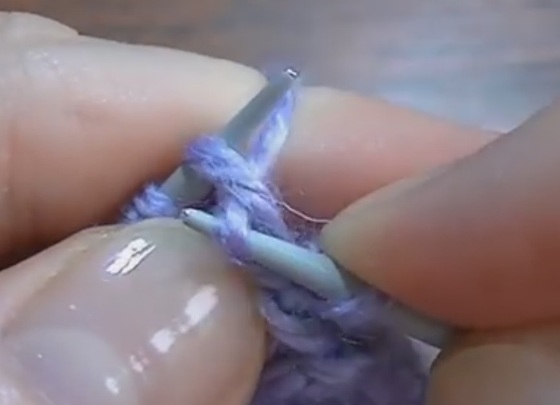
- First row. We start with the edgeband, which we just take off. After that, we sew the front and the back. Until the end of the series we continue to alternate.
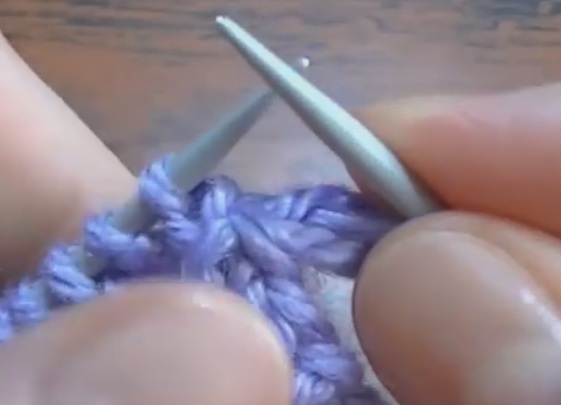
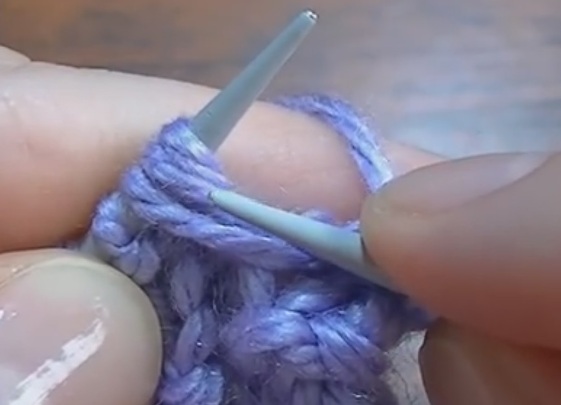
- Second row. We use the image we have on the basis of our drawing, as follows: where we had the front one, the front one, where the right one, we take off with the crochet. The closing loop (edge) is sewn by the wrong side.
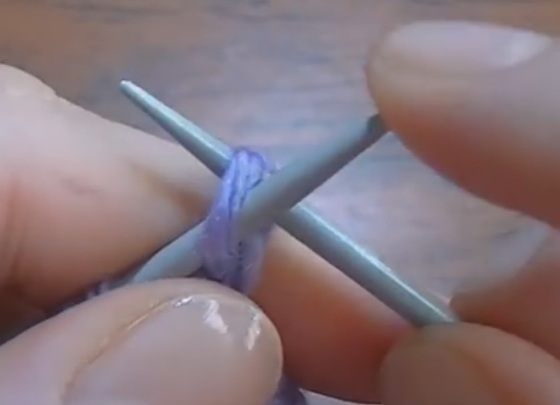
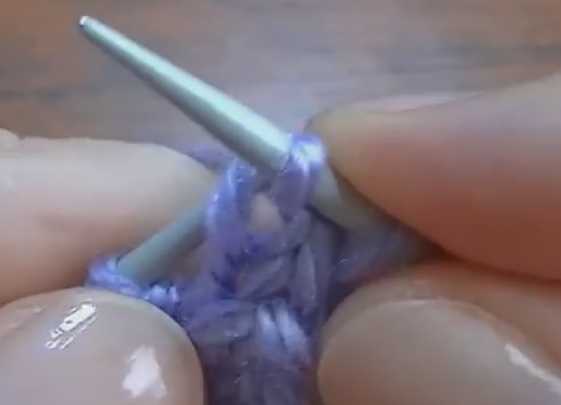
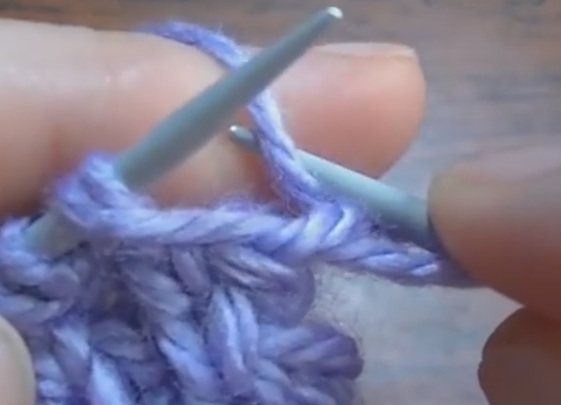
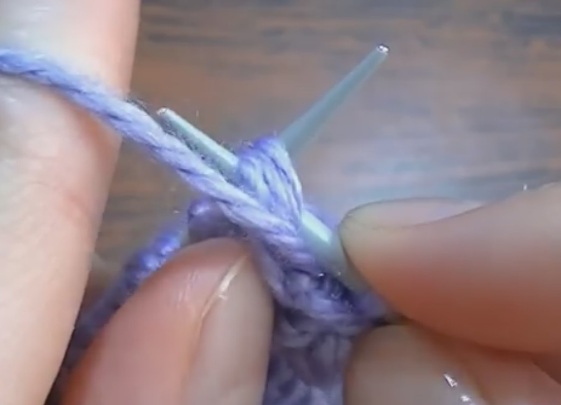
- Third row. We remove the edges. We make the crochet on the right knitting needle and transfer, without tying, following the loop with the crochet. Then we have a purl loop, which should be tied with the front of the front wall. So do the rest of the series. The closing edge is bound with the wrong one. After tying this series, we should already have scales.
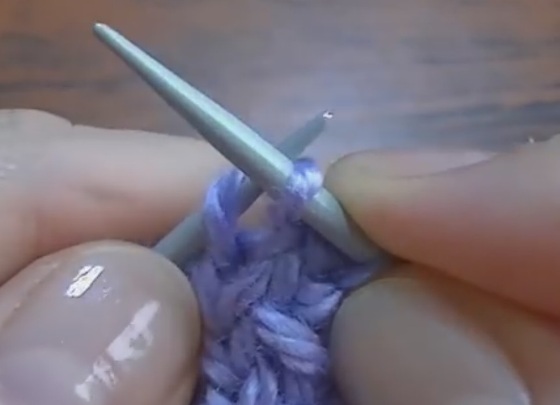
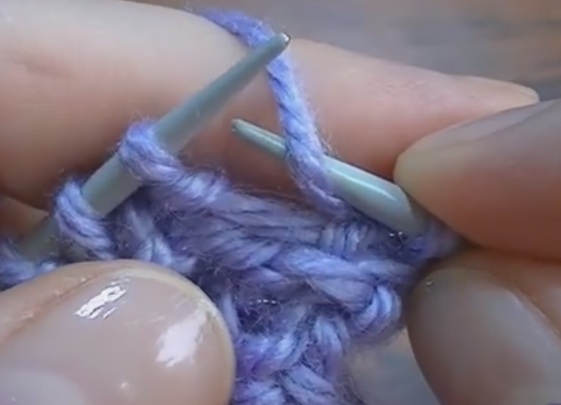
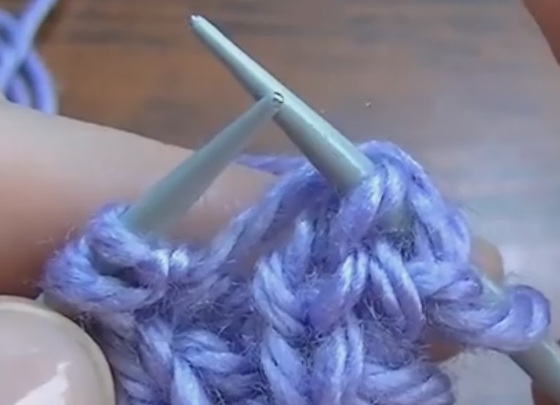
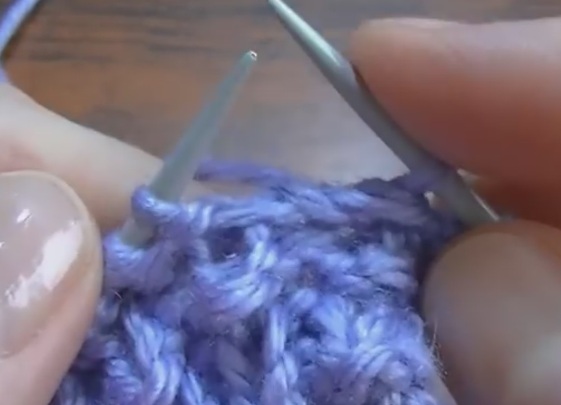
- Fourth row. We remove the edges. Then we sew the front. The next loop we have is already two overlays. We sew it with the wrong one. We do so all with all the remaining loops in the row, except the last one. We finish the purl.
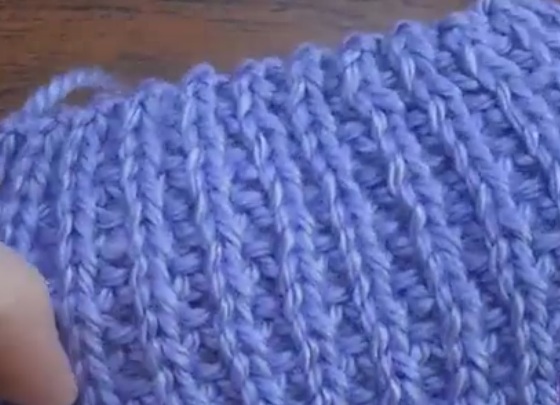
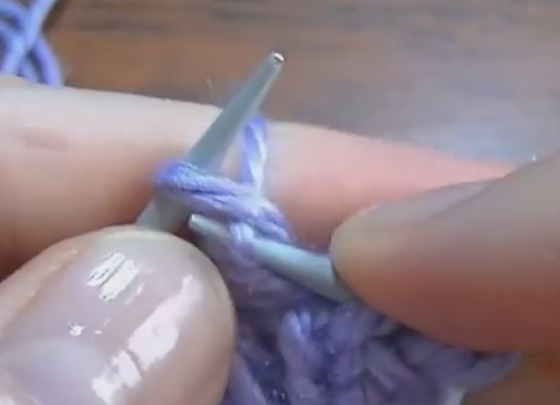
- From the fifth row we begin to repeat the knotting from the first. As a result we get here such a canvas.
| | | |
| | |
| | |
| | | |
| | |
| | |
This pattern is suitable for both basic and finishing products. To make it look evenly, and not bushy, loops must always be made of the same size.