If you are breastfeeding your baby, then all the problems associated with cooking outside the house have bypassed you. You do not use a lot of expensive accessories for feeding, like a sterilizer , a heater , a bottle bag and so on.
But if you are not lucky enough to get breastfeeding or your baby is only breastfeeding breast milk, you have to face the problem of feeding outside the house, where everything is necessary, for example, in a car or for a walk. Of course, you can take a jar with a dry mixture, a thermos with boiling water and a container with cool boiled water to provide the child with the necessary food as needed. But it will all significantly burden the already difficult mother's bag and the hygiene issue remains open. The optimal solution for such cases is a thermos bottle for baby bottles.
What are baby food bags?
These are convenient covers with a woven thermal insulation material, which does not allow you to heat up or cool down the contents of the bag. There are thermal containers for one or several bottles of a variety of shapes, colors and sizes. With this useful accessory, you can prepare a children's mixture of the desired temperature at home and place it in a thermo bag. Now you have 3-4 hours left, during which the bottle will keep the desired temperature.
Since the principle of the thermos bottle is very simple, you can try to make it yourself.
Bottle Thermal Bag
All thermosets function according to one principle and there is nothing tricky in their device, it's easy to make such an accessory yourself.
For example, crochet and sew inside a foam pad.
Progress:
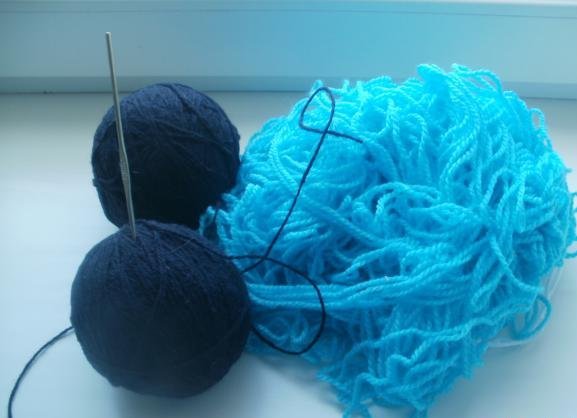
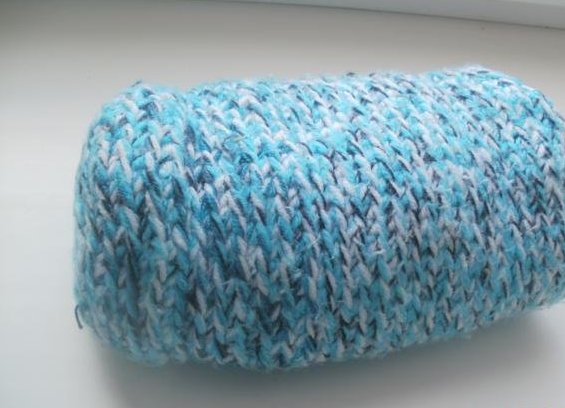
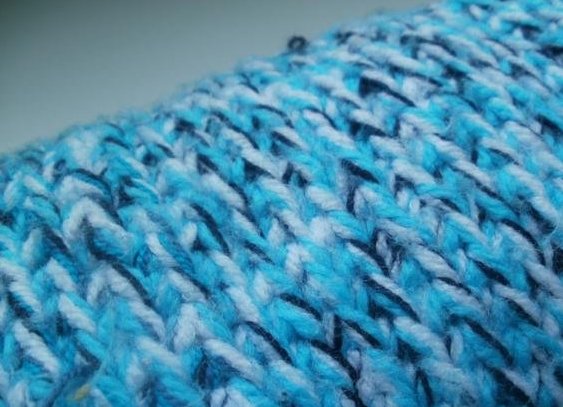
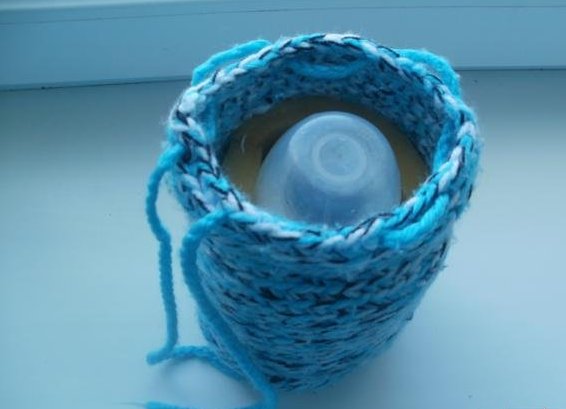
- We select the yarn. It is desirable to knit not in one, but in several woolen threads, you can have different colors. Then the thermos will better keep the heat. Since it should have a certain shape, it is better to choose the yarn not too soft.
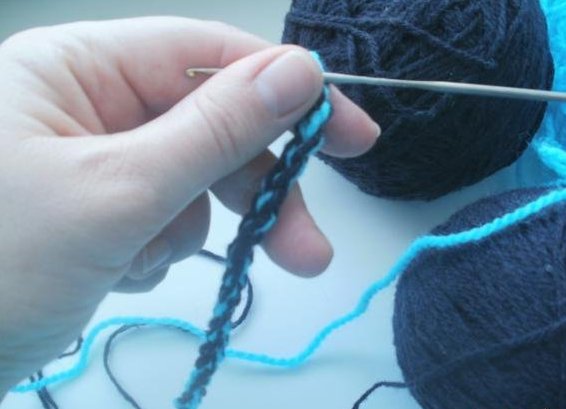
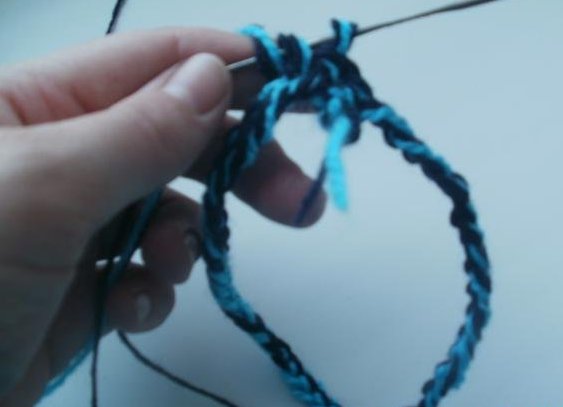
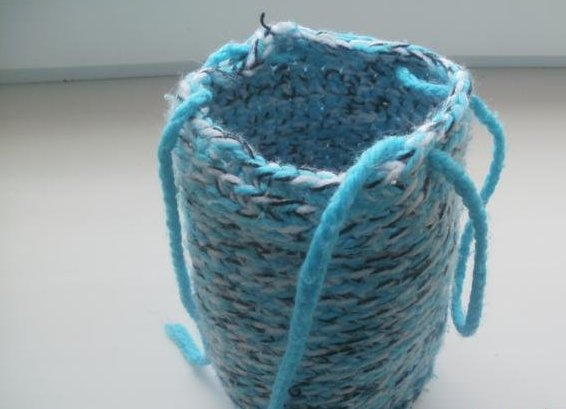
- Before you start knitting, measure the circumference of the bottle, which you plan to wear in a thermo bag. Then you need to tie a pigtail a few inches longer. We connect the pigtail in a ring and we fasten the next rows with simple loops.
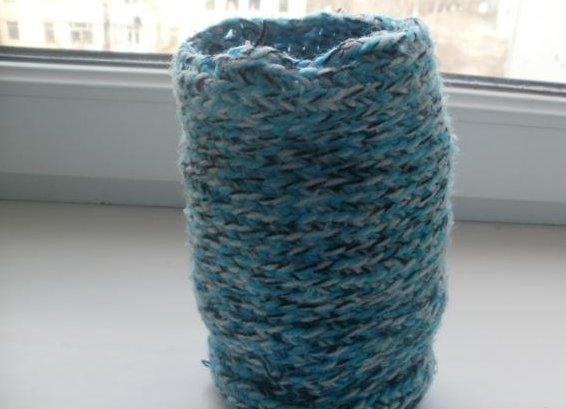
- After the knitted cylinder becomes taller than the bottle cap, you can connect the edges and knit the bottom, tying together several loops together.
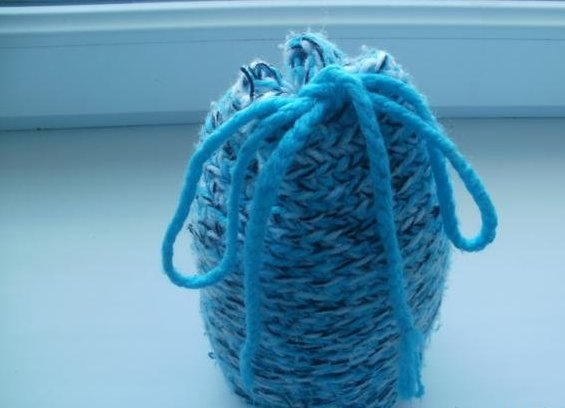
- Separately we knit a braid string, which will pull the top of the thermos bottle.
- We stretch the lace through the top of the cover, the ends are let out.
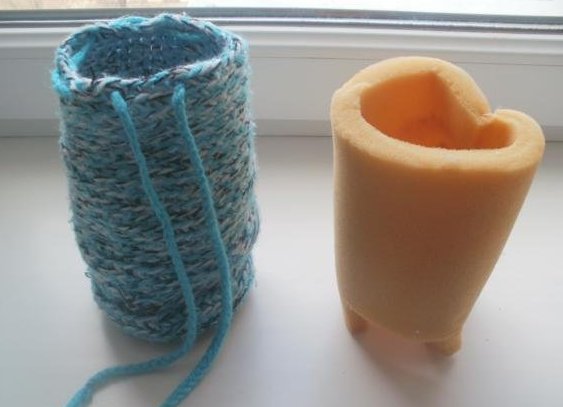
- From the foam rubber we sew a cylinder with a little bit smaller size so that it snugly "sits" inside the knitted handbag.
- We put the foam inside, the thermo bag is ready. Now you can put a bottle with a warm mixture into it and tighten it.
| | | |
| | |
| | | |