Give your kitchen a single style with the help of "napkin" technology. You can decorate any suitable surface: lockers , tables, stools and even kitchen utensils. Today we suggest that you do yourself a decoupage of the cutting board.
Master class for decoupling the cutting board with crackle cracks
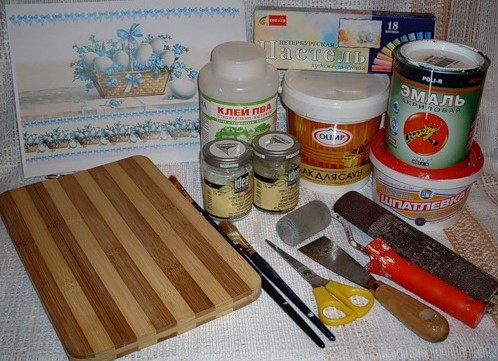
For work we will use the following materials:
- wooden plank;
- putty and rubber spatula;
- white acrylic paint and roller;
- Sandpaper, scissors and scotch tape;
- printout of the drawing on the laser printer;
- adhesive PVA and brush;
- polyethylene film;
- colored acrylic paints and sponge;
- two-phase craquelure;
- varnish and brush;
- pastel crayons;
- liquid bitumen.
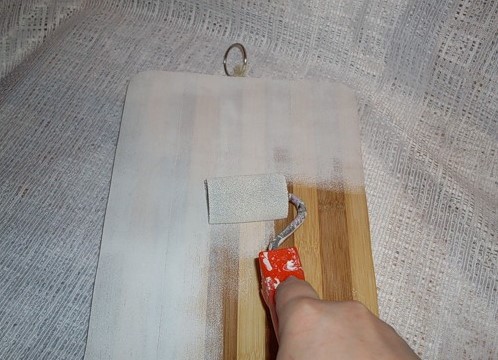
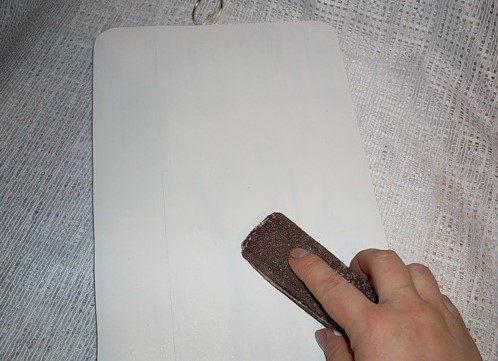
- Sand the wood blank and primetute it with white paint.
- Cover with a second layer, allow to dry and sand again.
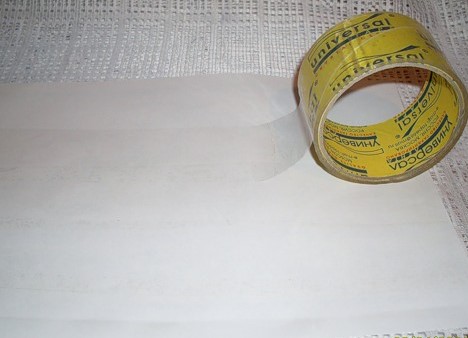
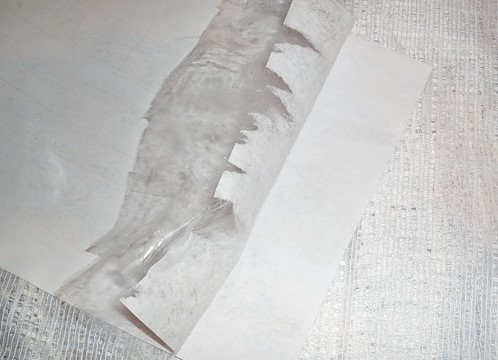
- Now let's prepare the improvised decoupage map. Using a wide tape, start tearing off the bottom layers of paper.
- Do this until the printout is completely thin.
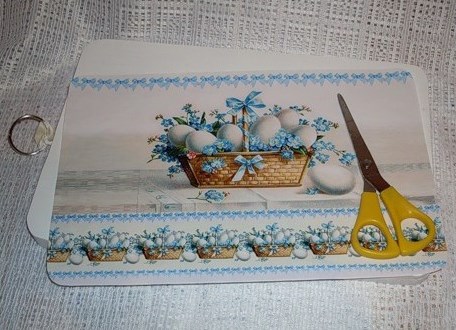
- Round the edges of the printout by cutting it in the shape of the board.
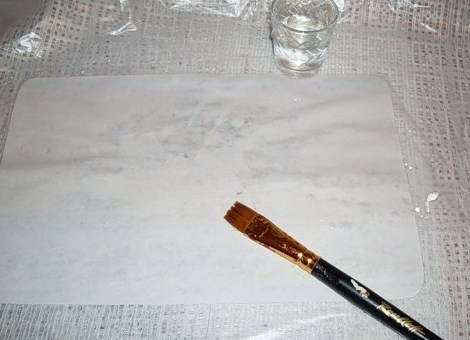
- Place the printout on the pre-spread polyethylene and moisten with water using a soft wide brush.
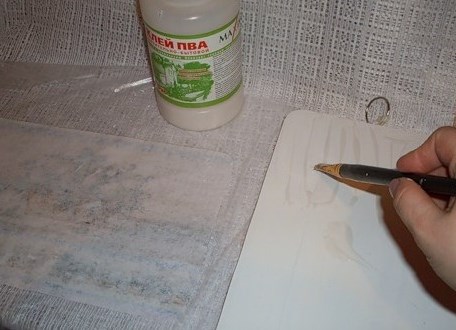
- Now lubricate the printout and the board with PVA glue.
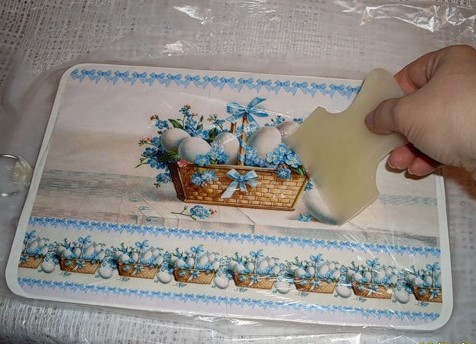
- Carefully, without removing the paper from the film, attach it to the board. Smooth the wrinkles by expelling the air, directly through the polyethylene. To do this, it is convenient to use a small rubber spatula.
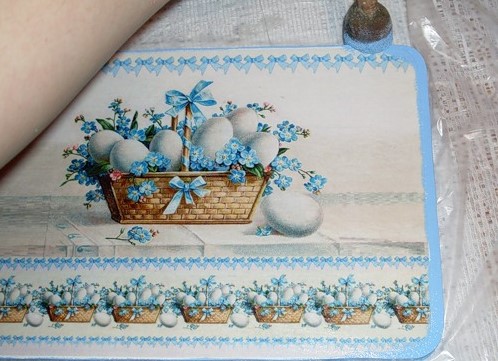
- Remove the film and re-grease the product with a small amount of glue.
- Before decorating, wait until the glue dries. Prepare acrylic paint in tone and with the help of sponge tint the background around the edges of the board.
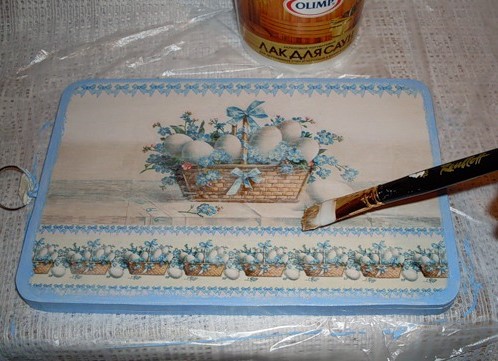
- Cover the product with a varnish. On this, in principle, you can stop, but we will continue to work to give a wooden cutting board in the technique of decoupage beautiful craquelure effect.
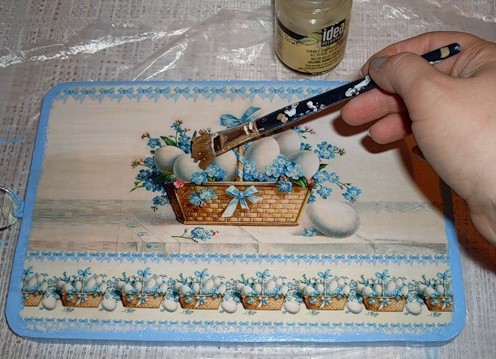
- Use a two-phase craquelure varnish is easy enough. Wide strokes in one direction (across) cover the board with the first phase.
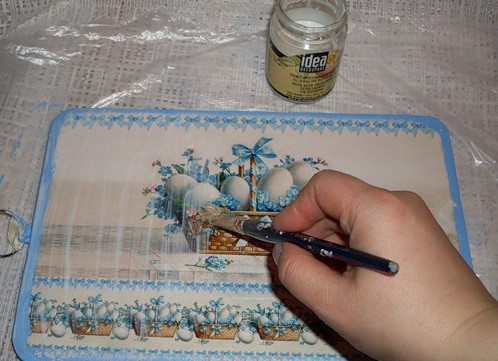
- When the craquelure almost (but not completely) withers, proceed to the second step. Cover the product with the second phase of the crackle with longitudinal strokes.
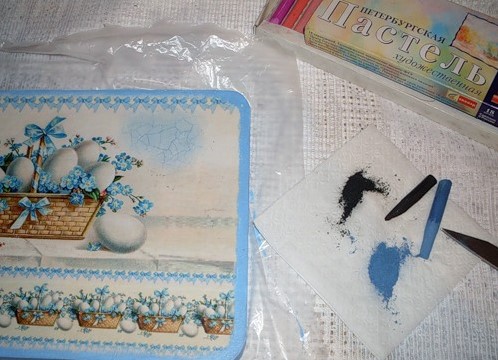
- After a while the board will be covered with beautiful cracks. To make them more noticeable, in some places you should rub into the indentations finely crushed pastel chalks of contrasting color.
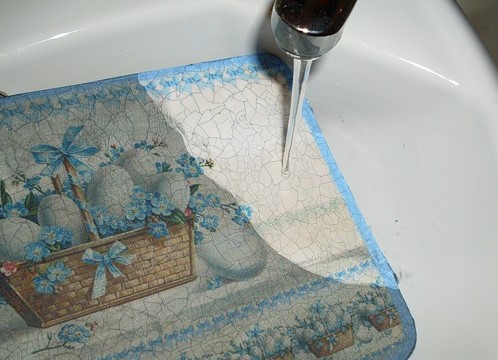
- Rinse excess pastels with water or wipe with a damp cloth.
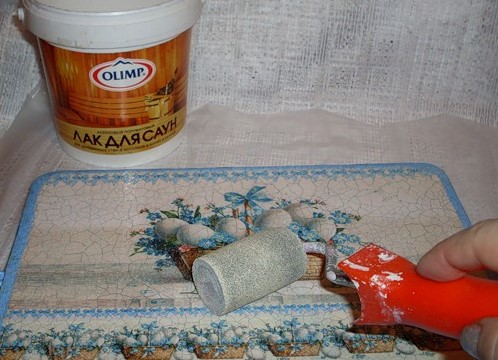
- In conclusion, you need to cover the entire surface to be decorated with finishing varnish.