This rather ancient form of creativity does not lose its attractiveness even today. From the vine you can weave not only baskets, but also various chutes, caskets, decorative elements for decorating the interior and even furniture . You just have to get carried away with this process, and you can not stop. And the reward to you will be fine products made by yourself.
Wickerwork for weaving baskets
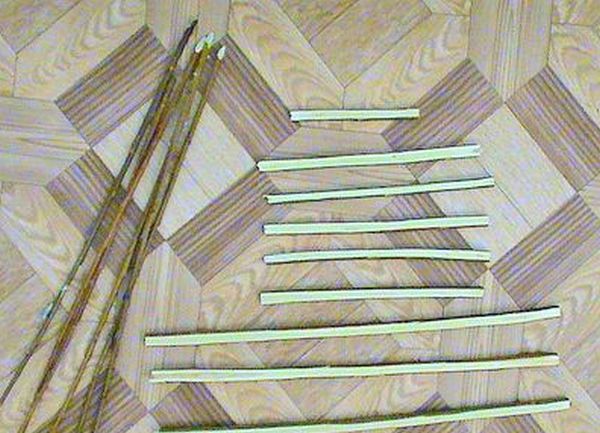
Naturally, everything begins with the preparation of the material for weaving . Cut the vine usually in the period of juice (early spring or autumn) and winter. Cut off in this period, the vine is of good quality. In addition, you need to ensure that it is made of fully ripened wood.
Treatment of the vine suggests its digestion in boiling water for 20 minutes. And it should be filled not with cold, but with boiling water.
To see the good quality of the vine, you can conduct a simple experiment: bend the cut branch in the thickest place by 180 degrees - if it does not burst, it can be safely used in the weave. If not, discard this lozenge - it will constantly break down.
Weaving an oval basket from the vine
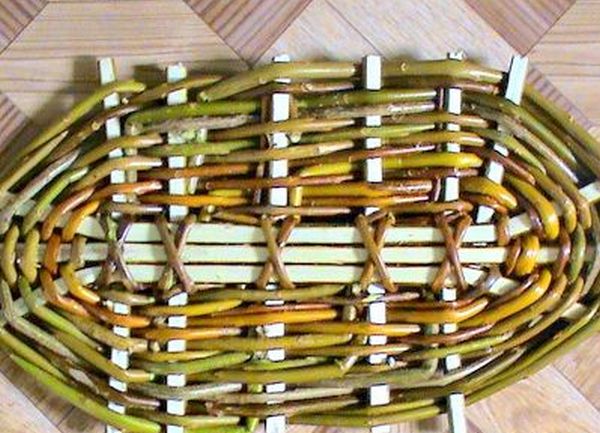
Weaving baskets from the vine always begins with weaving its bottom. The oval basket is no exception. Therefore, for him we are preparing 3 twigs for 25 cm, 5 twigs for 13 cm and 1 short rod 6 cm long.
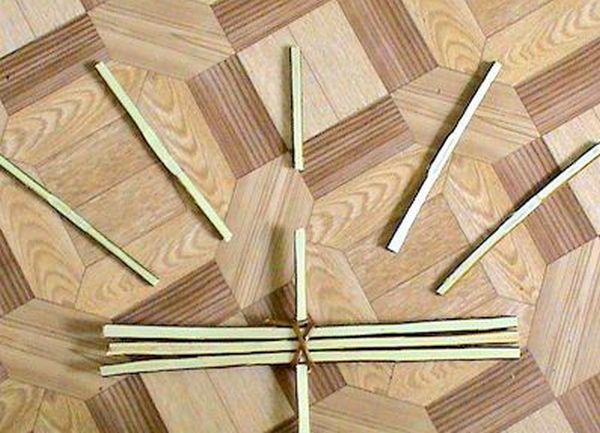
In principle, you can use twigs of a different length to get a basket bigger or smaller. Just need to adhere to this ratio in size. The number of rods must always be odd, and in our case, their number is 9. Split the 3 long rods in the middle, through the splits push the middle rod and braid the thin rod crosswise.
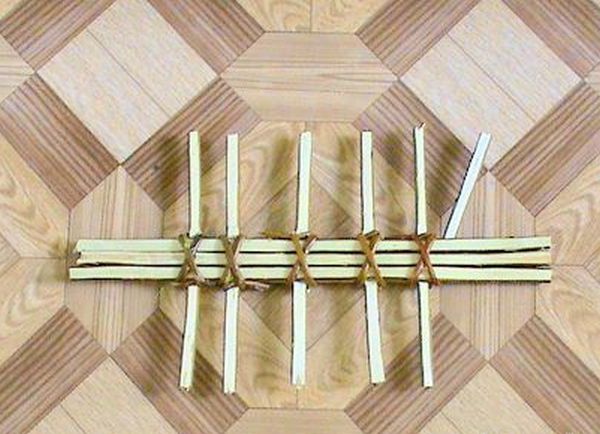
After that, at a distance of 3-4 cm apart we stretch and weave all the other twigs, and fasten the short rod to one of the sides of the crosspiece. As a result we have a cross with 17 ends.
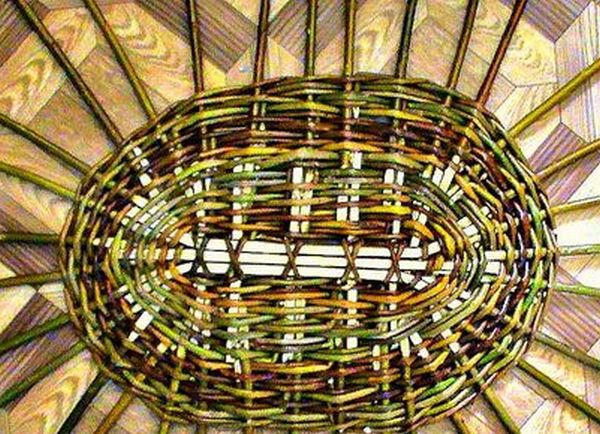
Now we need to braid this cross. In the end, we get an oval bottom, the size of which is still 25x15 cm. It needs to be leveled, cutting off the protruding edges. And to complete the bottom, add extra edges.
| | | |
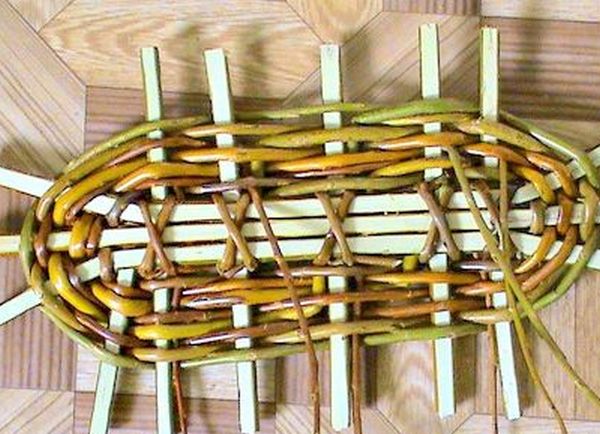
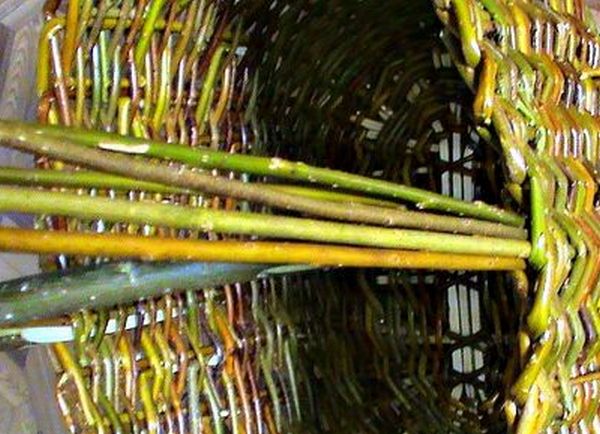
As side edges we use thick rods, about 5 mm in diameter - they play the role of a skeleton for the future basket. These edges must necessarily be an odd number. For example, as in our case, they can be 33. Make sure that the distance between the edges is exactly the same. The finished bottom is 40 cm long and 30 cm wide.
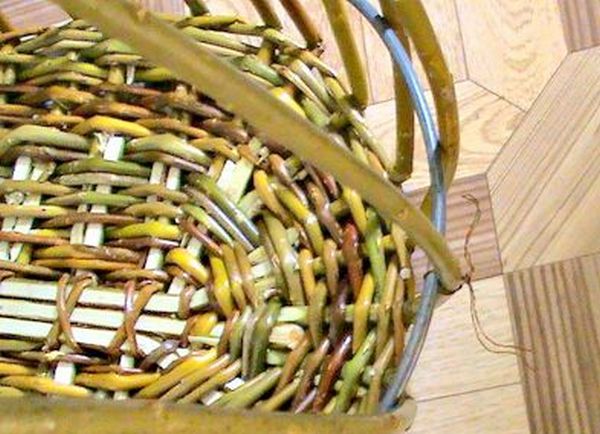
We cut the edge of the bottom with a pigtail, bend the ribs. The tips of the side ribs are assembled in a bundle over the center of the bottom. Inside them at an altitude of 15 cm we insert a spacer ring, which should be slightly larger than the bottom. In our case, the ring is 50 cm in length and 32 - in width. We fix the ring with wire from two opposite sides.
| | |
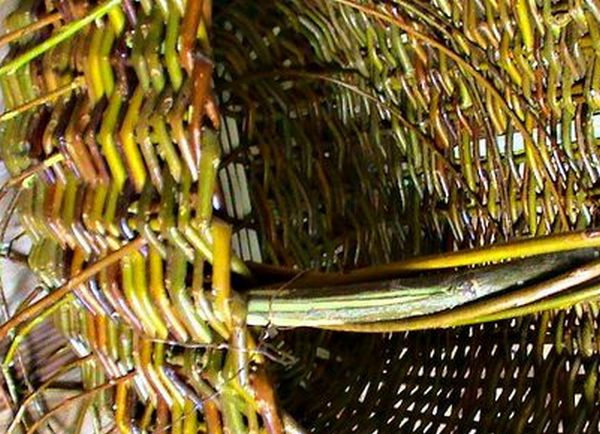
We continue the weaving, which now goes in the direction up the side ribs. We put the tips of the rods on the outside of the basket - we will trim them neatly afterwards.
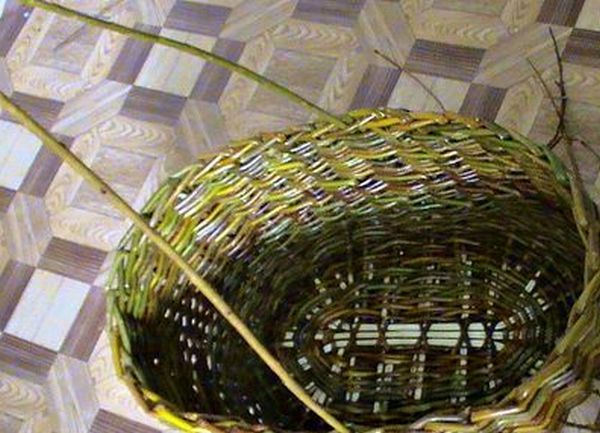
As soon as we reached the spacer ring, we remove it and continue the weaving to the desired height. After that, we make the braid of the upper edge, beginning with any edge.
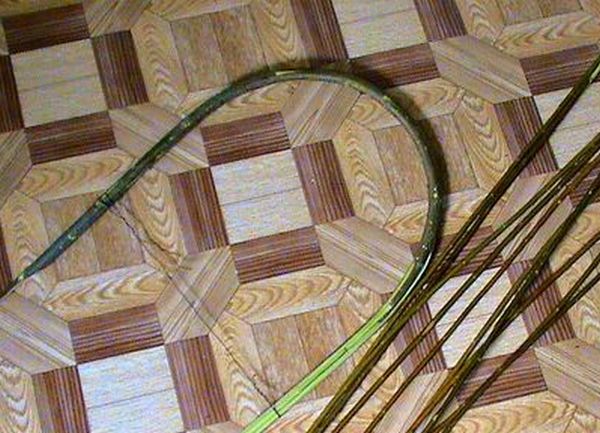
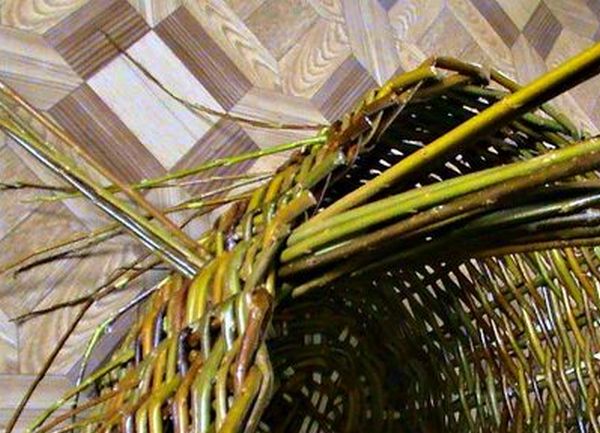
Weaving knobs for basket of vines
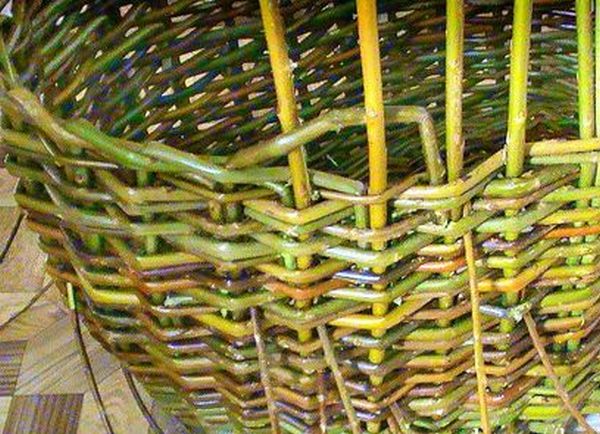
When braiding the upper edge, leave two long bars parallel to each other. They will serve us as an additional strengthening of the pens.
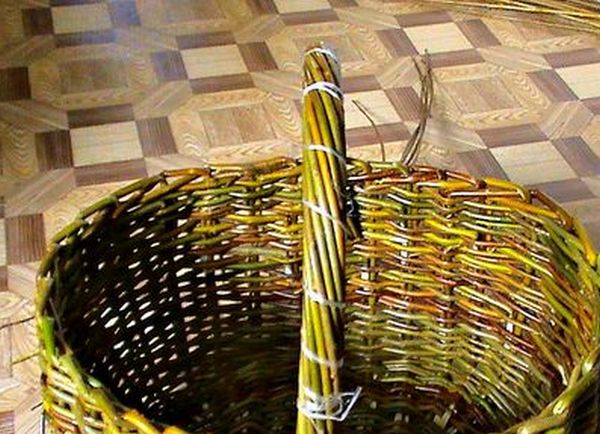
Make a handle, insert it into the side holes, where our left ribs come out. We braid the handle with thin long rods, inserting 5-6 rods from one end. We encircle them along the entire length of the handle a couple of times. Similarly, we do everything from the other side.
| | | |
| | | |
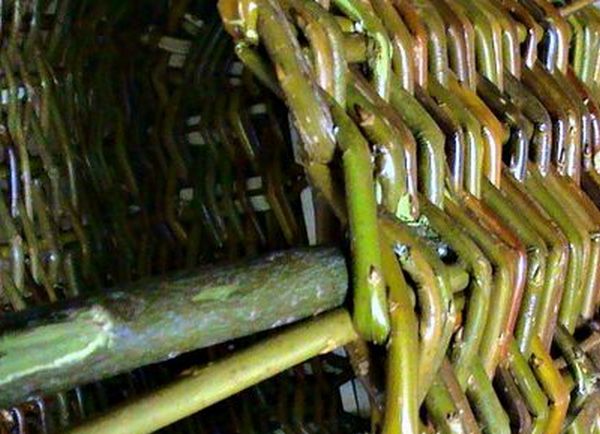
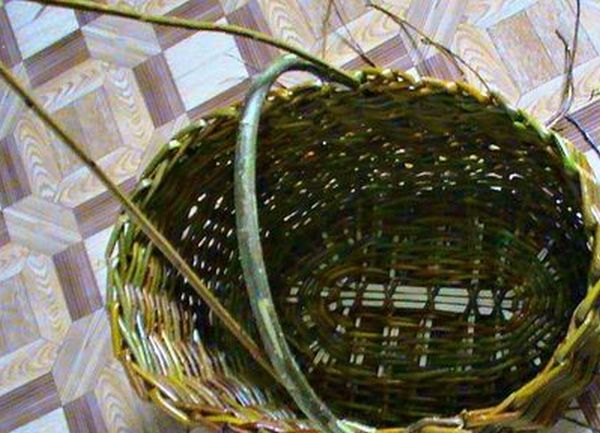
To make the handle dense, we drag it along the entire length with a string. It can be removed when the basket dries well and takes on the desired shape. The sticking ends of the rods are braided from two sides.
| | |
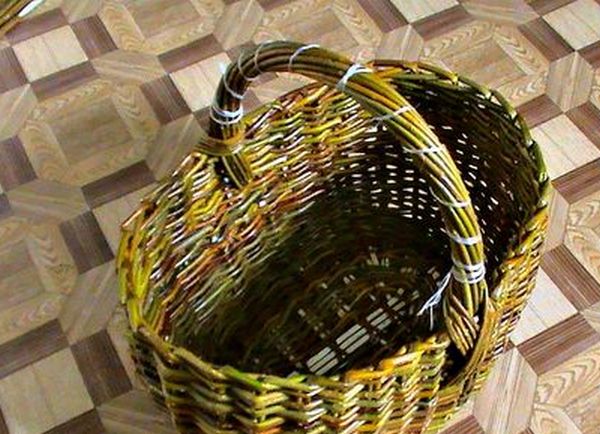
It remains only to prune all the sticking rods, after which our basket is completely ready!