To make an original gift or to breathe new life into boring dishes will help the technique of decoupage . This is a unique way of decorating an object with a drawing you like. When decoupage, the selected pattern is placed on the object and fixed on top with varnish. We present to your attention a master class, how to make a reverse decoupage on a glass plate, if desired, you can even with craquelure.
Required:
- glass transparent dish;
- a napkin, a photograph, or a picture that you will decorate your plate (an image printed on an inkjet printer is not recommended);
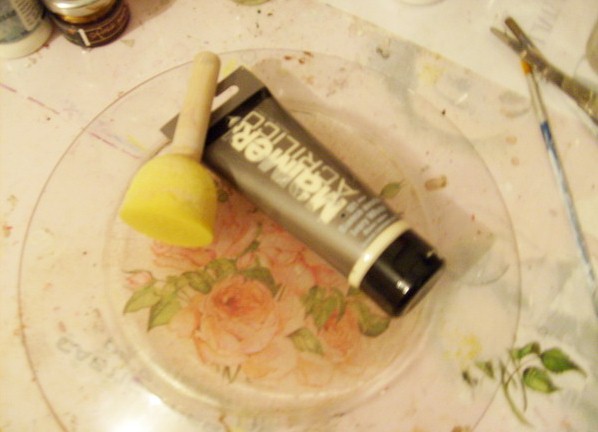
- acrylic paints;
- paint brush;
- foam rubber;
- scissors;
- varnish;
- glue, the best is PVA, because it is produced on a water basis and, if necessary, its excess can be easily wiped off with water;
- alcohol-containing solution.
Let's get to work.
Preparation.
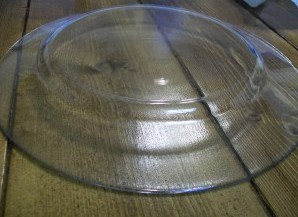
- First you need to prepare a plate for work. To do this, remove all stickers from it, wash it and dry it well. Then it is necessary to treat the plate with alcohol-containing solution, which will degrease the surface.
- When reverse decoupage of plates with photos, pre-process the photo from the front side TRANCKRIL-ohm, in several layers, giving everyone a good dry out. After we place the photo for a minute in warm water and remove, rolling, the white base of the photo.
- If you liked the bright napkin with a picture, then leave only its upper layer, unicolor lower ones.
Decor.
Option number 1.
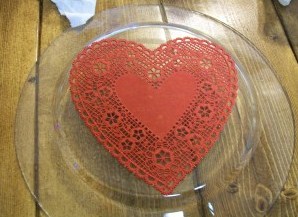
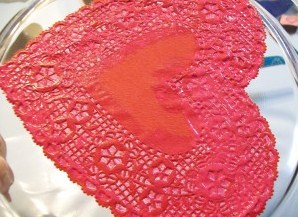
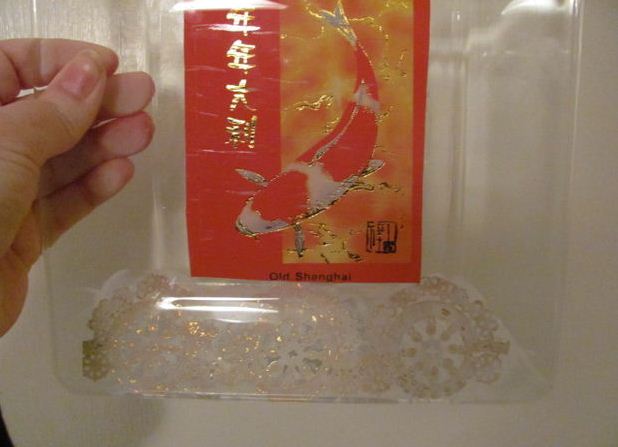
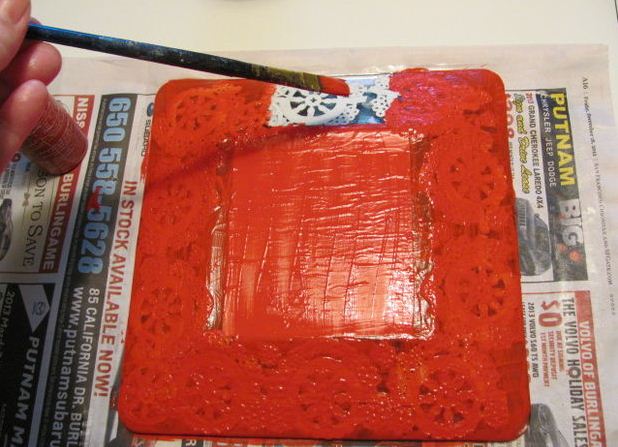
- We apply an openwork napkin to the back of the plate and carefully paint it with paint.
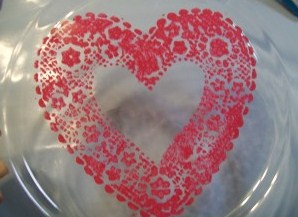
- After letting the paint dry and remove the already unnecessary napkin.
- Top with varnish. Everything, the most simple variant of a plate is ready!
| | |
Option number 2.
- We process the front side of the picture with glue and gently put it on the plate. Be careful that no bubbles form between the plate and the pattern.
- The edges of the plate are also made out with a sliced napkin, also gluing it. We let the glue dry.
- From above, we apply a layer of paint, and when it dries, fix it all with varnish.
| | |
| | |
Option number 3.
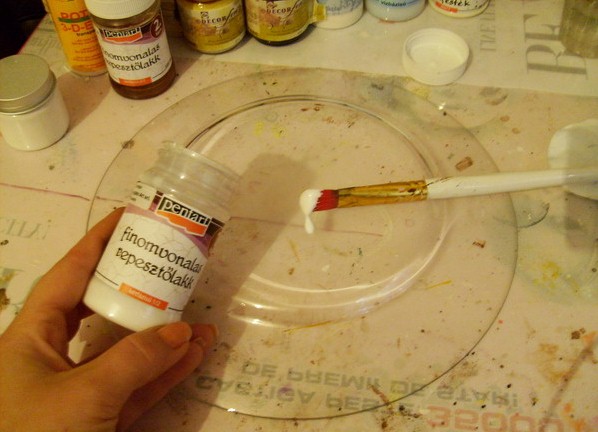
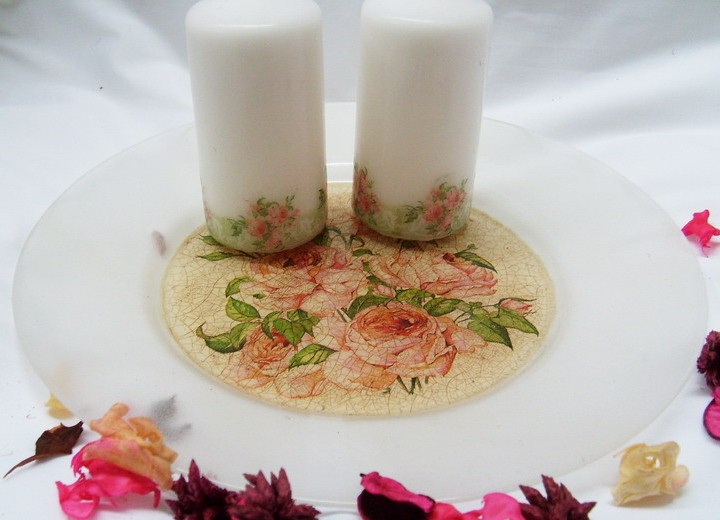
Now we use the technique with a one-step craquelure with reverse decoupage, which will give your dish a beautiful effect of a "cracked" image.
- On a low-fat surface, we apply craquelure and let it dry.
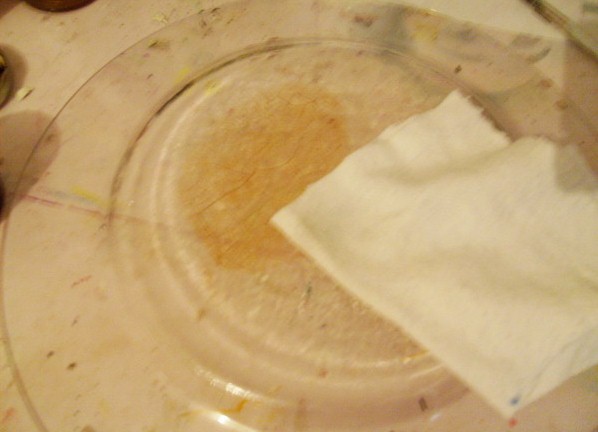
- After drying, wipe the cracked surface with a soft cloth with gum arabic. Surplus carefully remove.
- Apply the lacquer and let it dry.
- Then we do everything that has already been described in option # 2.
| | |
| | | |