Among the origami, a special place is occupied by the figures of all kinds of animals and birds ( cranes , dogs, cats, frogs, dragons ). It's very interesting to watch pets from paper: it's good to do such handicrafts with children, honing the skills of fine motor skills. Let's learn how to make a cat made of paper.
Master-class "How to make origami paper from paper"
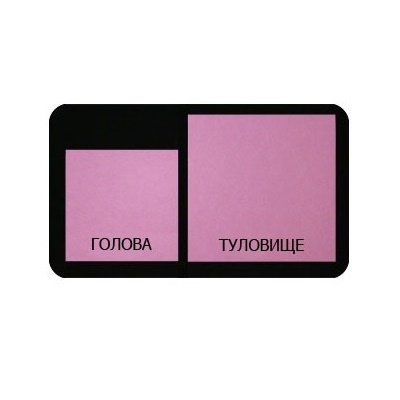
- Prepare two square sheets of paper of suitable color. They should be different - one slightly less, another slightly larger. Specific proportions can not be adhered to - just the difference in size depends on the proportions of the future cat's body of colored paper.
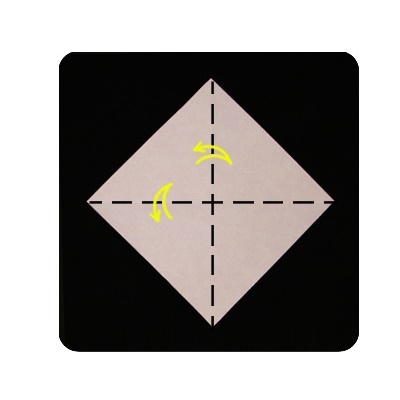
- We start work from the head of a cat. Take the smaller leaf, place it with the angle up and make two perpendicular folds. All these actions should be carried out on the "purl" (non-colored) side of the paper.
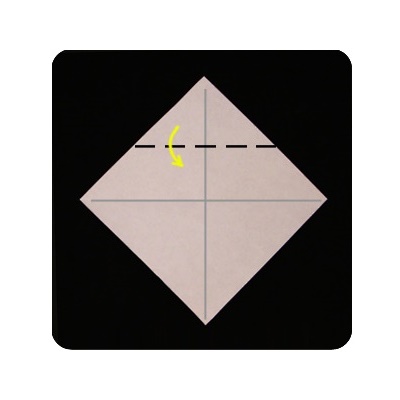
- In the upper third, make one more fold, separating the top with a smaller triangle.
- Fold it downwards.
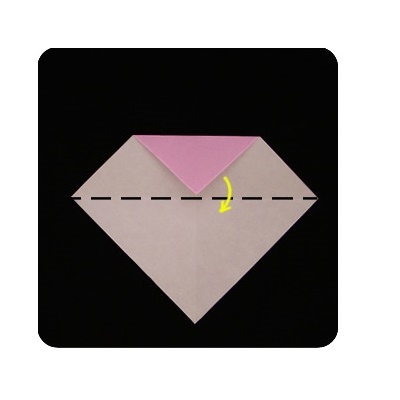
- The upper part of the resulting figure is a trapezoid. Fold it also down the dotted line.
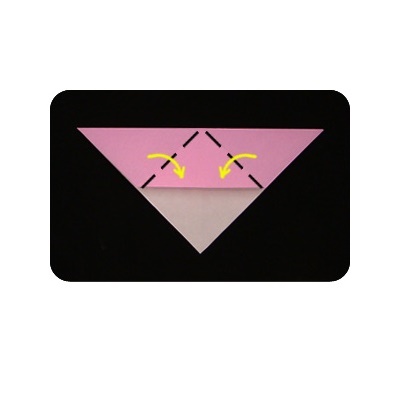
- Now fold the side pieces with a "little book" and make each one on the fold in the place shown in the picture.
- Push these corners upward and you will see that the cat's ears have turned out.
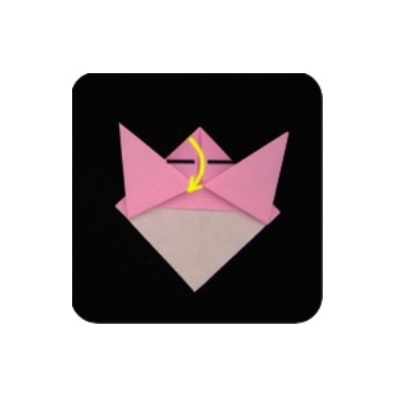
- The triangular part of the paper, located at the top between the ears, should be folded down.
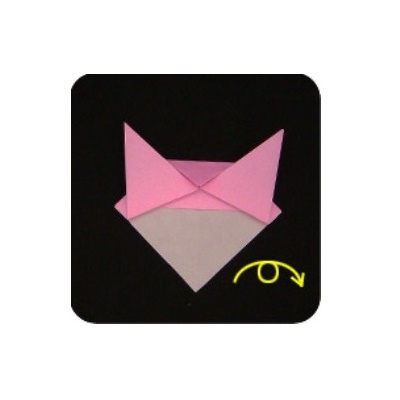
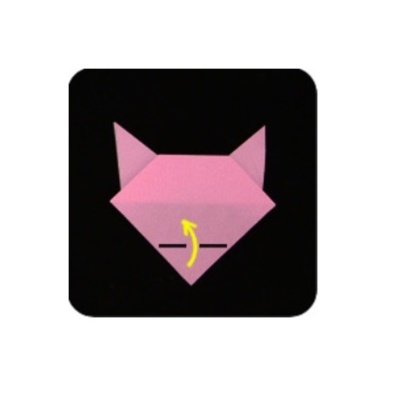
- Unfold the hand-crafted part with the other side and make a fold of the middle of the bottom part, thus forming the muzzle of your cat.
- The very tip also needs to be carefully folded - this will be the spout of the animal.
- At this work on the muzzle is over, and you can start folding the torso of the kitty.
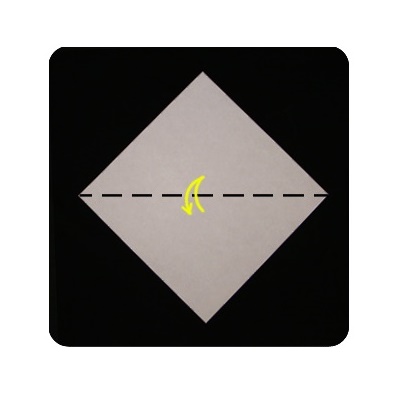
- Arrange the remaining larger sheet of paper as described in step 2, and make one transverse fold.
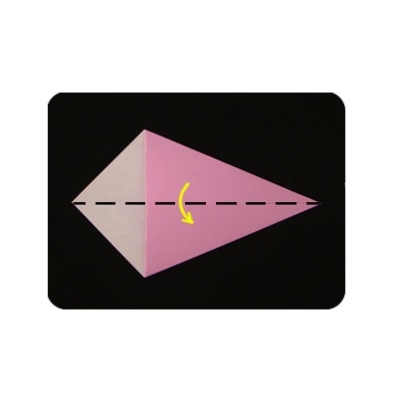
- The next two folds emanate from the right extreme point of the sheet and look like symmetrical rays diverging to the left.
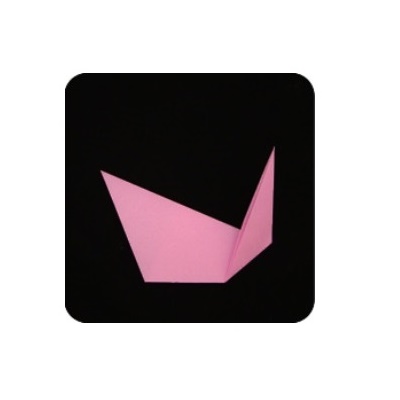
- For these folds, fold the edges of the paper to the center.
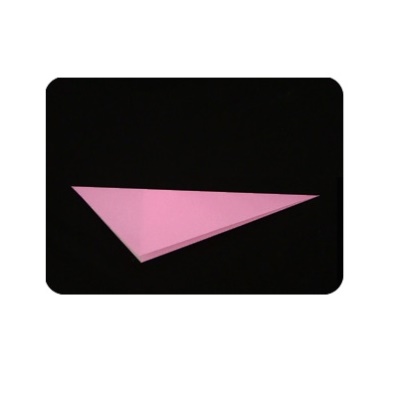
- And then bend the resulting figure in half.
- Acting on the above scheme, you folded the torso of a cat made of paper in the origami technique. It remains to make her tail.
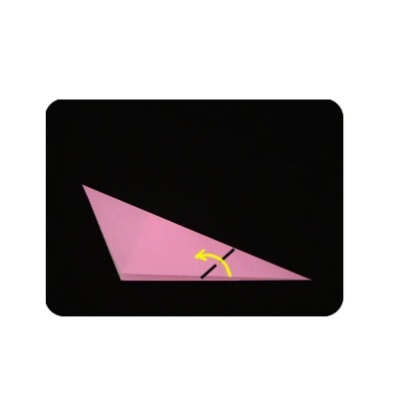
- In the figure below you see a line on which to bend the figure of the trunk. The fold is from the right to the left.
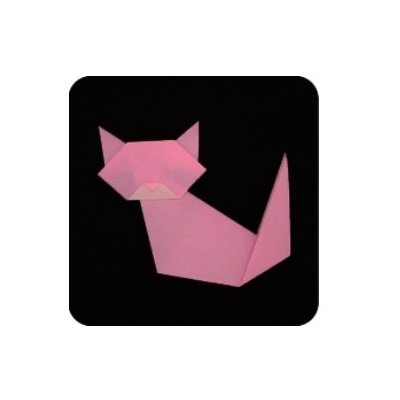
- Now we connect both elements of the origami craft, and the cat made of paper is almost ready! It is necessary to insert the corner of the trunk into the fold formed by the folded part of the head of the paper figurine of the animal.
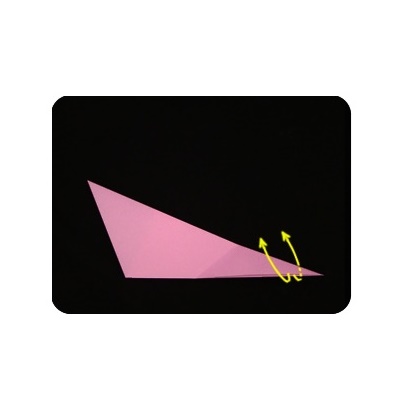
- If the craft is performed by a small child with the help of an adult, then at the previous point it is quite possible to stop. If you want a more complete product, then defer the connection of the elements and continue to do the design of the tail of the cat. The part that has been bent up must be turned out, first making a small depression on both sides of the fold with a finger. To do this, carefully turn the paper inside out.
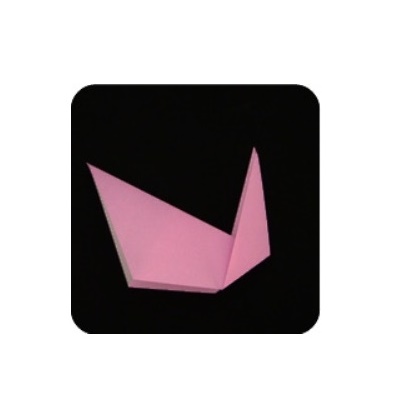
- That's what the tail looks like when it's ready.
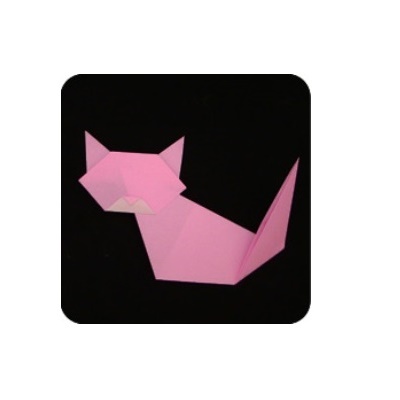
- Now connect the head of the paper cat to its trunk.
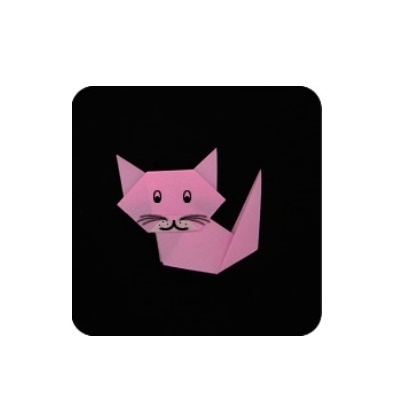
- Using the marker, draw her eyes, antennae and mouth. If desired, you can paste the so-called running eyes.
- Your cat can stand - check it! Separate the layers of the lower part of the trunk, dividing them into two "legs".
| | |
| | |
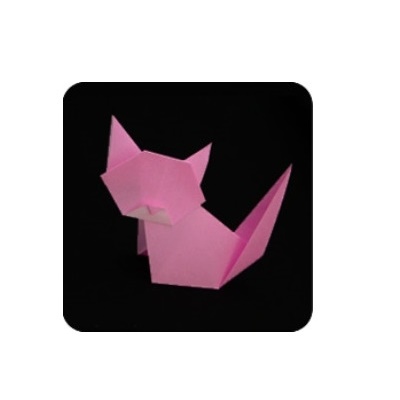
In paragraph 1, as you recall, advice has been given on the use of paper of different sizes. Here you can see an example of what will happen if instead of folding origami from two identical leaves. The body and head of the cat will be approximately the same in size. Such an animal is more like a kitten - take it to your note!