Flowers, collected from watercolor paper are becoming more popular, because it's beautiful, and long-lasting, and interesting. If you like this kind of creativity, then we suggest using our master class, which will tell you how to make flowers from watercolor paper yourself.
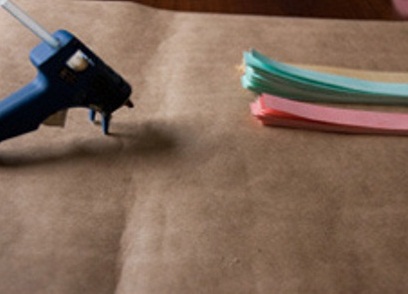
Materials:
- watercolor paper;
- watercolor paint;
- scissors;
- brushes;
- hot glue.
Let's start working on colors from watercolor paper.
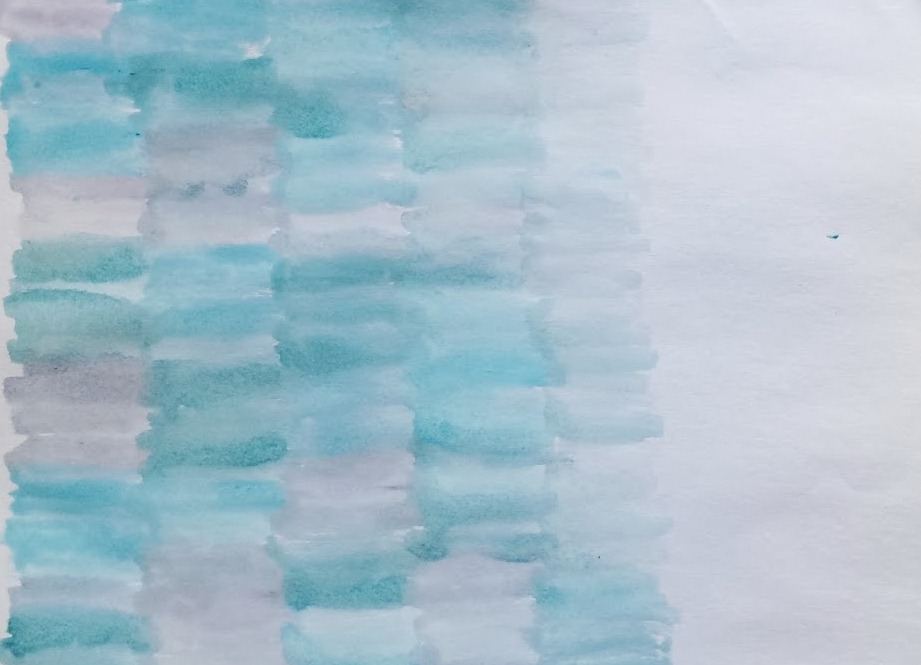
- A sheet of paper paint with paint, using several colors. Note that the more water there is, the more tender and interesting the colors will turn out. The painted sheet must be dried, for this, leave it alone for about 30 minutes.
- When the paint dries, go to the carving of the petals. In order to make flowers from watercolor paper, you can make your own templates that will make it easier for you to cut out, but this is not an obligatory item. Cutting off the petals, note that they must be of different sizes.
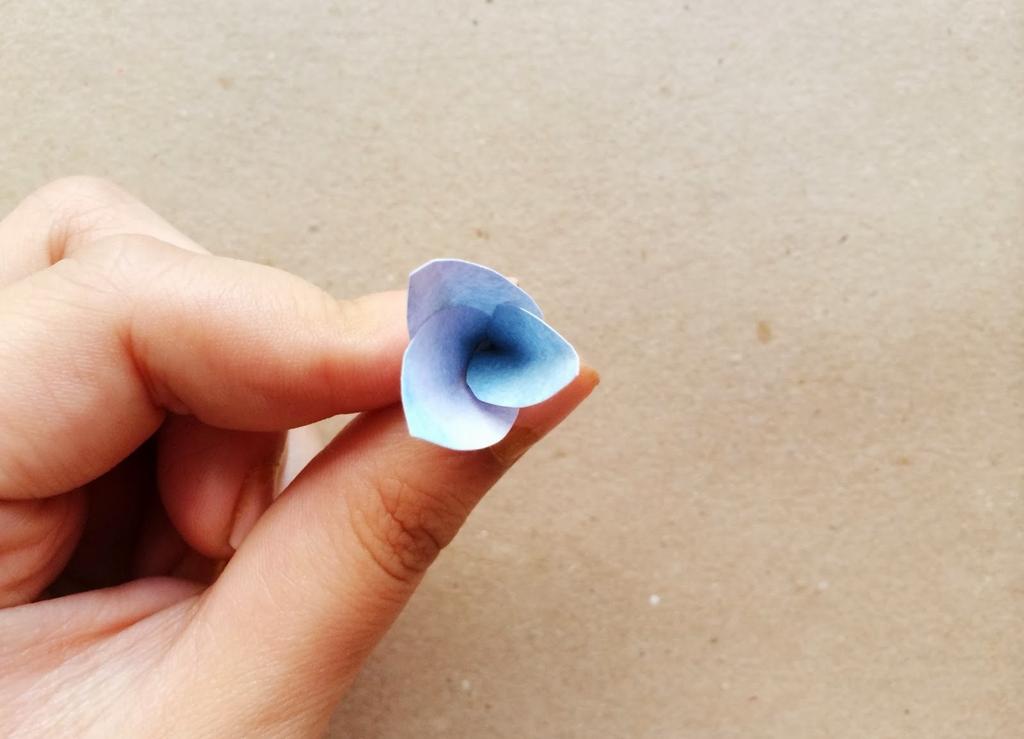
- After making workpieces, twist the tips a little with scissors or a pencil.
- Take the smallest petal, twist it, fixing the form with glue. After add a few new petals, gradually increasing their size.
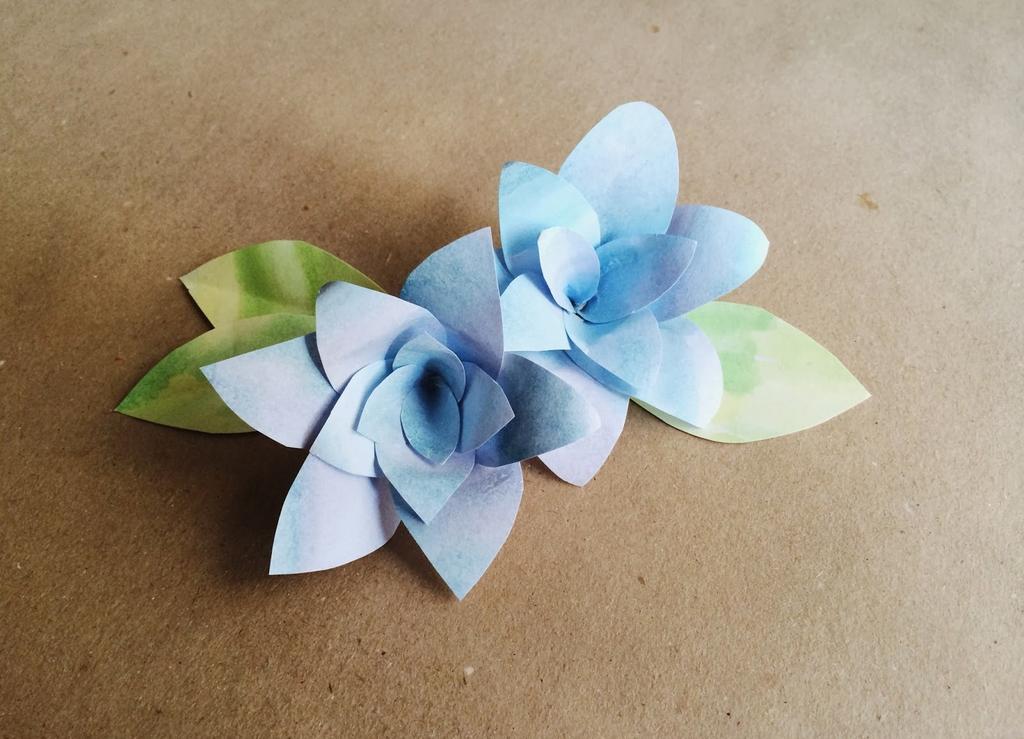
- Adding petals, you can experiment with shapes and sizes, when you decide that it's time to stop, just decorate the resulting flowers with leaves.
| | |
Roses made of watercolor paper
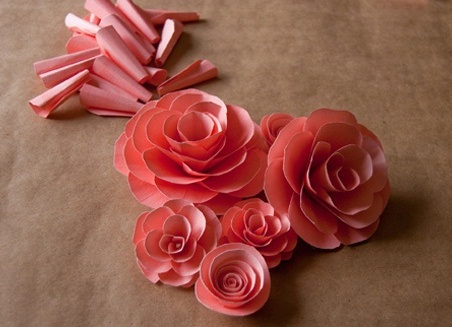
Now try to collect pretty roses, just warn that this is a very painstaking task, which requires perseverance. The materials will be the same as in the previous version.
- Color the paper with paints and let it dry.
- Cut strips 3, 2 and 1 cm wide.
- From the strips, cut out squares with sides also at 3, 2 and 1 cm.
- Quadrate the stacks and round them, cutting off the edges.
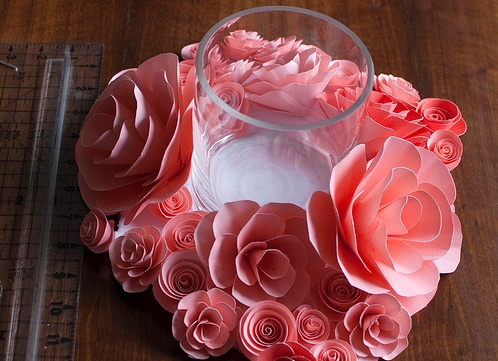
- Now you can proceed to assembly of roses, for this, turn off the cylinders from the squares, and collect them together, stacking each other. Do not forget that everything needs to be fixed with glue.
| | | |
That's all the wisdom, you see, rather primitive, but how beautiful. If you do not have a watercolor on hand, then you can make flowers from plain paper .