Practically near each plate in the kitchen you can see a hanging tack. It simultaneously performs two roles: the decorative element and the protection of hands when working with hot dishes (pans, pans). This is the most popular gift on March 8, as it can easily be done by children (themselves or with the help of parents). In this article you will get to know how to make bright kitchen stitches from shreds with your own hands.
Master-class - potholder "Ladybug"
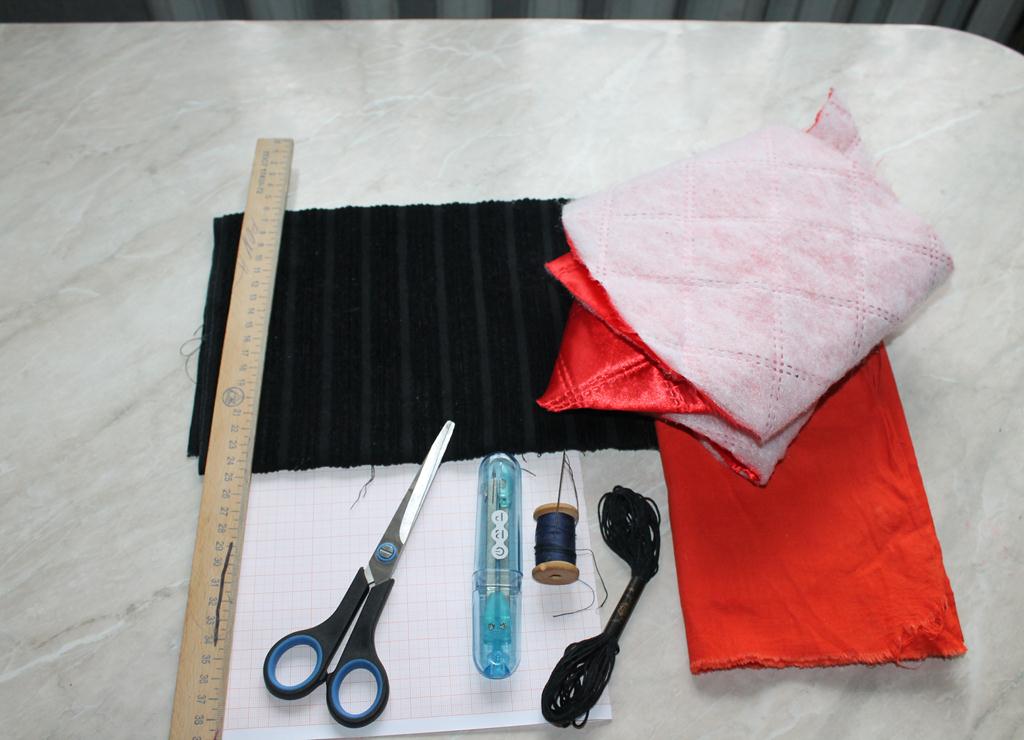
Materials:
- black and red cloth;
- batting;
- black threads of a floss;
- black ribbon.
Instruments:
- sewing machine;
- scissors;
- a needle and pins.
For the pattern:
- paper-graph paper;
- compass;
- pencil;
- ruler.
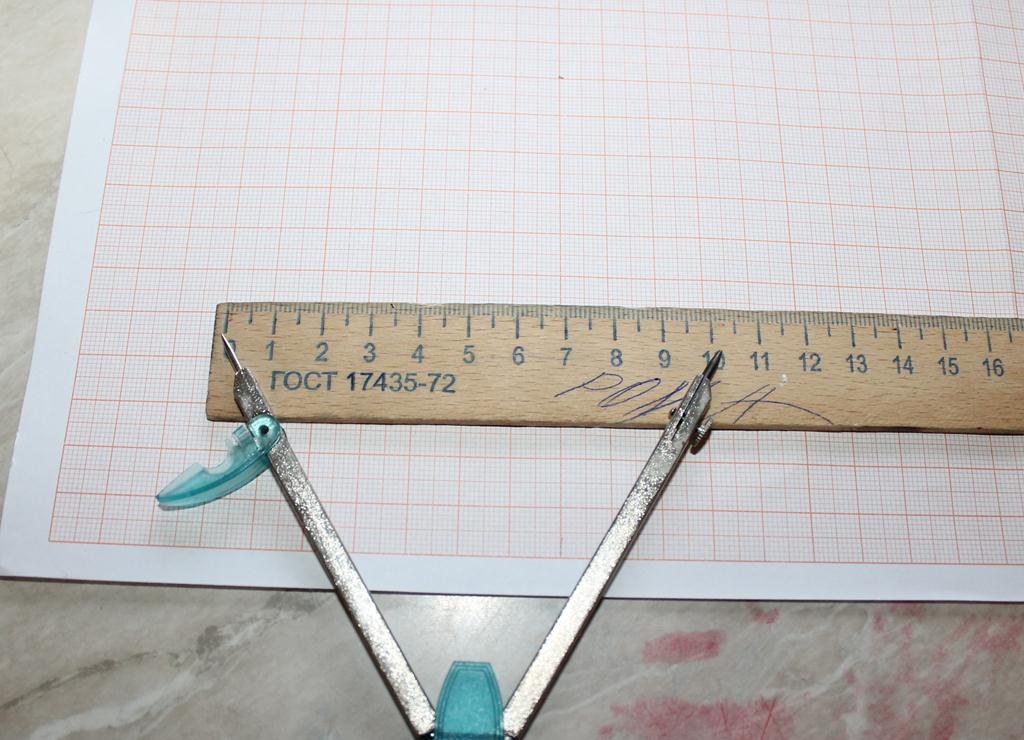
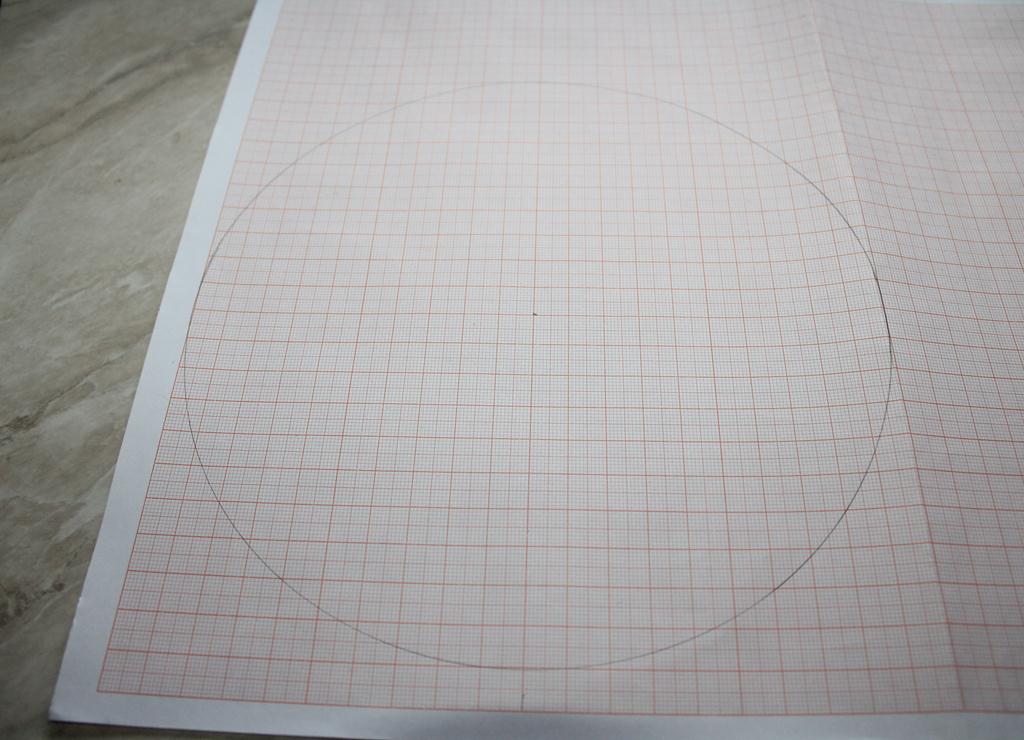
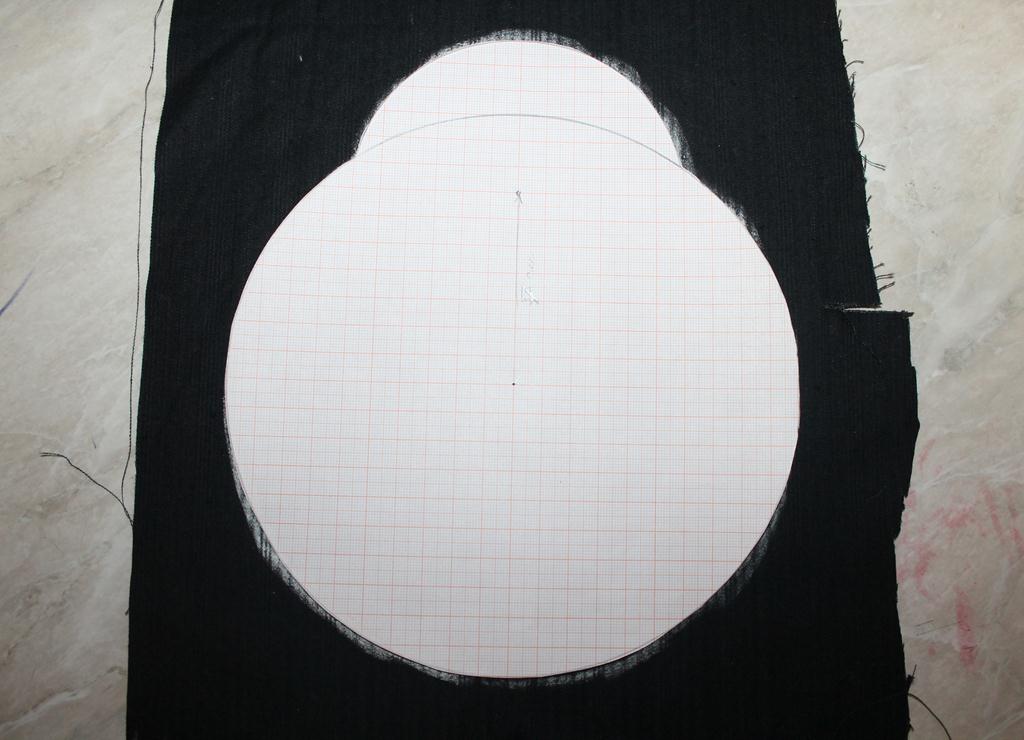
Drawing up a pattern:
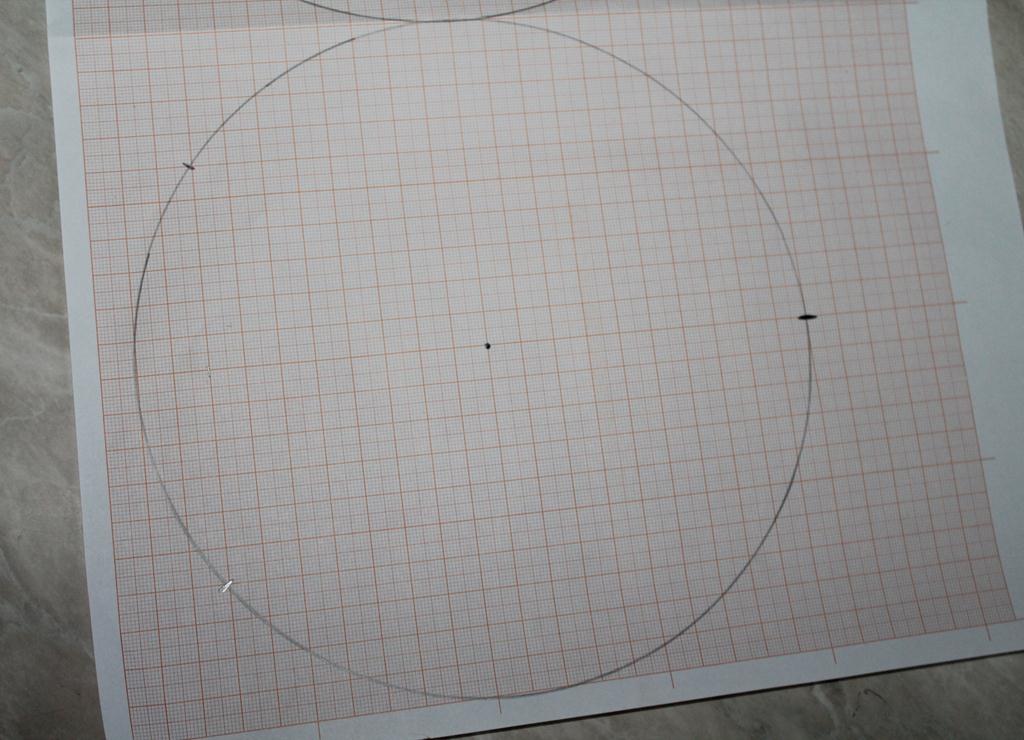
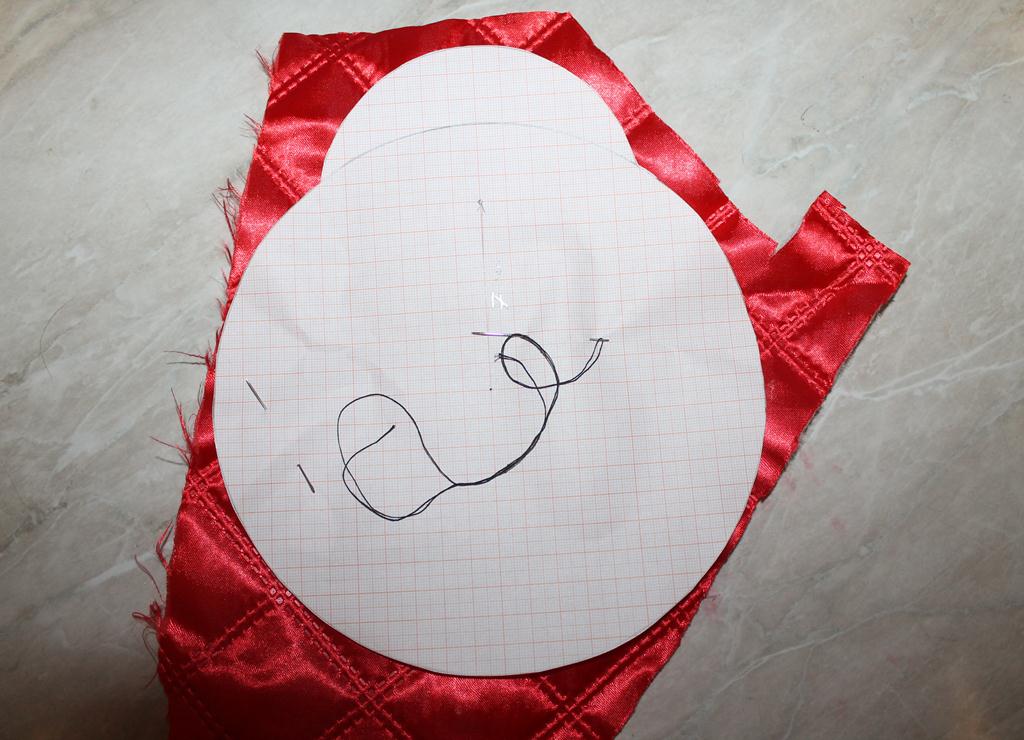
- On a sheet of paper we draw a circle with a circle of radius 10 cm.
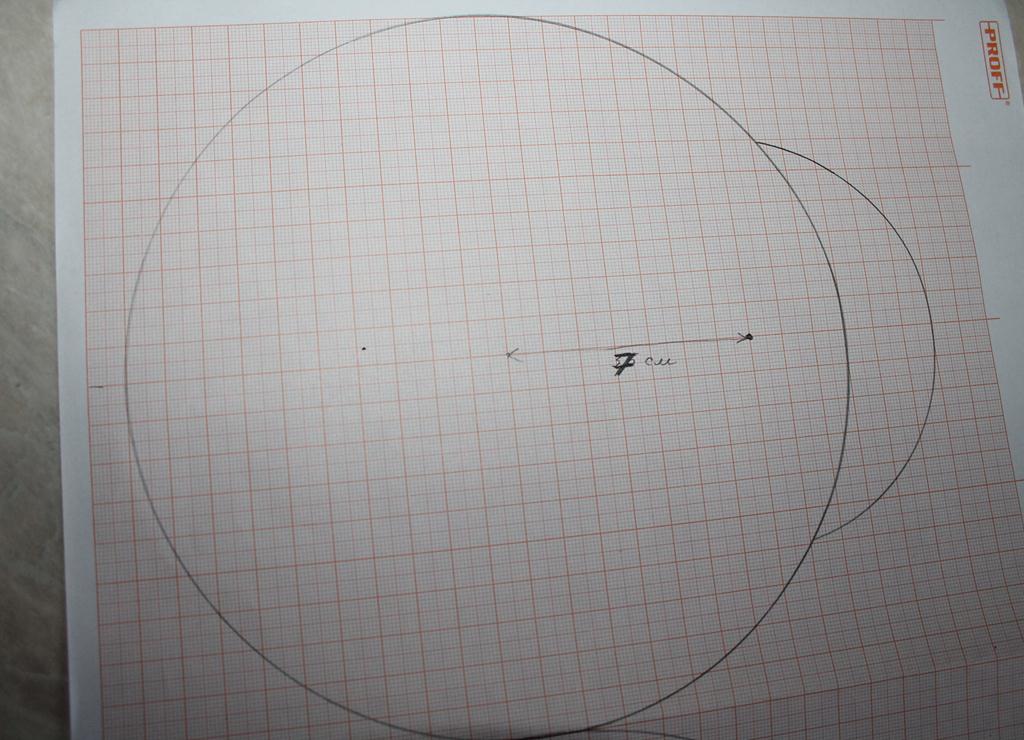
- Then we leave the center upwards 7 cm and the compass stretched 6 cm, draw the cap around the main circle (head).
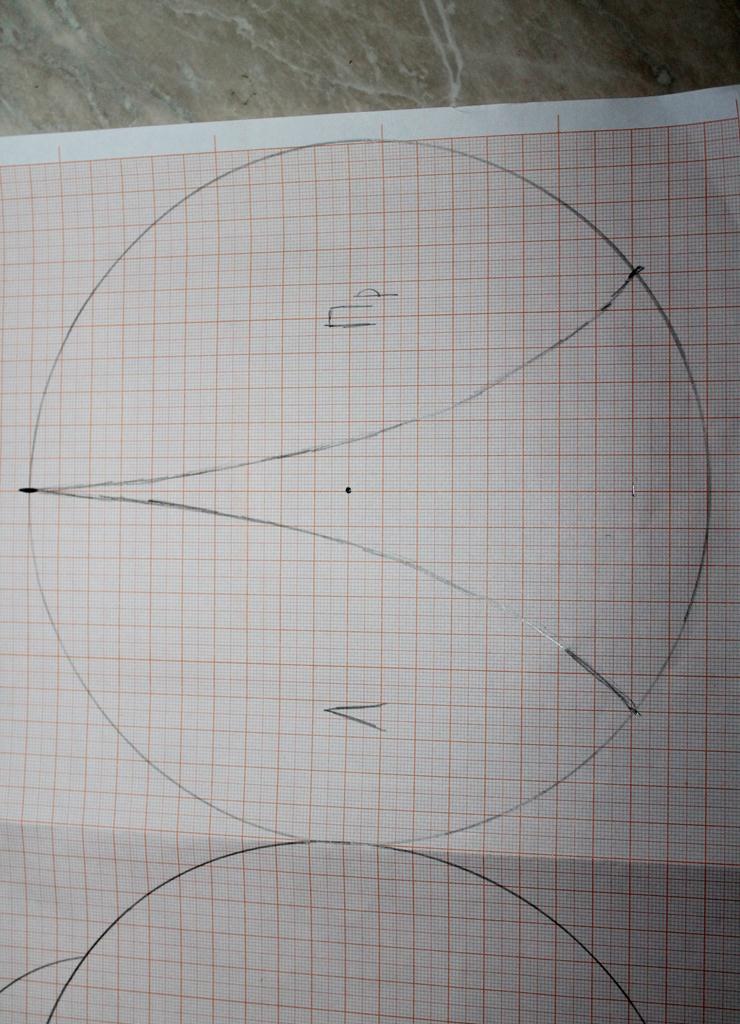
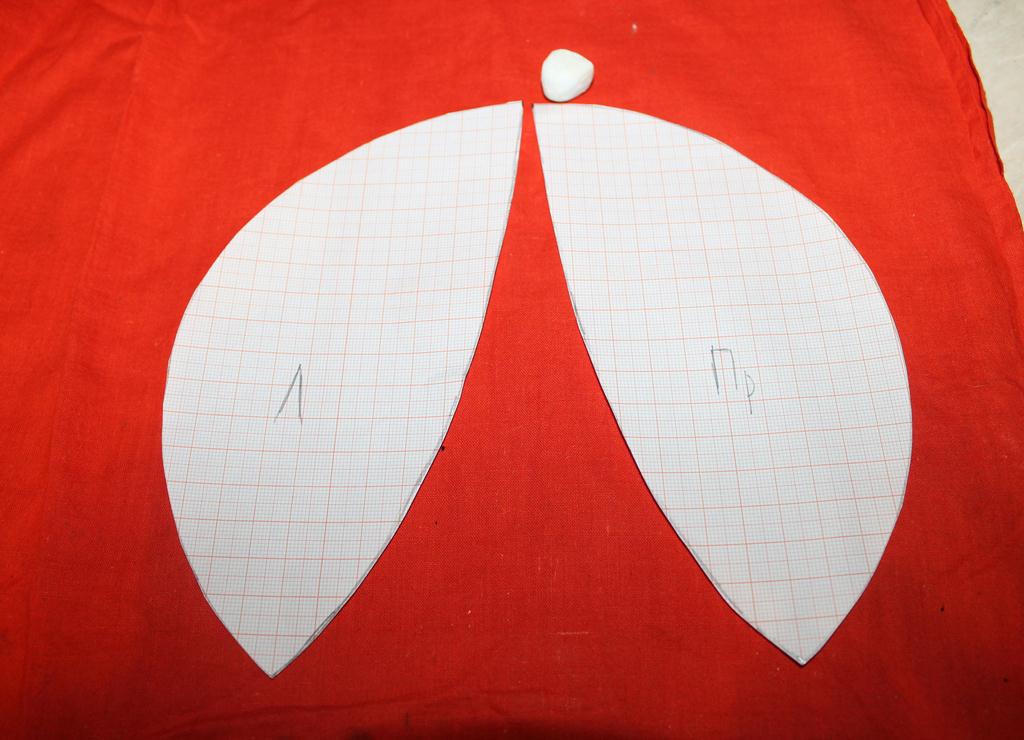
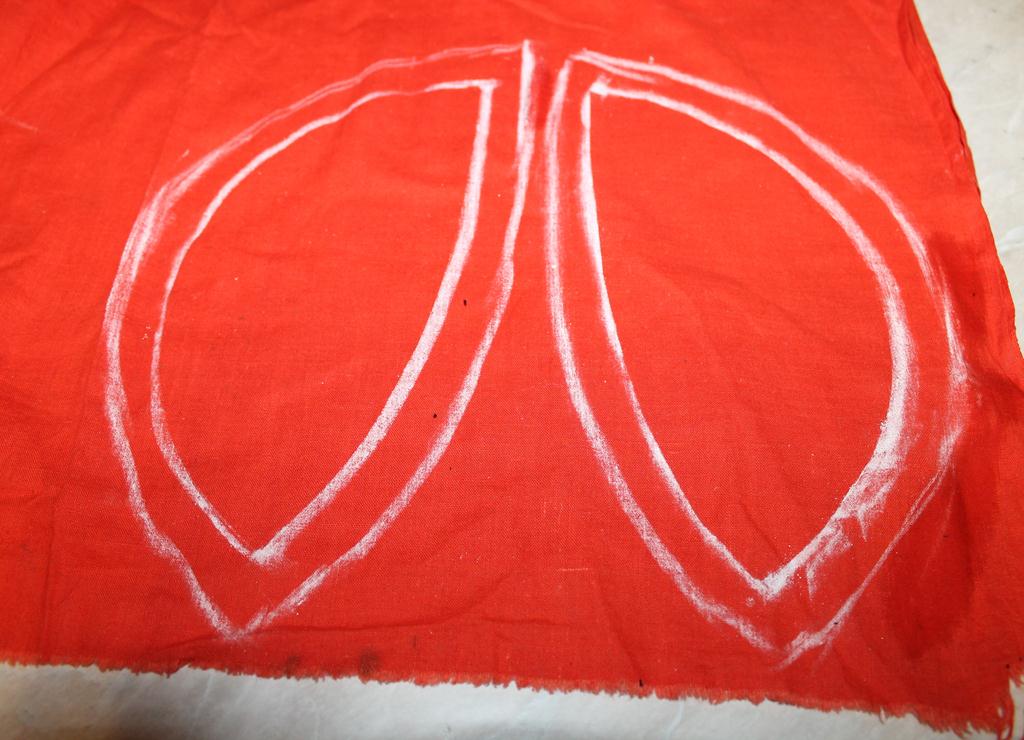
- To make a detail of the wings, draw another circle with a radius of 10 cm. Mark 3 points, as shown in the figure. Then connect the top line to the bottom line with a smooth line.
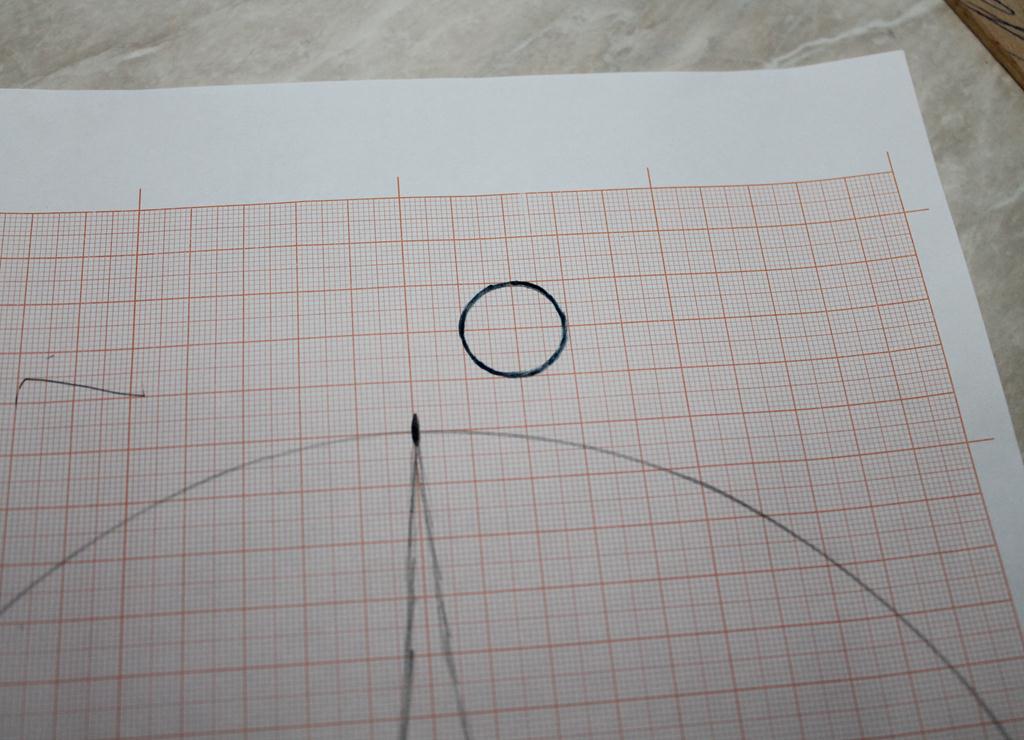
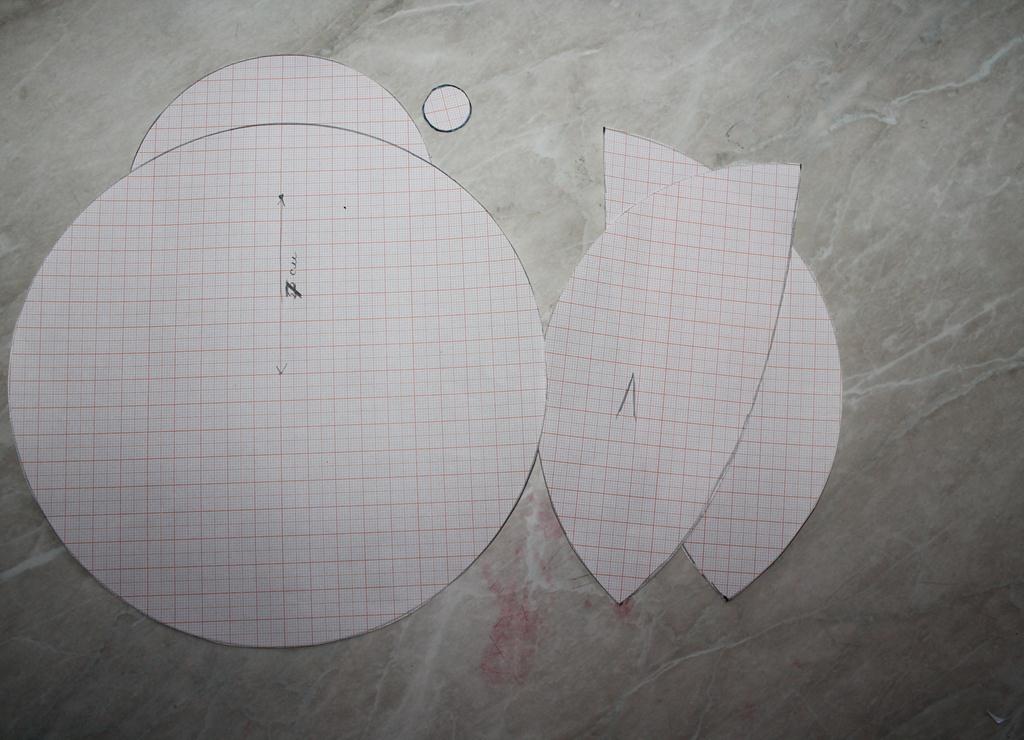
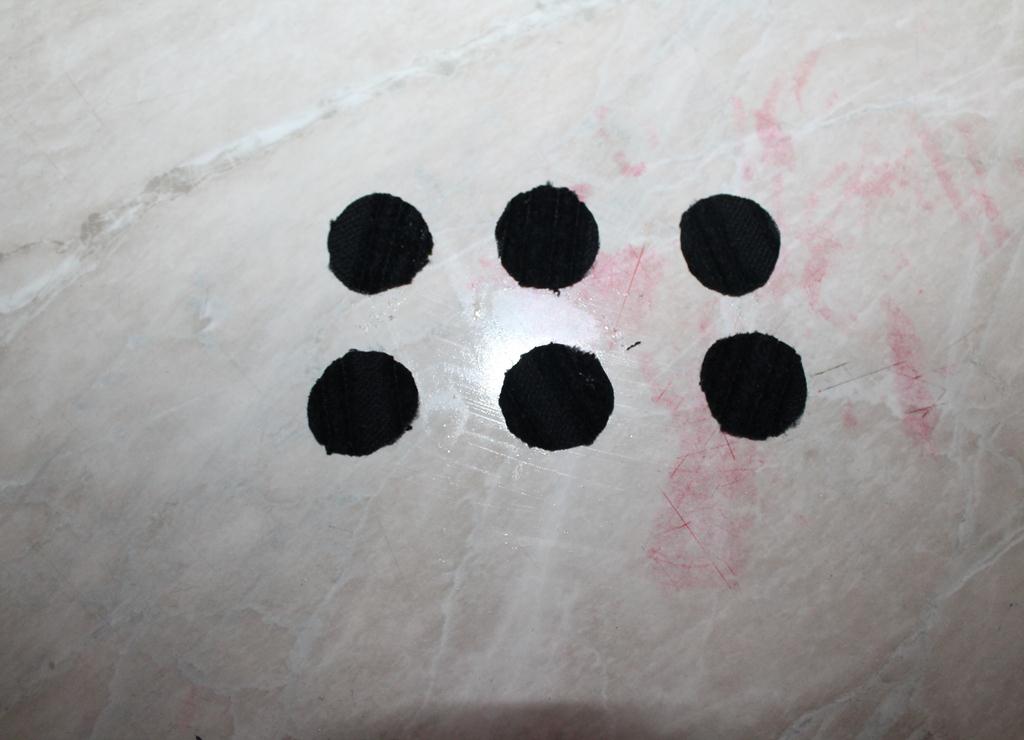
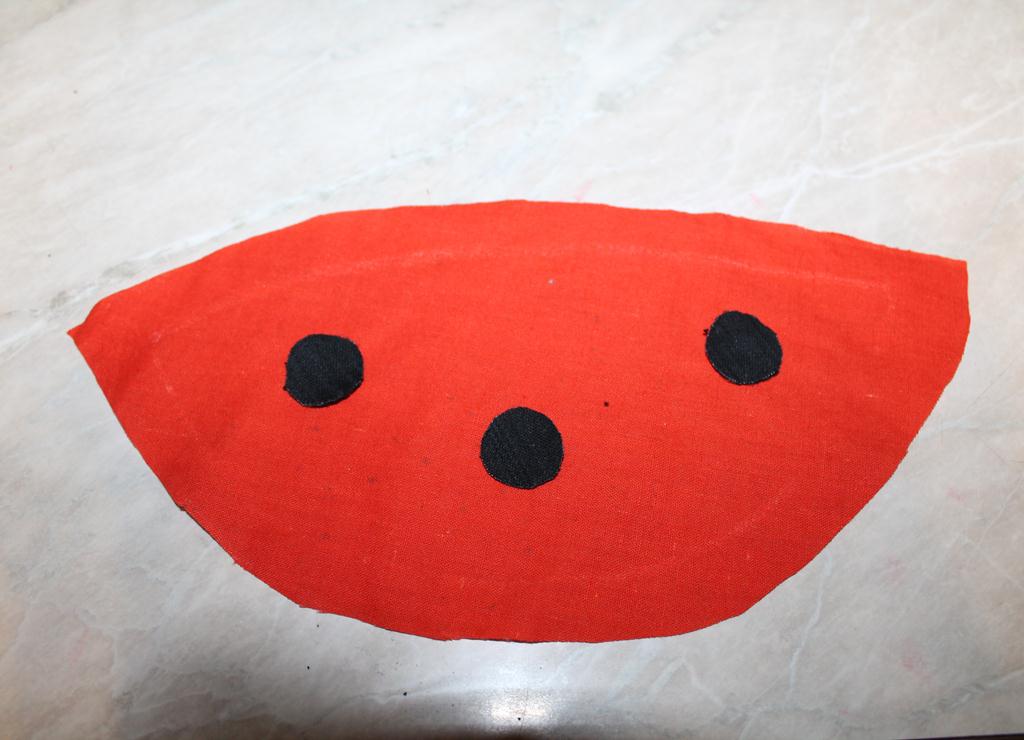
- We make a circle with a diameter of 2 cm. We will have points on the wings. After that, we cut out the patterns of the details.
Sewing of potholders:
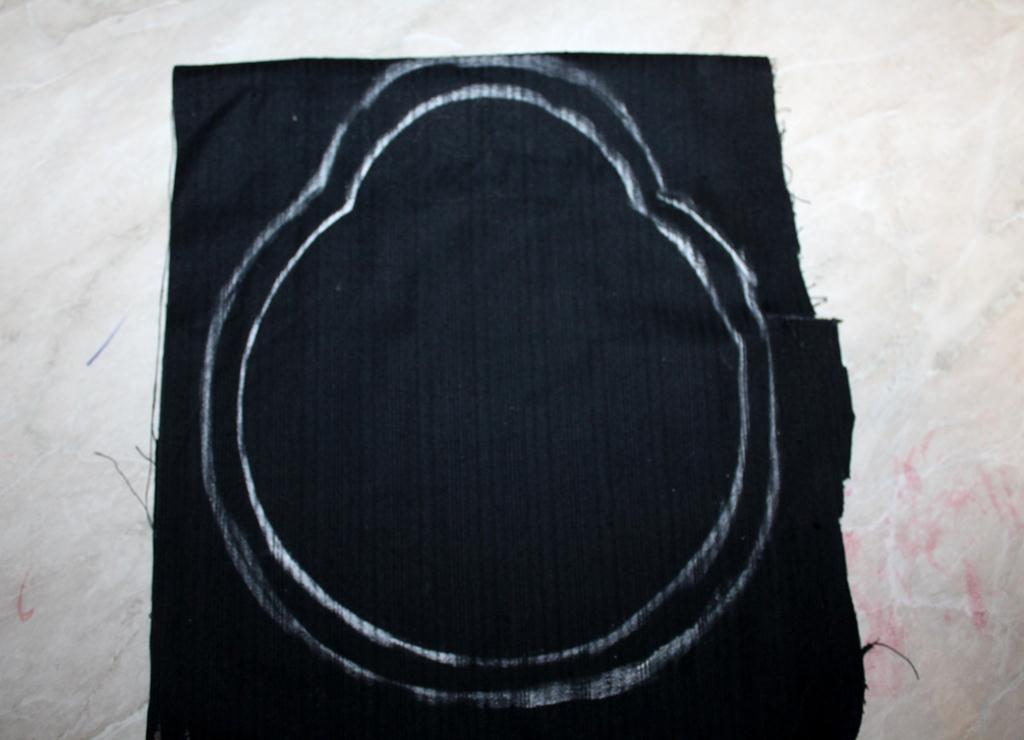
- Fold the black fabric in half. To the wrong side, we pin the pattern of the trunk, we trace it with chalk, and then we make the allowances of 1-1.5 cm. After that, we cut out the details.
- We also cut out 6 circles from black cloth. Since the fabric is thick, you will have to do it one at a time.
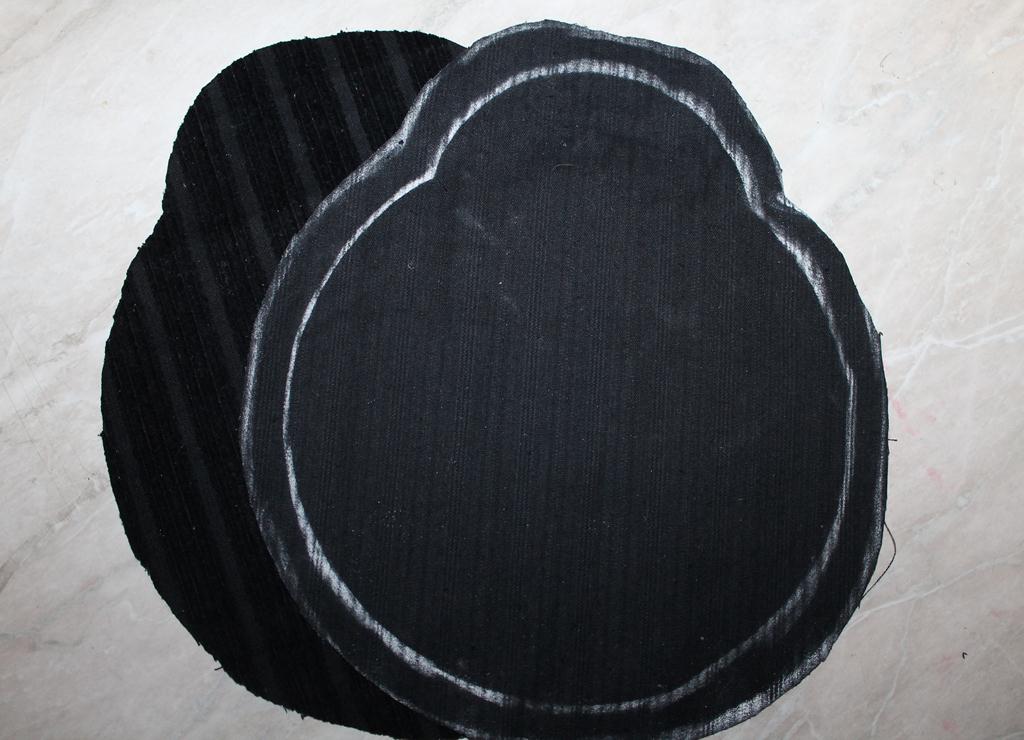
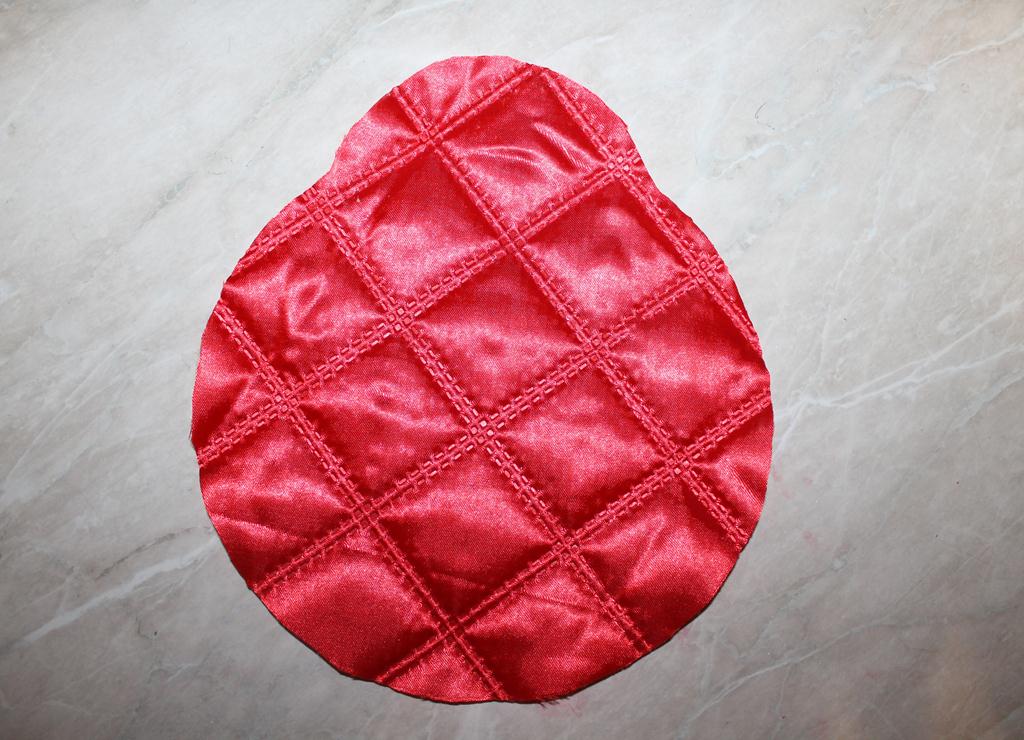
- We take the batting and cut out the detail on the pattern of the trunk.
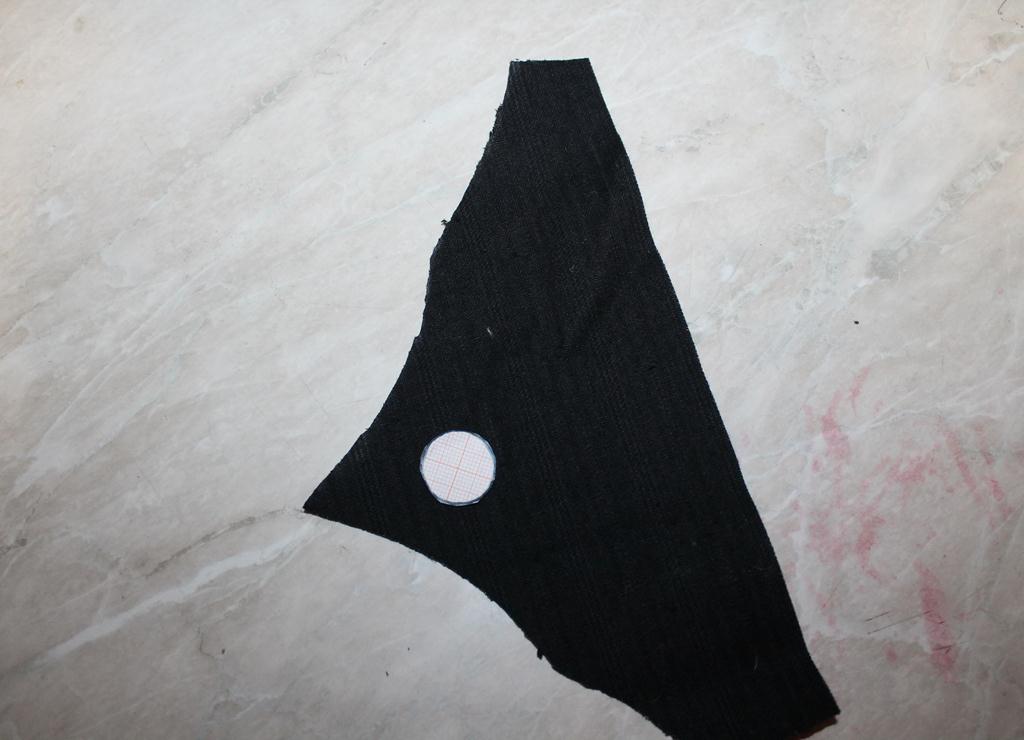
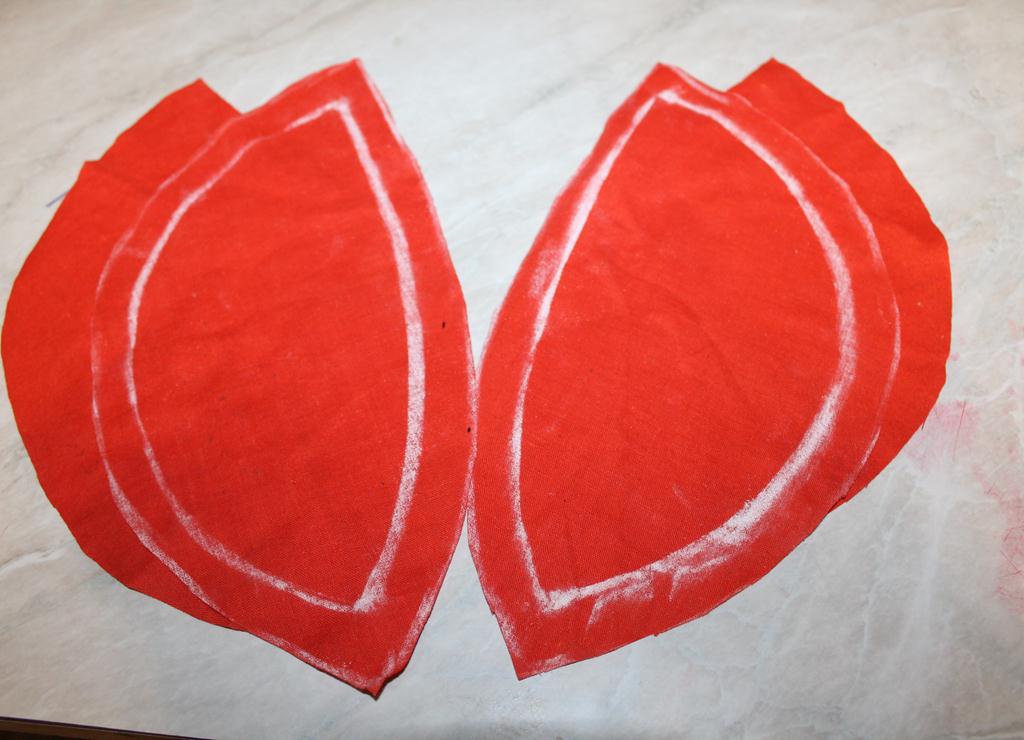
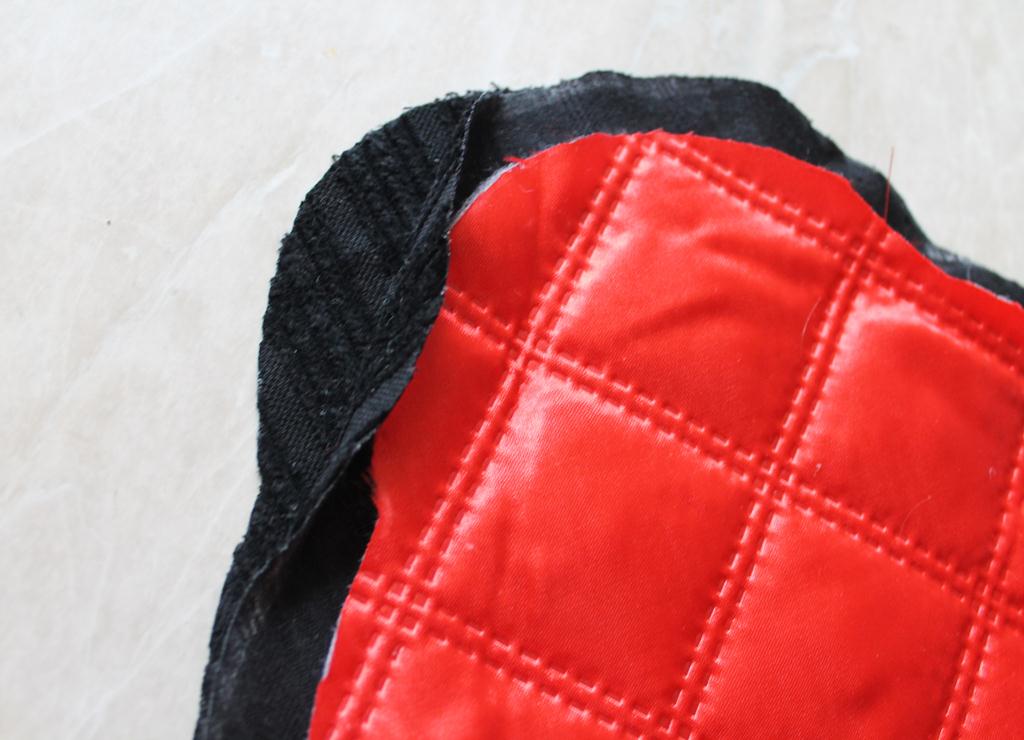
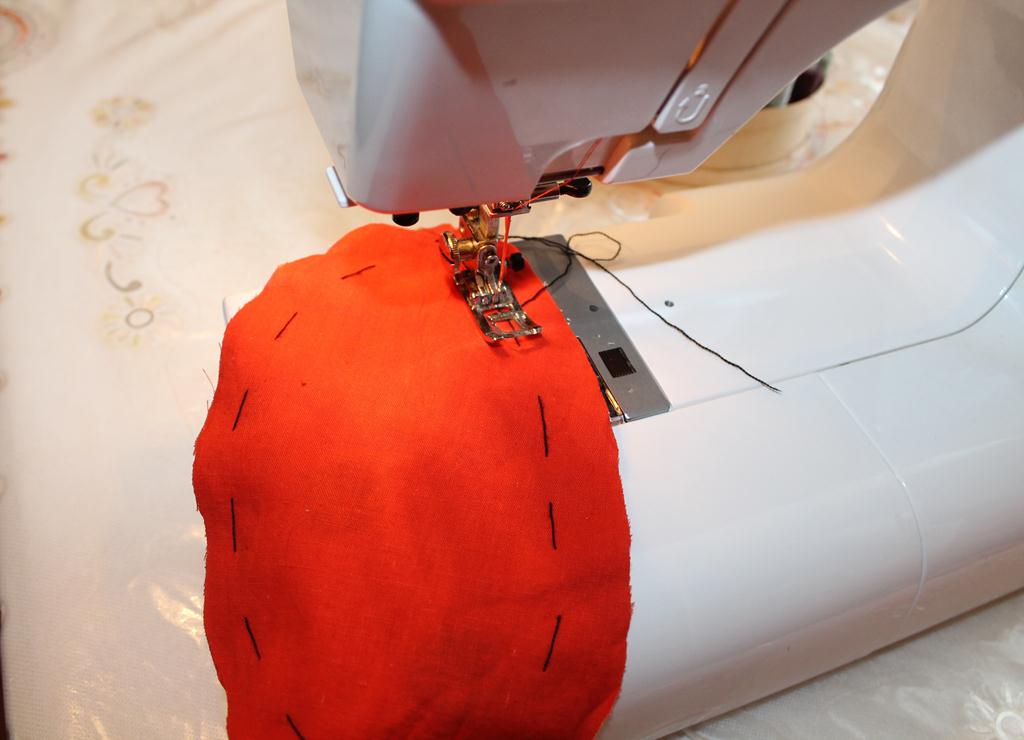
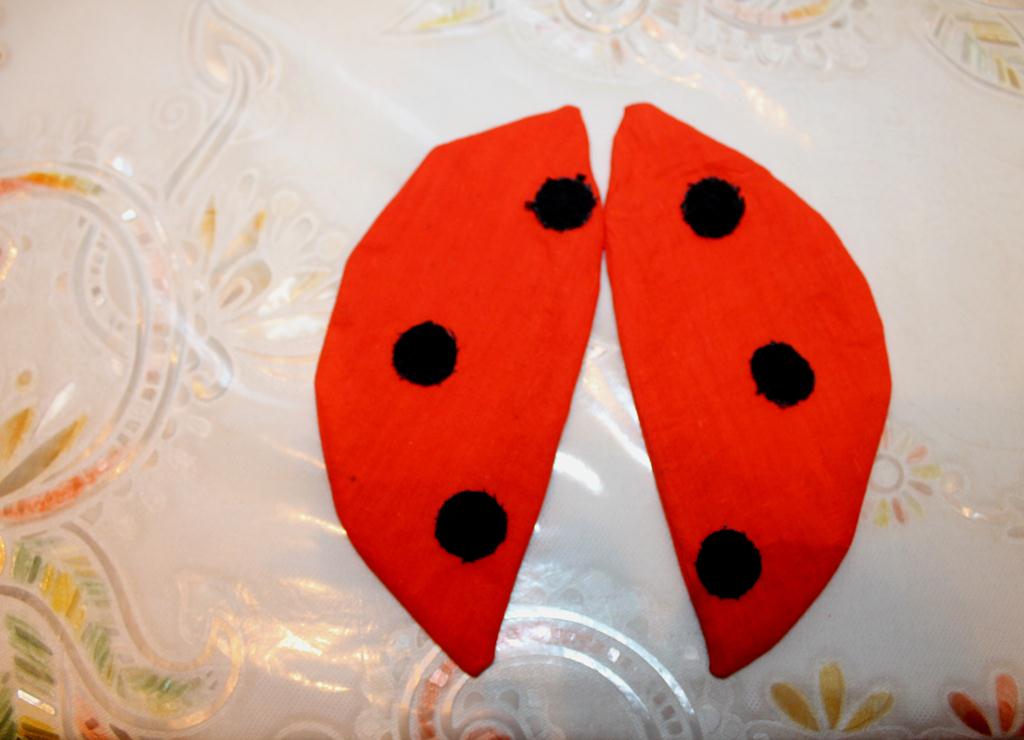
- We fold twice the red fabric and apply the details of the wings. We depict them with chalk and make allowances. Since weave thin, there will be enough and 1 cm. Cut them out.
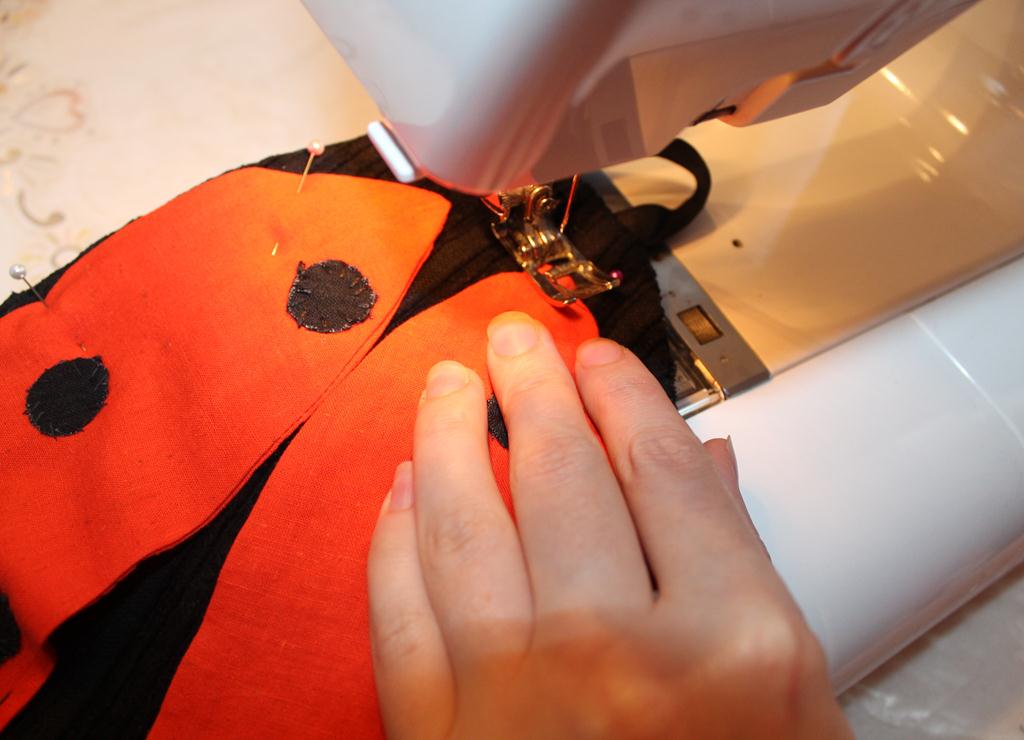
- To the front side of the upper parts of the wings we put black mugs and sew the seam stitches, using for this the double string of mulina.
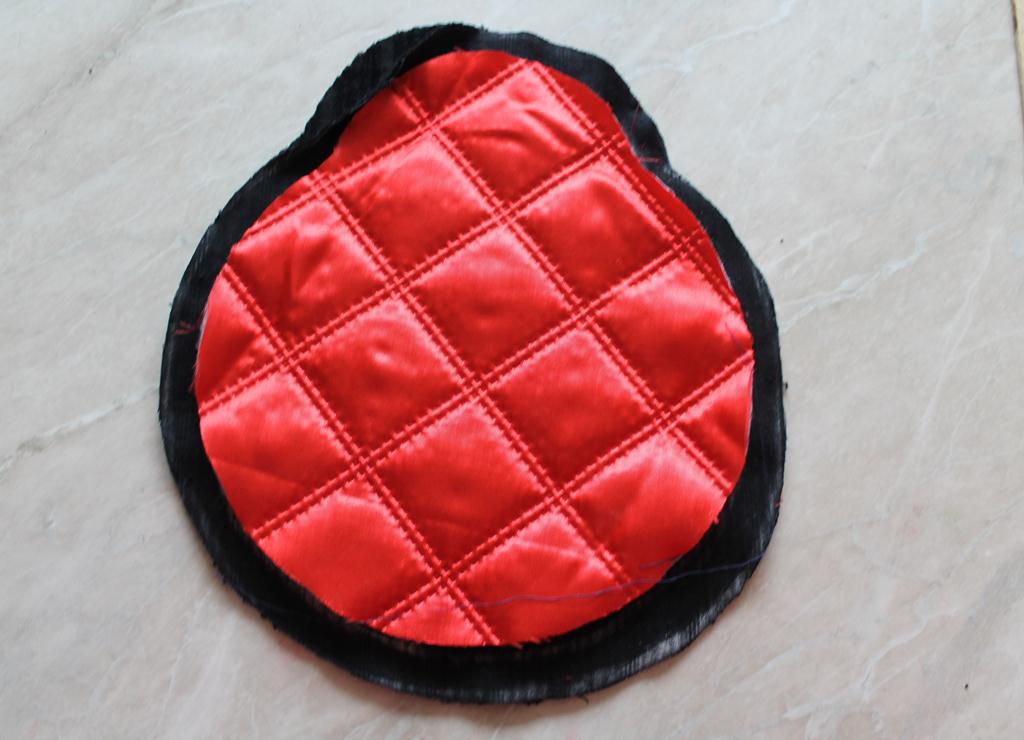
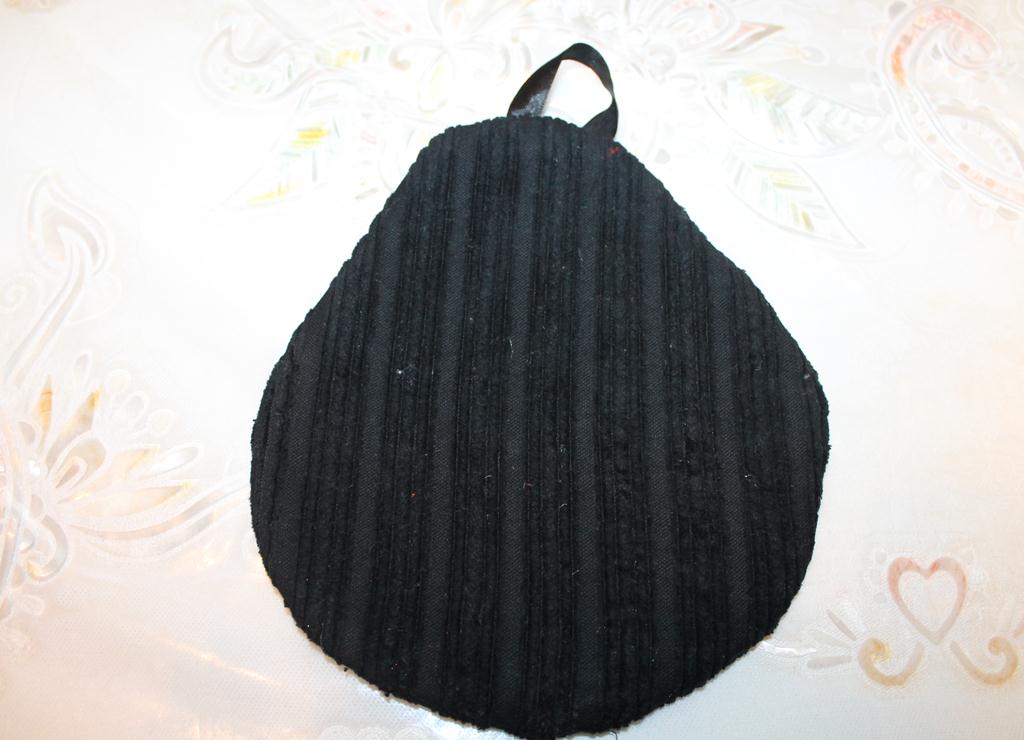
- Fold the black sides of the trunk with the faces. On top of them we put a tab from the batting.
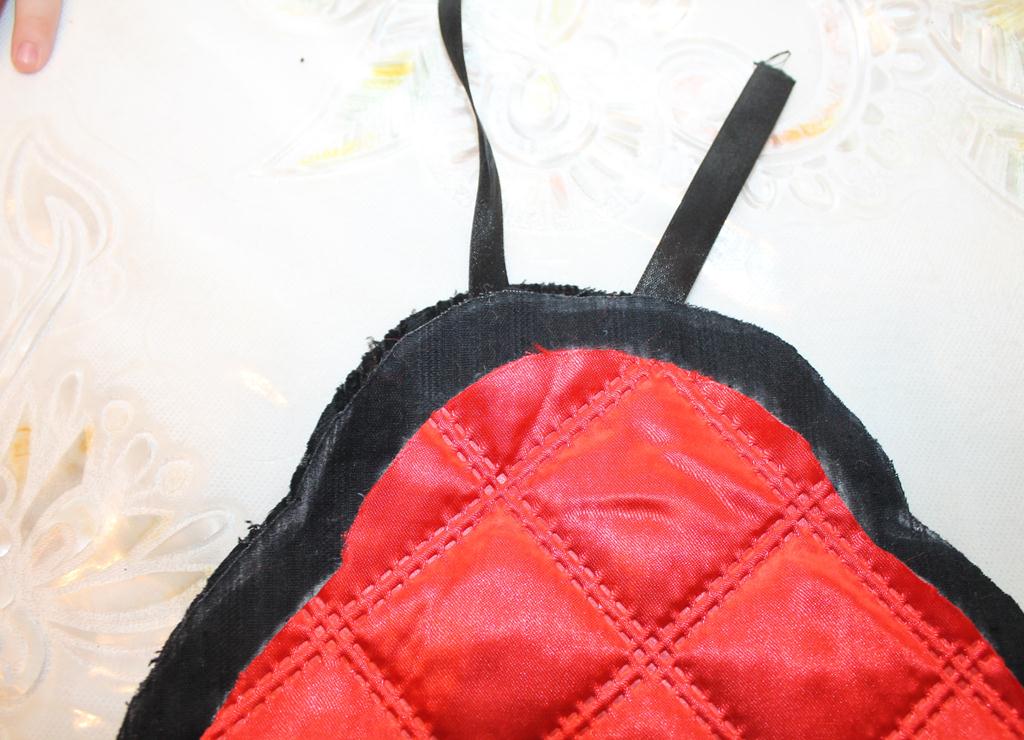
- Between the outer parts at the top, the tape should be placed with a loop.
- We spend the folded parts, leaving the hole below. Crop the excess material, closer to the line. Through the hole we turn them to the front side. After that, sew it by hand.
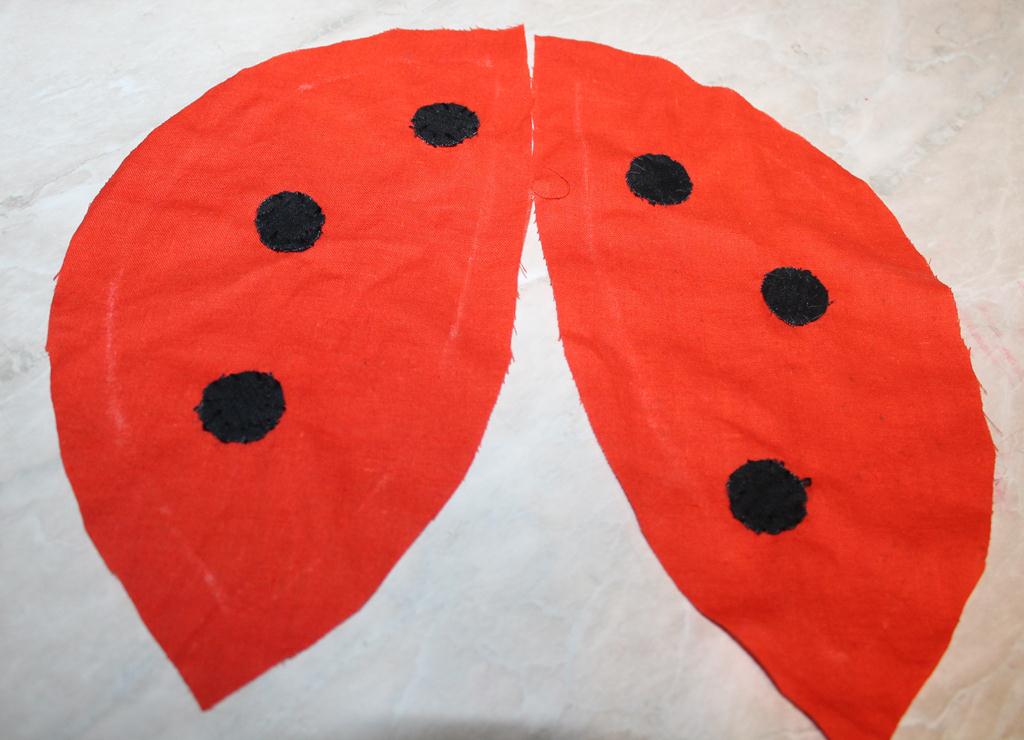
- Similarly we do with the red parts of the wings.
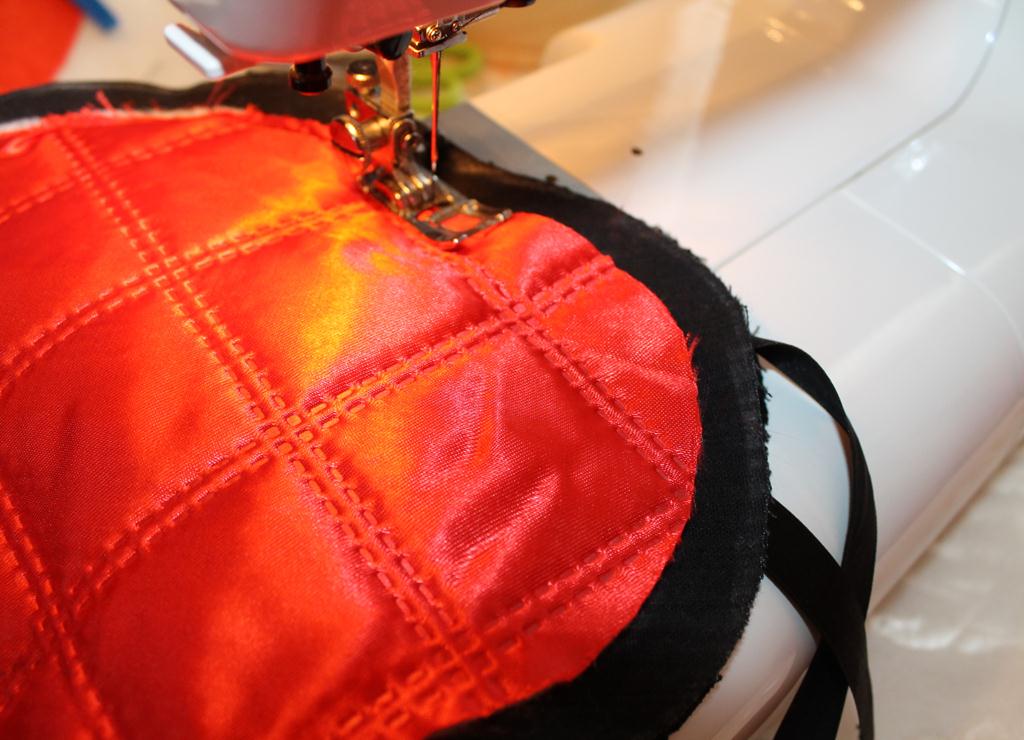
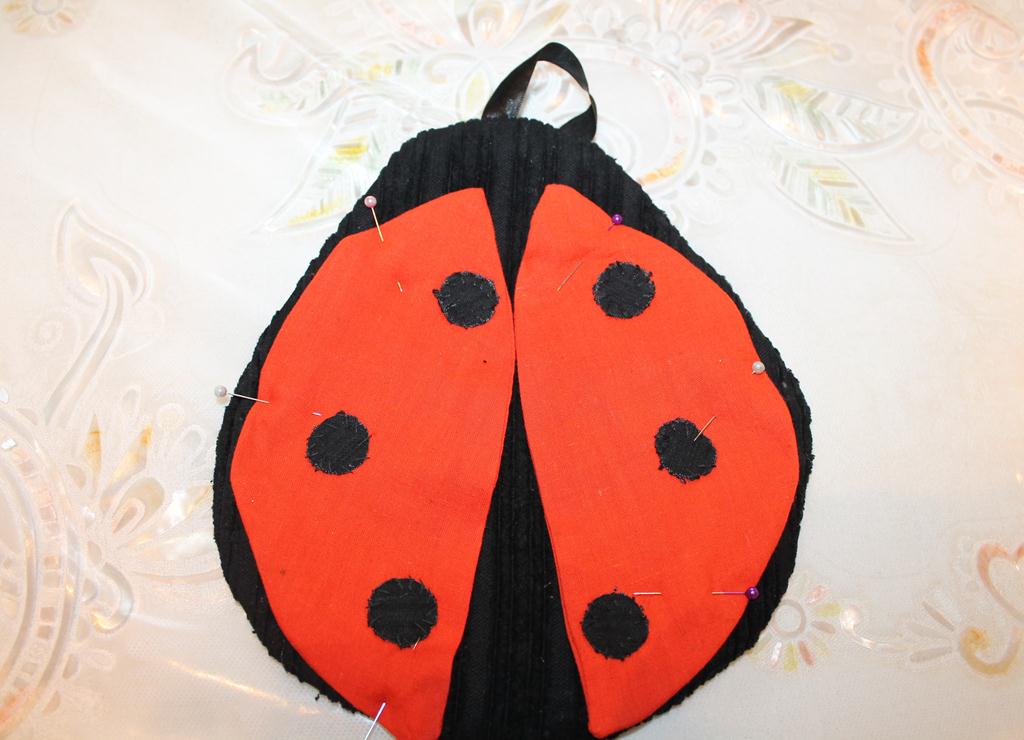
- To connect the pieces of potholders, we put the wings on top of the trunk and spend it in a circle, retreating from the edge 7-10 mm. In the same way, the head of our Ladybug should also be stitched.
The tack is ready!
Using the principle of this master class - how to sew a pothook for the kitchen with your own hands, you can make it in the form of another insect or animal: butterflies, birds, etc.