There are a lot of ways to decorate cakes, here you will come to the aid of sugar icing with a sprinkling, and chocolate painting, and cream, and mastic. The latter provides ready-made cake for the most neat and spectacular appearance. If you have never worked with this material, but your hands have long been "itching" to try, start with simple and popular decor elements, such as flowers. And we now tell you how to do this will be the easiest.
Simple flowers of mastic with their own hands - a master class for beginners
For such a simple chamomile, we need a yellow mastic for the middle and blue or any light for the petals. And also a ruler, a knife, a stopper from wine or champagne, a tube of a suitable diameter and a bowl of a suitable size.
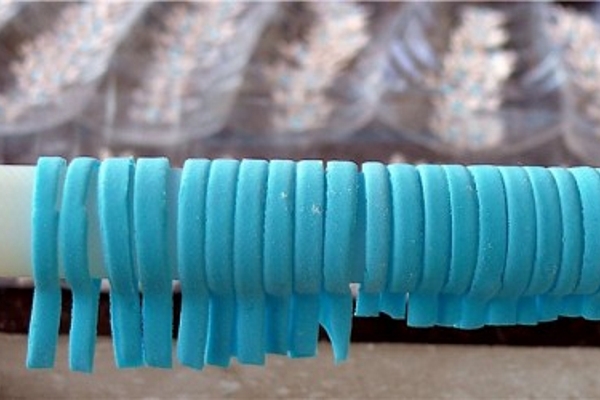
For the petals we roll the mastic into the layer and cut it into narrow long strips. Each strip is bent around the tube and connect. The size of the petals will depend on the diameter of the tube, but it is important that after joining the strips there is not a very short edge.
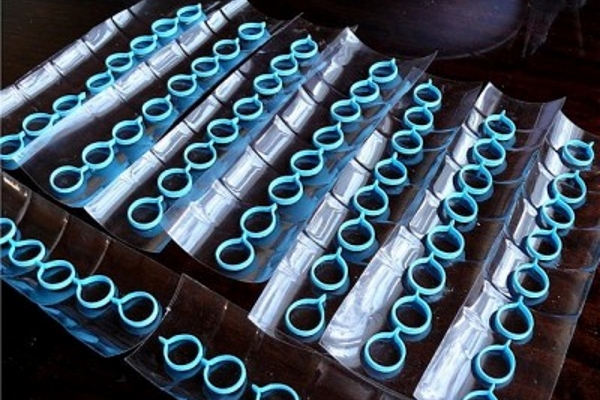
In this position, let them dry a little and fix the shape, and then you can shift for final drying, for example, into a cut plastic bottle or a large tray.
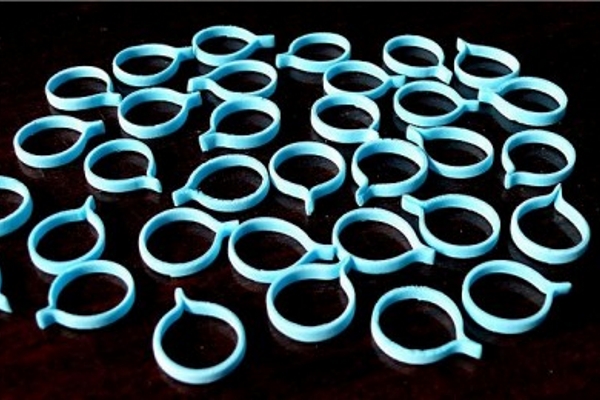
As a result, the same ring-petals are obtained.
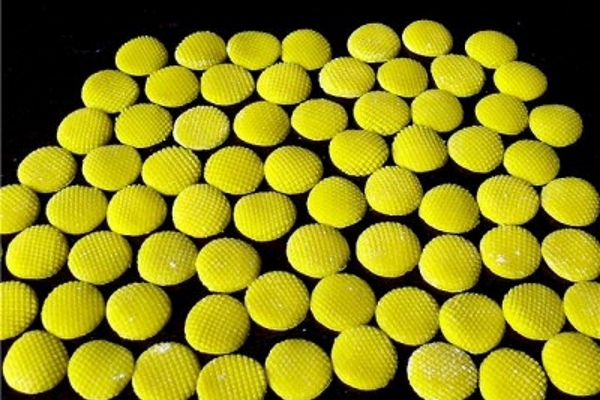
Now, from the yellow mastic, we cut out the cores that match the size of the petals. The relief on them can be made a toothpick or imprinted through gauze.
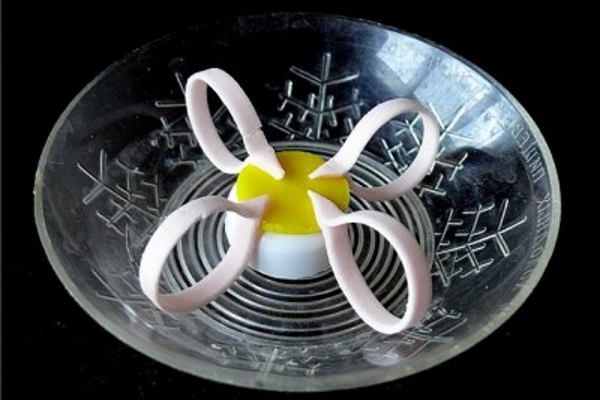
Now take the cork, put it on the bottom of the face of the core and on top of it begin to collect the flower. Now you can see how much you need to leave the edges, and how much you can simply cut off, giving the tip the shape of the cone. We fasten with ordinary water.
When the petals are collected, we put on top another core, so the flower will turn out to be two-sided.
| | |
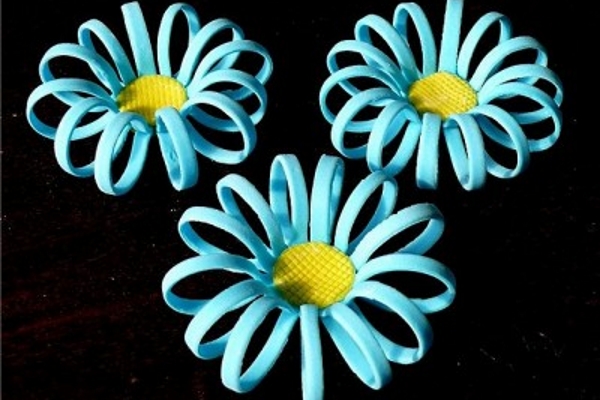
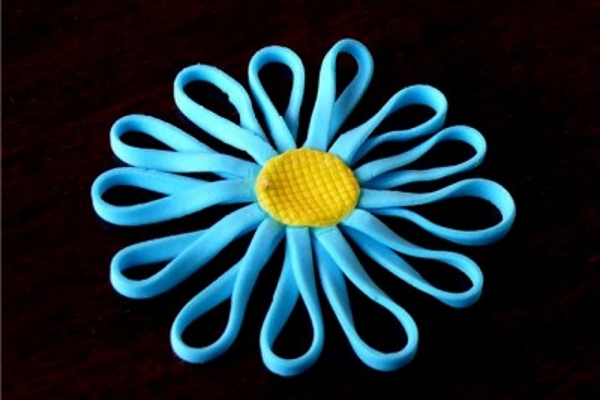
If it suddenly happens that your mastic is not frozen or does not keep the shape, do not be discouraged. The flower can be made not so voluminous, but very even cute.
How to make small flowers from mastic without special tools?
We will need a mastic of the same color, a pencil, scissors, a toothpick and a handle with a rounded cap or something like a drumstick.
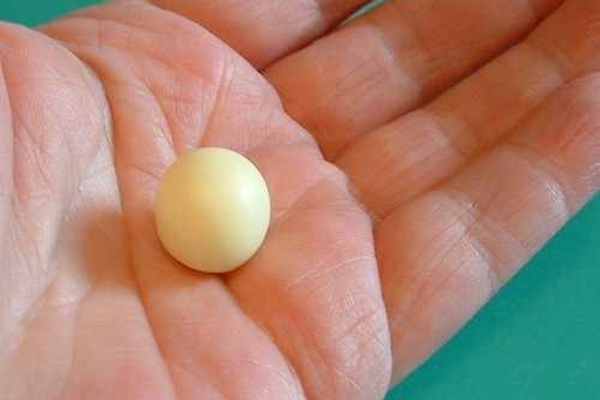
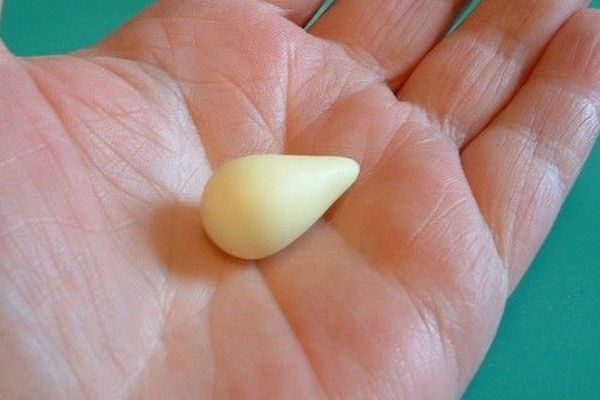
First, we roll a small ball out of the mastic, then give it the shape of a drop.
| | |
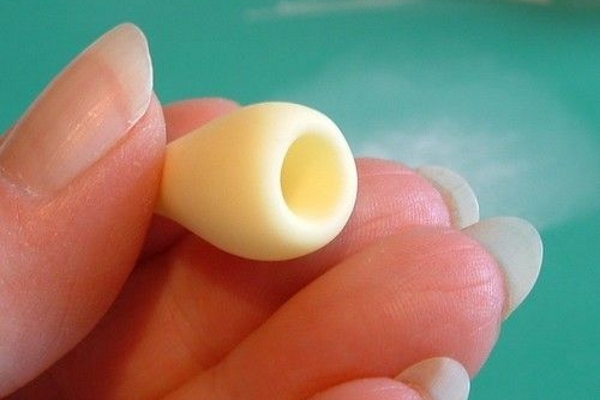
Then we spray with starch or powder the pointed side of the pencil so that it does not stick and place the workpiece with a blunt side, pushing the pencil pretty deep inside.
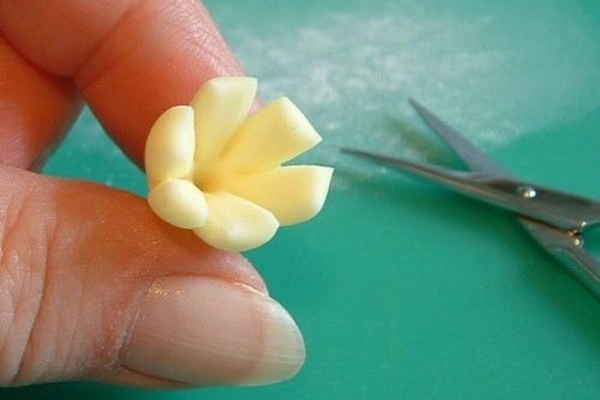
Pencil we take out and scissors carefully make six notches, trying to make the petals turned out to be the same size.
| | |
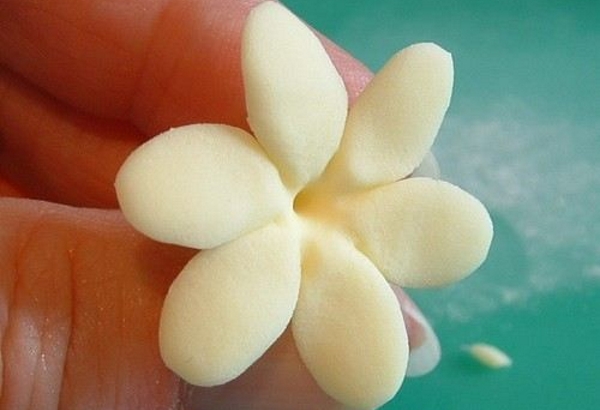
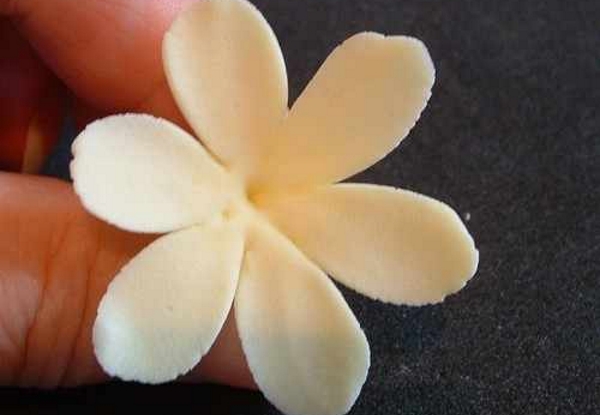
Now we flatten each petal with our fingers, make the edges oval and bend outwards.
Make the edges of the petals even thinner, to give the flower elegance.
| | |
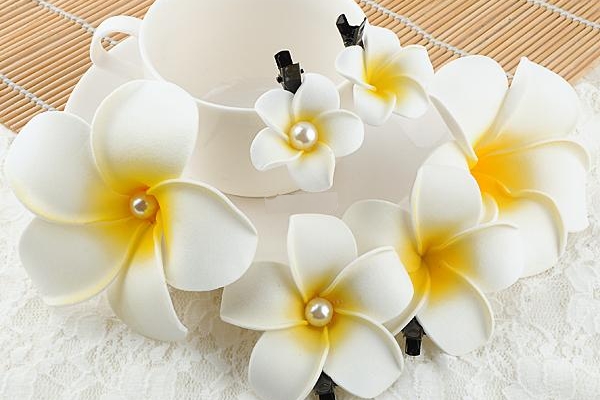
At this stage, you can bend the petals overlapping each other, touch up the middle and get a plumery.
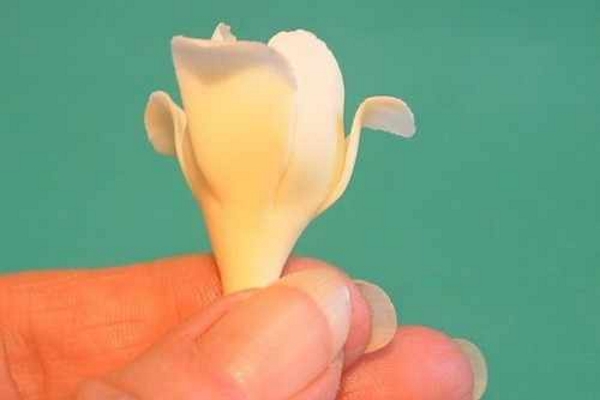
And you can continue the work, with a toothpick, we make the relief on the petals, alternating the three bend a little to the center, and three leave it straightened. We insert the stamens and get a freesia bud. You can leave it open, but you can also unblown, then stamens will not be needed. To dry such a flower is better in a suspended state, upside down.
| | | |