Just a little left before the New Year holiday and the mood is already New Year! So today I want to show you how to make Kanzash snowflakes from ribbons. Such snowflakes can be hung on a Christmas tree, make a hairpin, a bezel and many more!
Snowflake Kanzashi - master class
For work we need:
- satin ribbons ;
- ribbon brocaded;
- glue gun and rods to it;
- plastic stick;
- lighter, candle;
- bezel;
- tweezers.
Performance:
- Tape 5 cm wide cut into squares 5 to 5. So we do with each color. Now our square is folded twice in a diagonal.
- Once again.
- We do the same with the brocade tape, we put together the blanks.
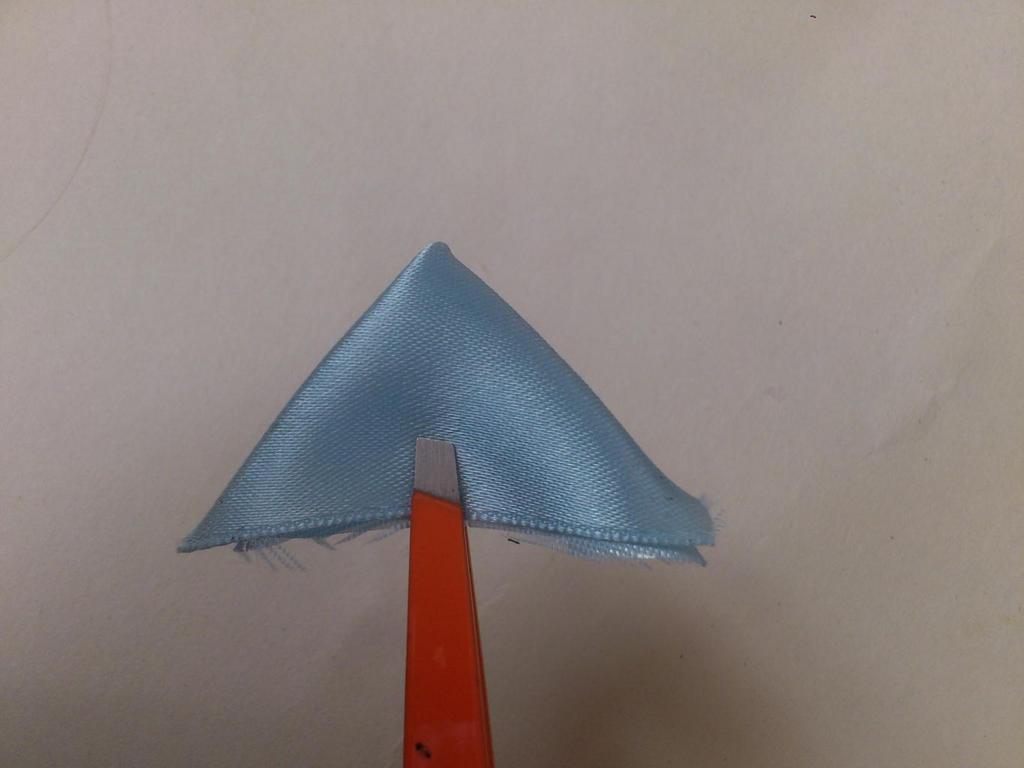
- We bend once more, we cut unnecessary pieces and solder over a candle of corners.
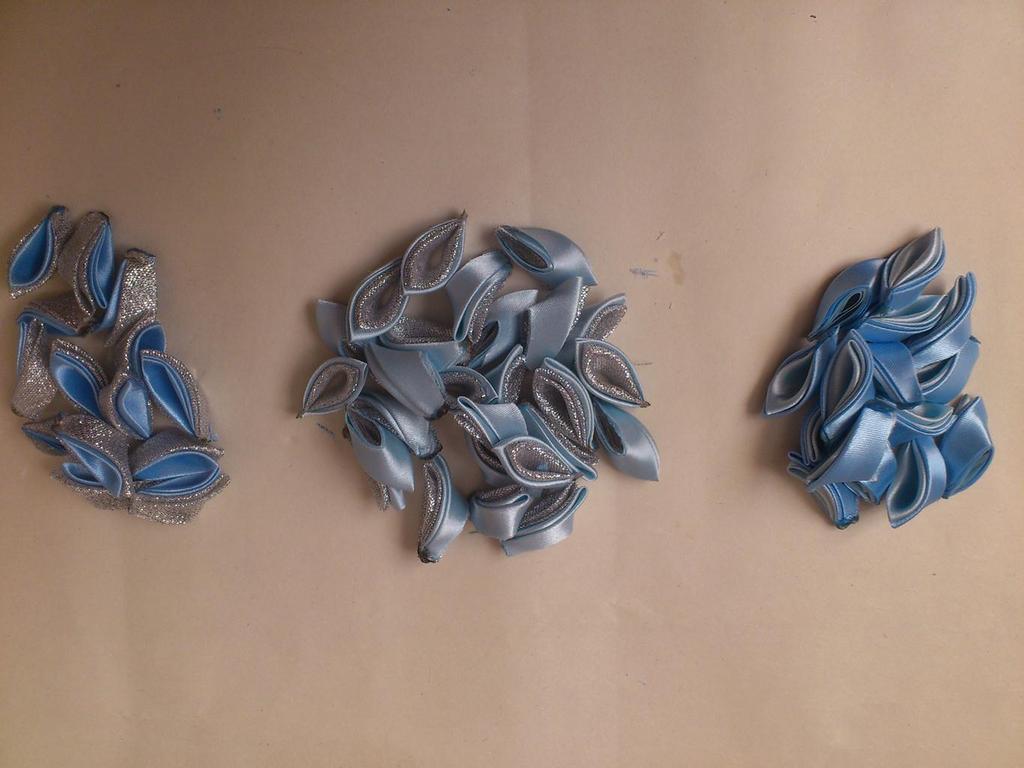
- So we do with all the squares, combining colors at will!
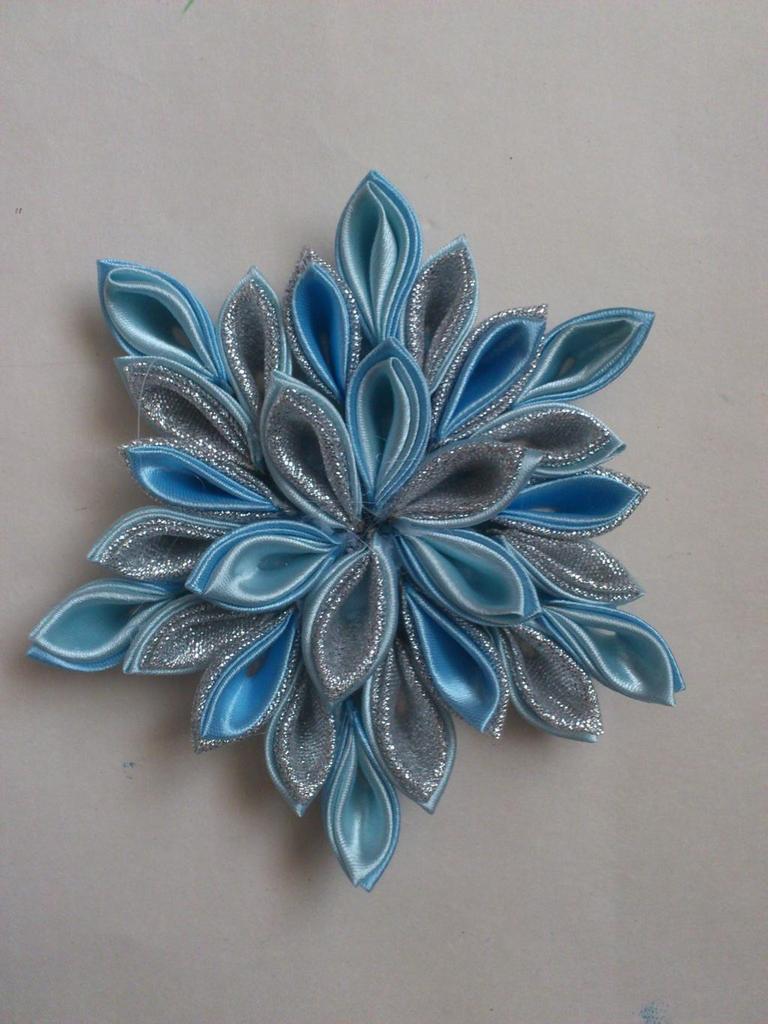
- Now we imagine what kind of snowflake we would like to see and try to reproduce. We will make such a snowflake on both the rim and the wand!
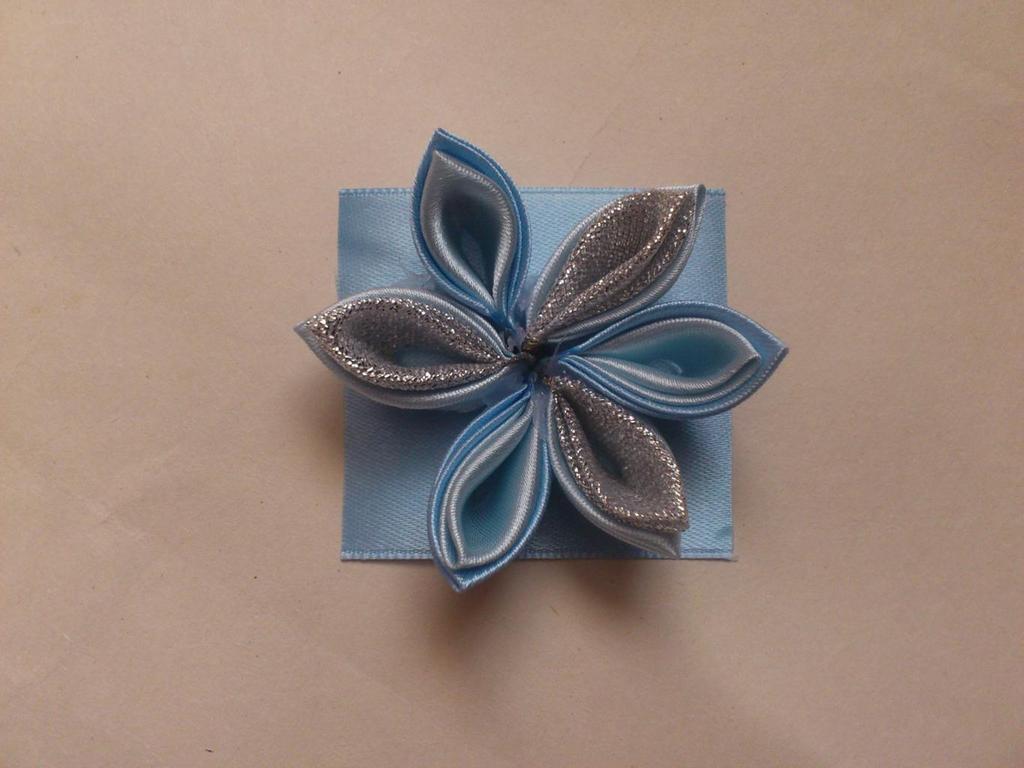
- I spread the core and branches this way.
- I spread on the tape, which serves as the basis. Slowly add rows, alternating colors.
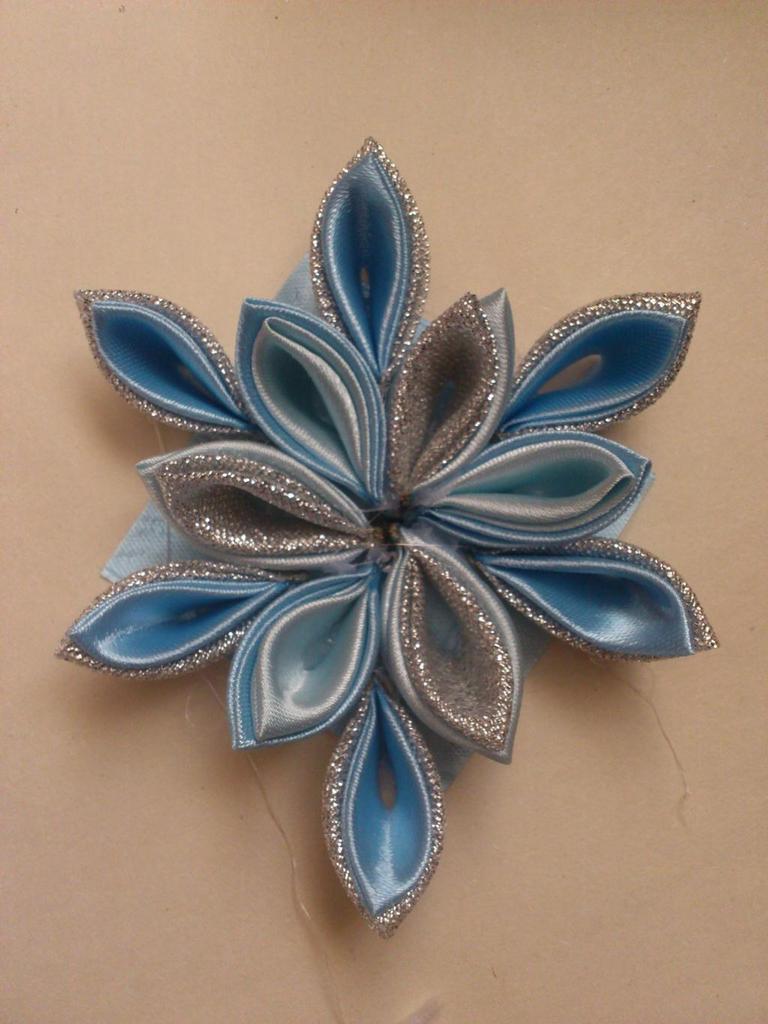
- New Year snowflake Kanzashi, ready!
| | |
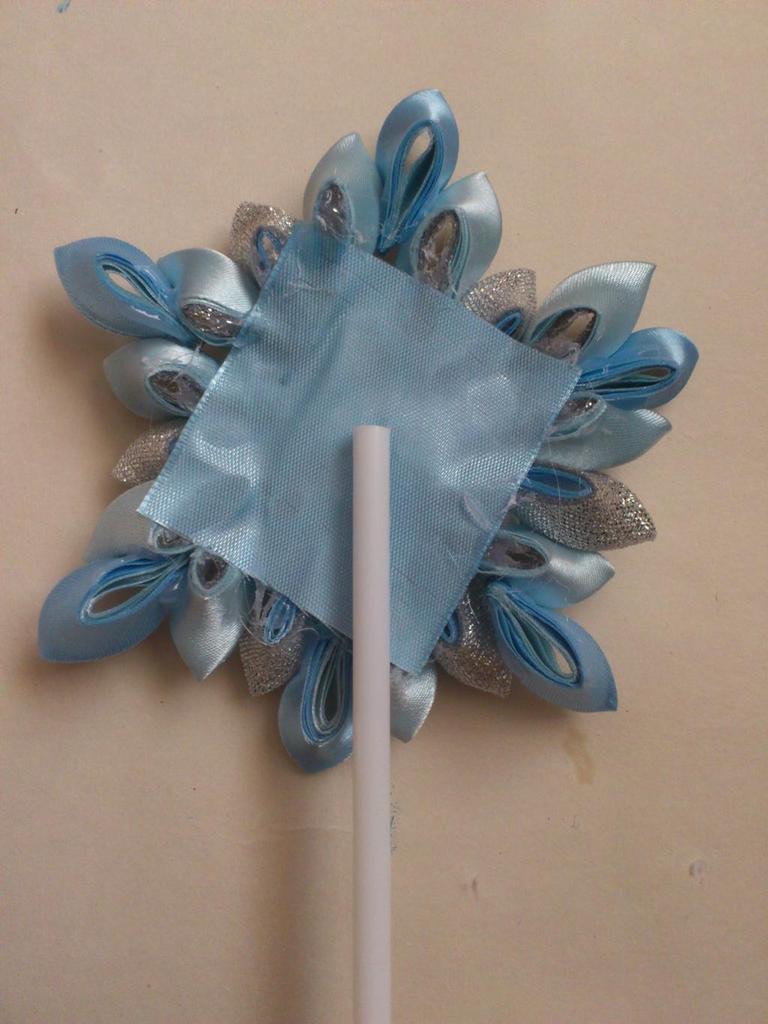
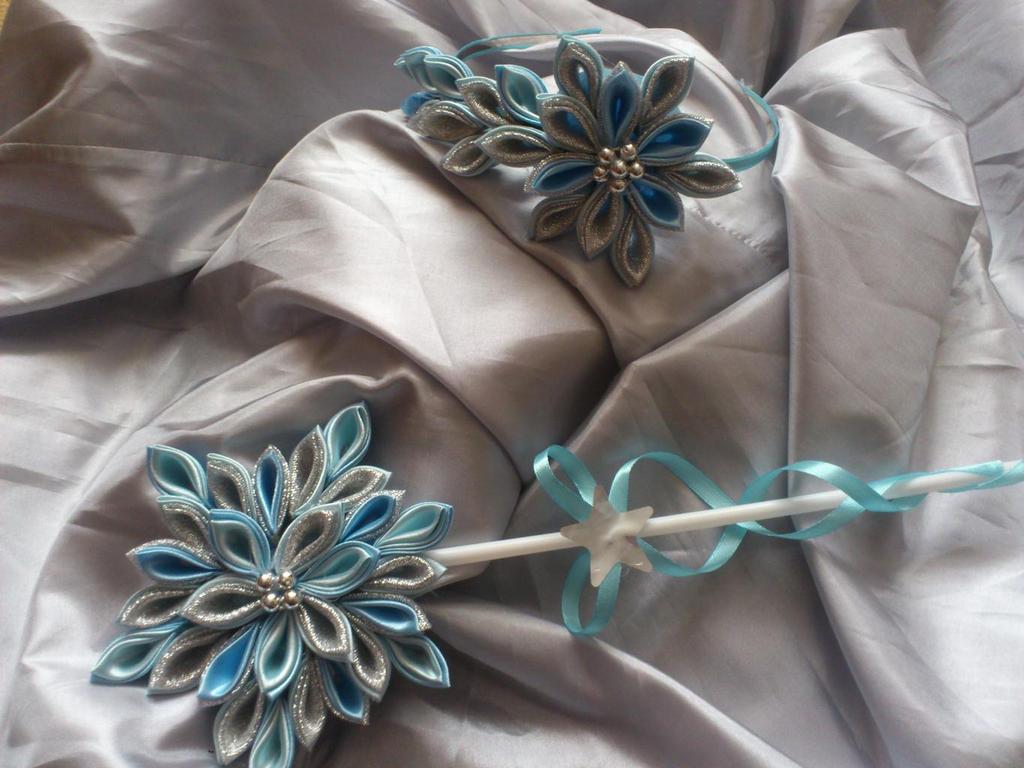
In addition to her, make a magic wand for miracles! We take our plastic wand, and glue our snowflake to it. We need such snowflakes - 2 on both sides.
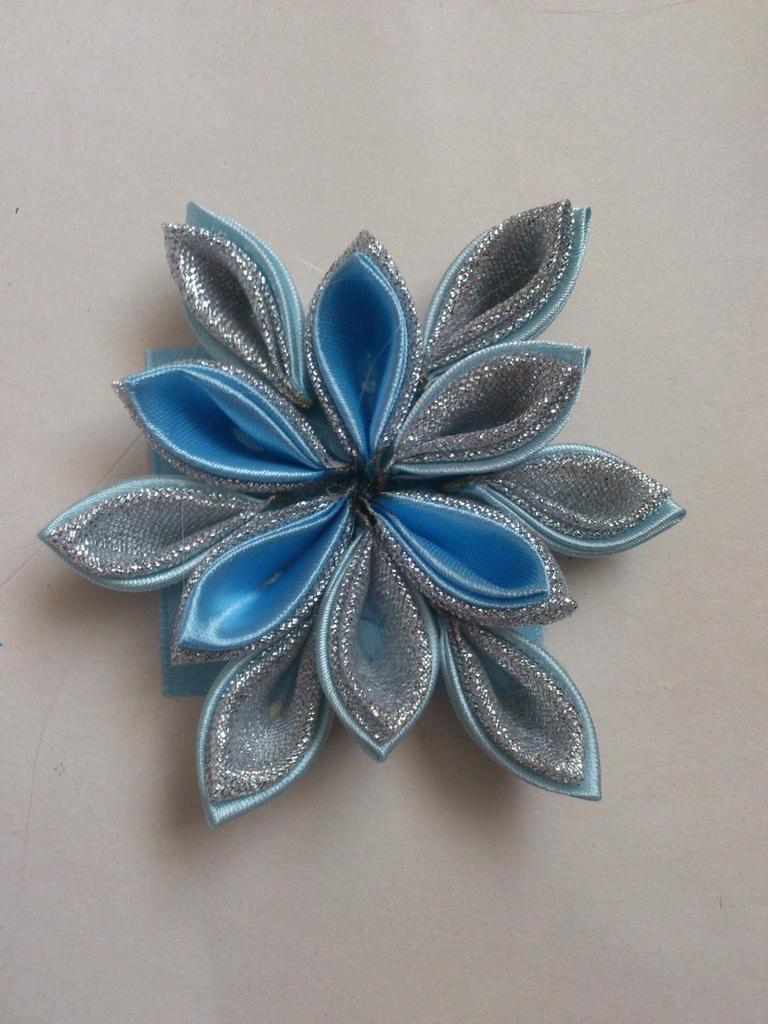
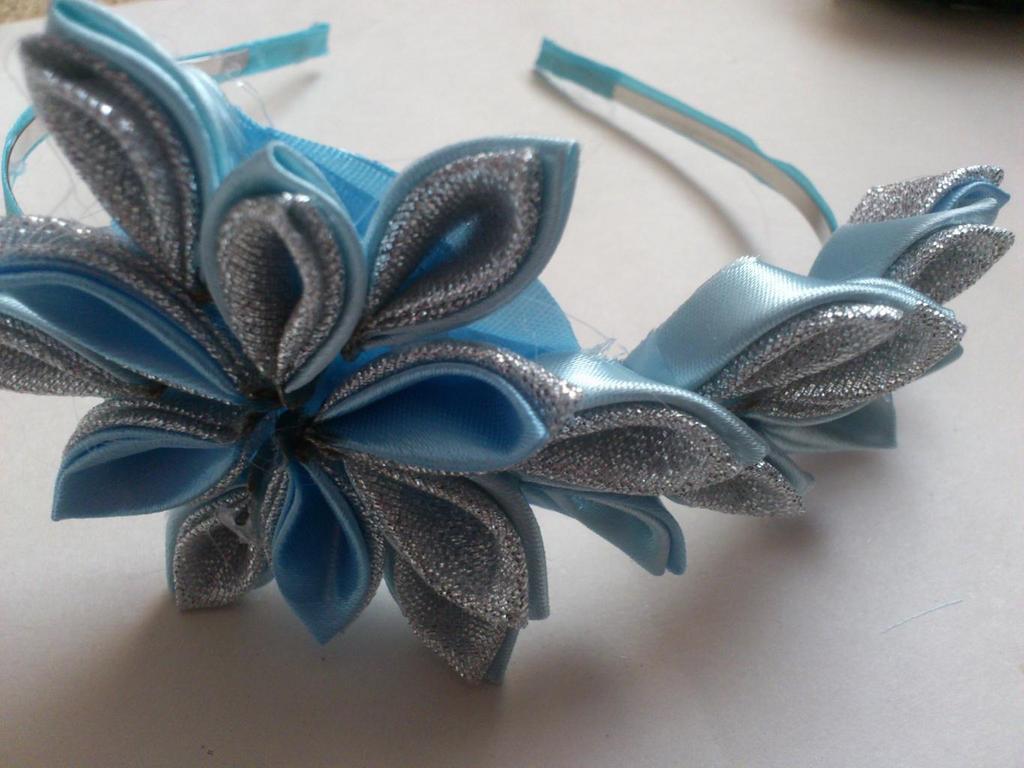
- We take the rim. We make a snowflake of the same plan, only less in size. It is possible and more, it's as you like!
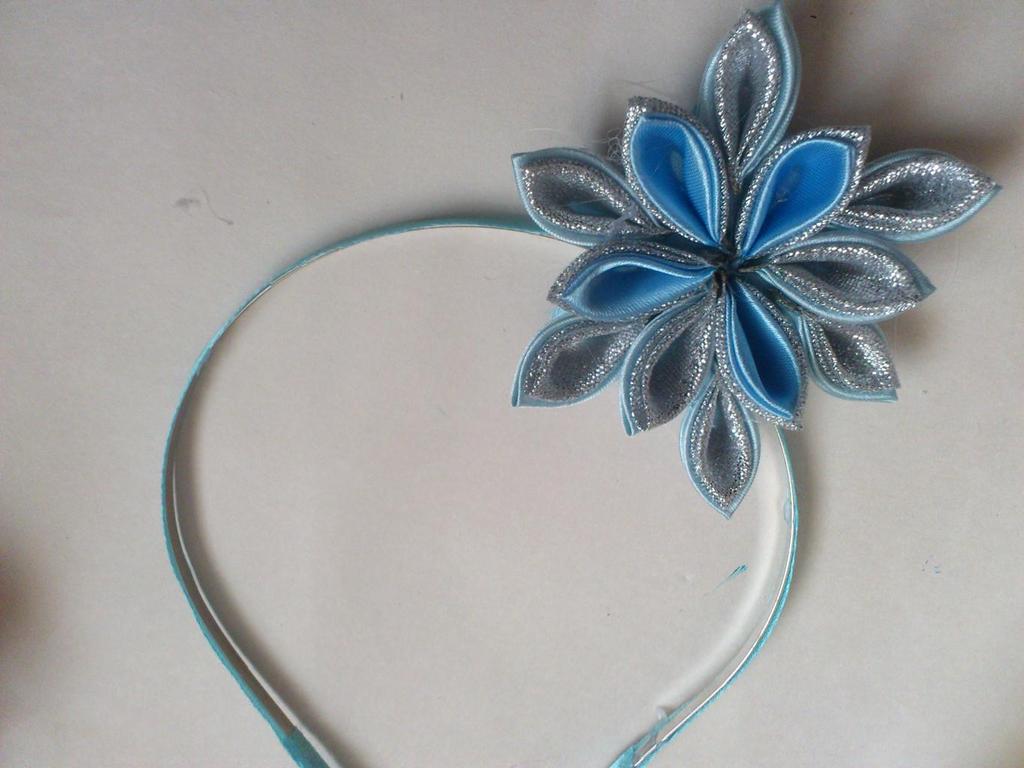
- Our rim I also pasted tape in a tone to the snowflake. And now we glue our snowflake on the rim. I added a little continuation so that it was not very empty. You can make more snowflakes.
- Snowflakes Kanzas, made by own hands, look very beautiful and original! If you use the brocade tape, it will also shine!
- I got such a New Year's set, a little princess rim and a magic wand for miracles!
I wish everyone a good New Year mood, inspiration and love!
The author is Domanina Xenia.