After the kids fell in love with this popular cartoon, moms are racking their brains over how to mold the plasticine smeshariki to please their children. In fact, this is nothing complicated. If you are stocked with the necessary materials and patience, our article on how to make a plasticine smeshariki will be useful for you.
We will need:
- soft clay;
- plastic knife for modeling;
- board for modeling (you can replace the plate or even a kitchen cutting board).
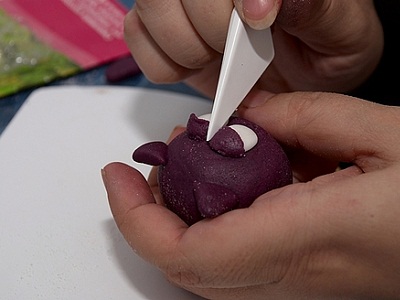
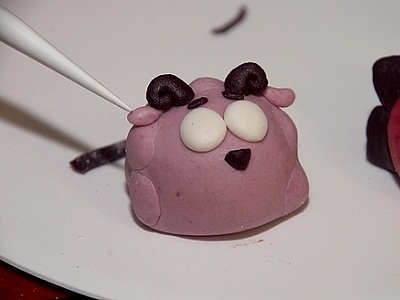
1. Making the Owl . To do this, roll a ball of purple or lilac plasticine the size of a chicken egg. From the same plasticine we make triangular ears, and the basis for eyes is rolled from white plasticine. Then attach the ears. Basics for the eyes from the top are covered with a small "visor", which will serve for centuries.
| | |
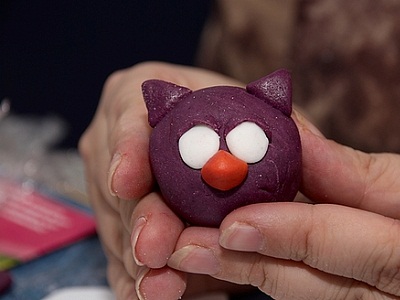
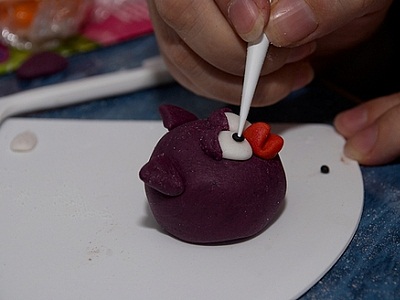
2. Attach the beak from the orange or red plasticine and press the knife as if to open it.
| | |
3. From the black plasticine we make the pupils. In the center of each - a small white ball, which will give the eyes of liveliness.
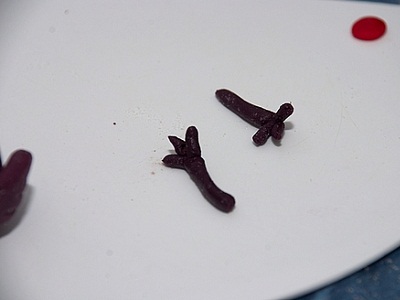
4. From the thin sausages of plasticine we make the legs, from the rolled plate - the wings. We decorate the Sowdoon with a hat.
| | |
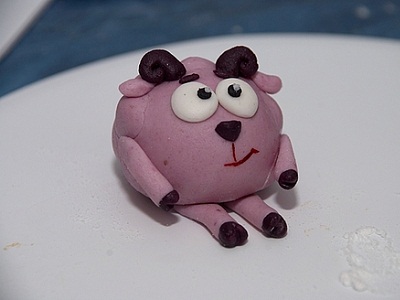
5. Doing Barash . The technology is similar. Do not forget to attach to the main ball some small balls that mimic the coat of Barash. We make ears, horns, hooves. Rotik can be painted with gouache or made from tonyushenkih stripes of red plasticine.
| | | |
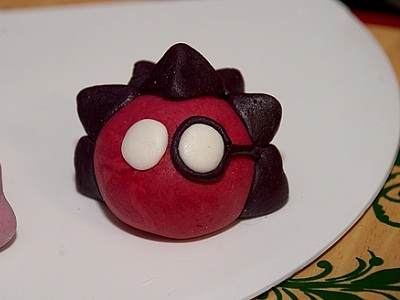
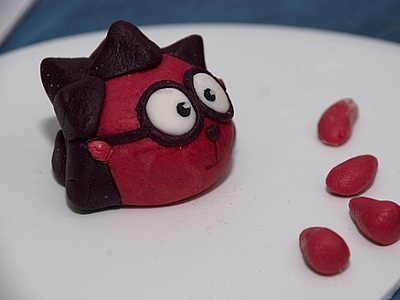
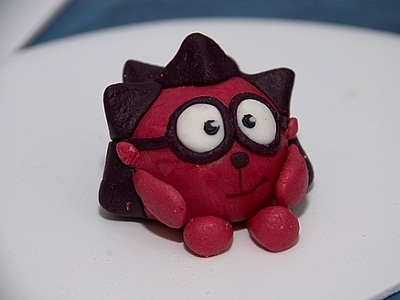
6. We make a hedgehog . Triangular pieces of thorns are placed around the ball-calf. From white plasticine we make eyes, from black - glasses.
| | |
7. We sculpt the legs, handles, attach them to the calf. The hedgehog is ready!
| | |
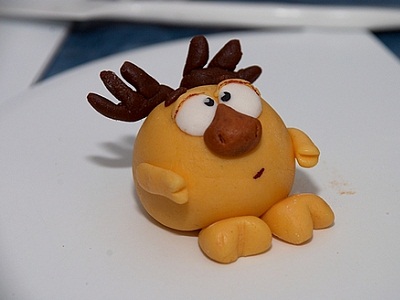
8. We do Losyasha . To the main ball attach eyes, nose, upper eyelids with black pupils. From thin sausages we make hooves, horns. Draw the mouth and collect.
| | |
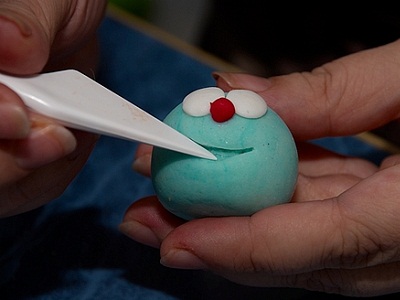
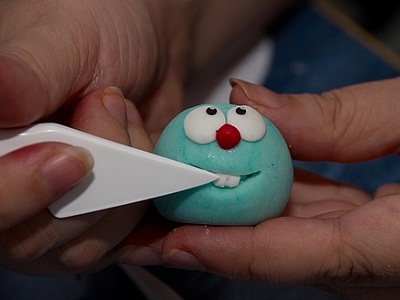
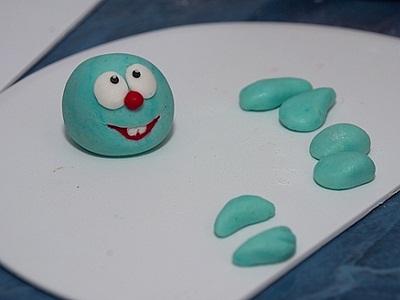
9. Make a crumb . All the same, just rotate the knife slightly downwards so that Krosh smiles. Form the teeth of white plasticine knife from small balls.
| | |
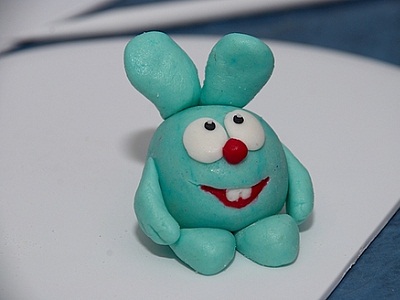
10. We sculpt ears, hands and legs, connect.
| | |
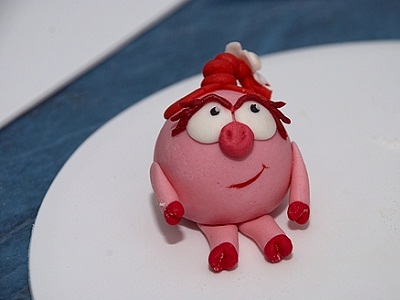
If you still have the strength, the modeling of plasticine smeshariki can continue Nyusha, Pin, Kopatych. The instruction for the production of Smelariki from plasticine remains the same, the difference is in the details and color of the figures. But, probably, your child watches this cartoon so often that you are familiar with the features of each hero: Nyusha has a piglet, cilia and a playful pigtail, Pin wears aviator glasses on his hat, and Kopatych has a funny hat, plump cheeks and a big nose. It is these details that make the craftsmen of Smeshariki from plasticine similarity with the characters of your favorite cartoon.
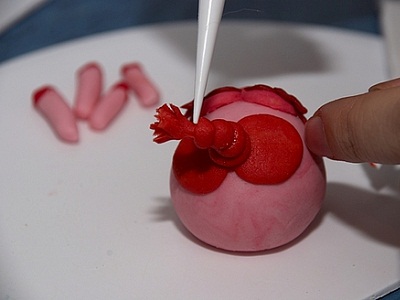
This is how Nyusha's pigtail is made. Two plasticine balls are attached to the head so that they become almost flat. Then attach them a pyramid of four slightly flattened balls, the size of which decreases from the bottom to the top. At the end of the pigtail we make a fringe, imitating hairs, from a strip of plasticine incised with a knife.
| | |
Learning to do at least one of these cartoon characters, you can easily explain to the baby how to make smeshariki from plasticine yourself.
Classes with plasticine for children are very useful. This is due not only to the expansion of fantasy boundaries, but also to the development of fine motor fingers.
After the figures of the Smeshariki are ready, put them on the cold for a while (you can go to the refrigerator). So they will become more solid, and they can be fun to play with, every time inventing new stories for exciting role-playing games.